(Click on a picture to enlarge)
Go to our main page
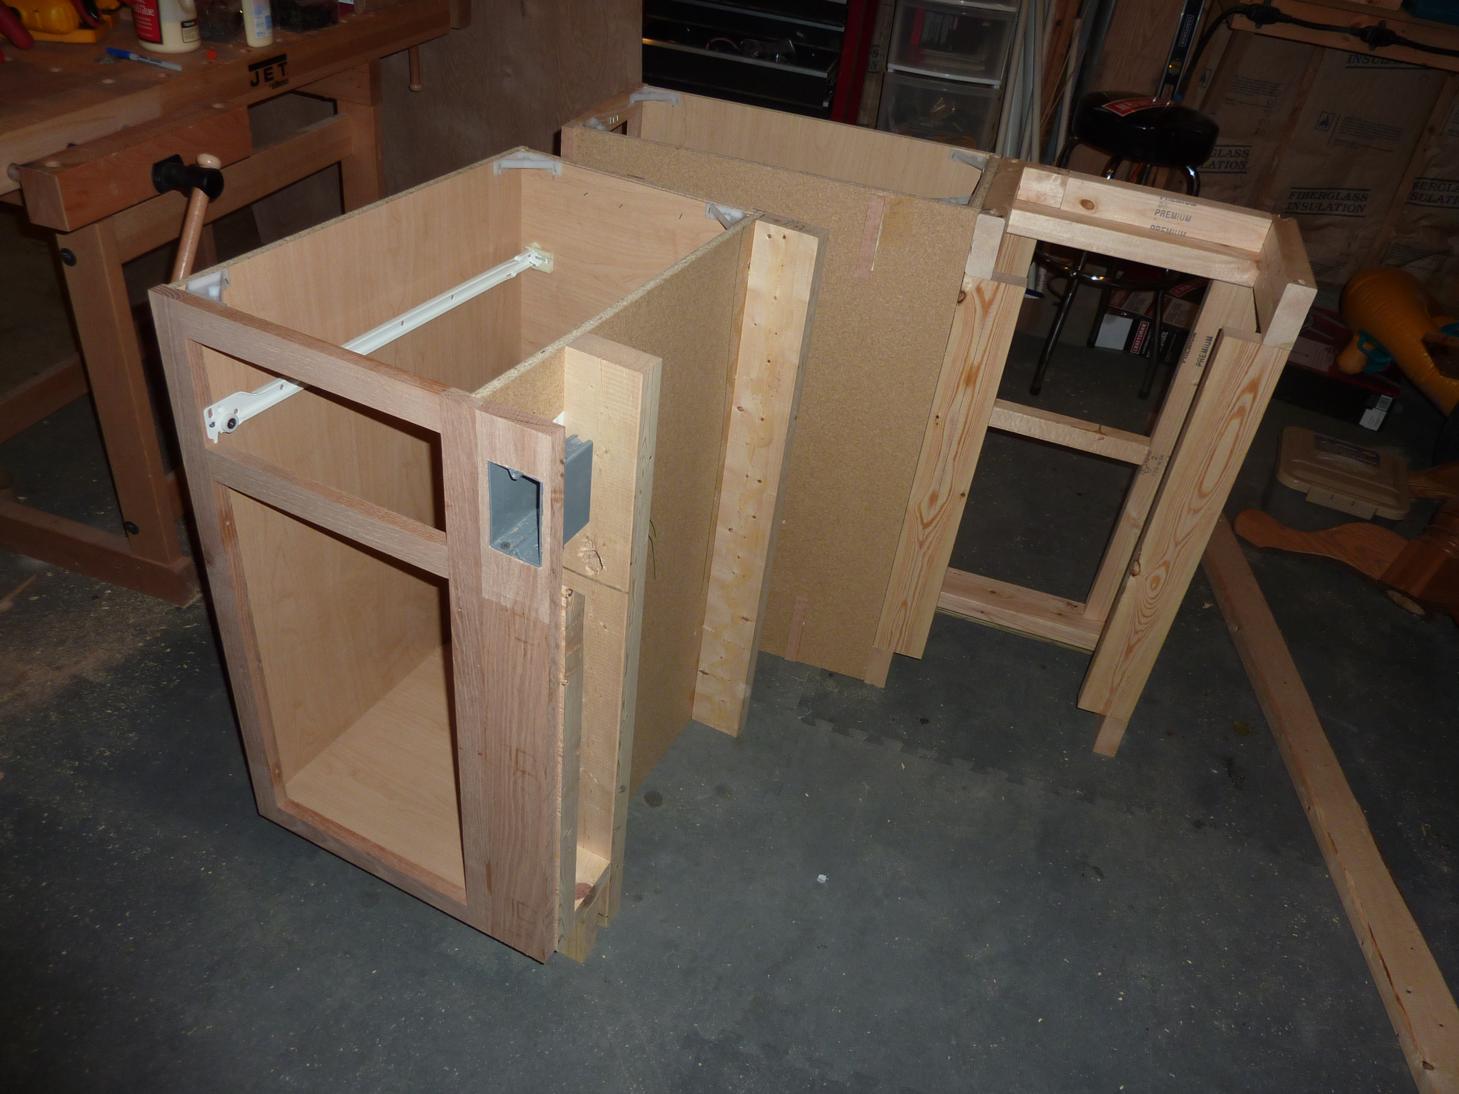 Here's Daddy's latest project, can you guess what it is?  Well, it's cabinets, that's obvious  Some glued wood for what will be a couple corbels... 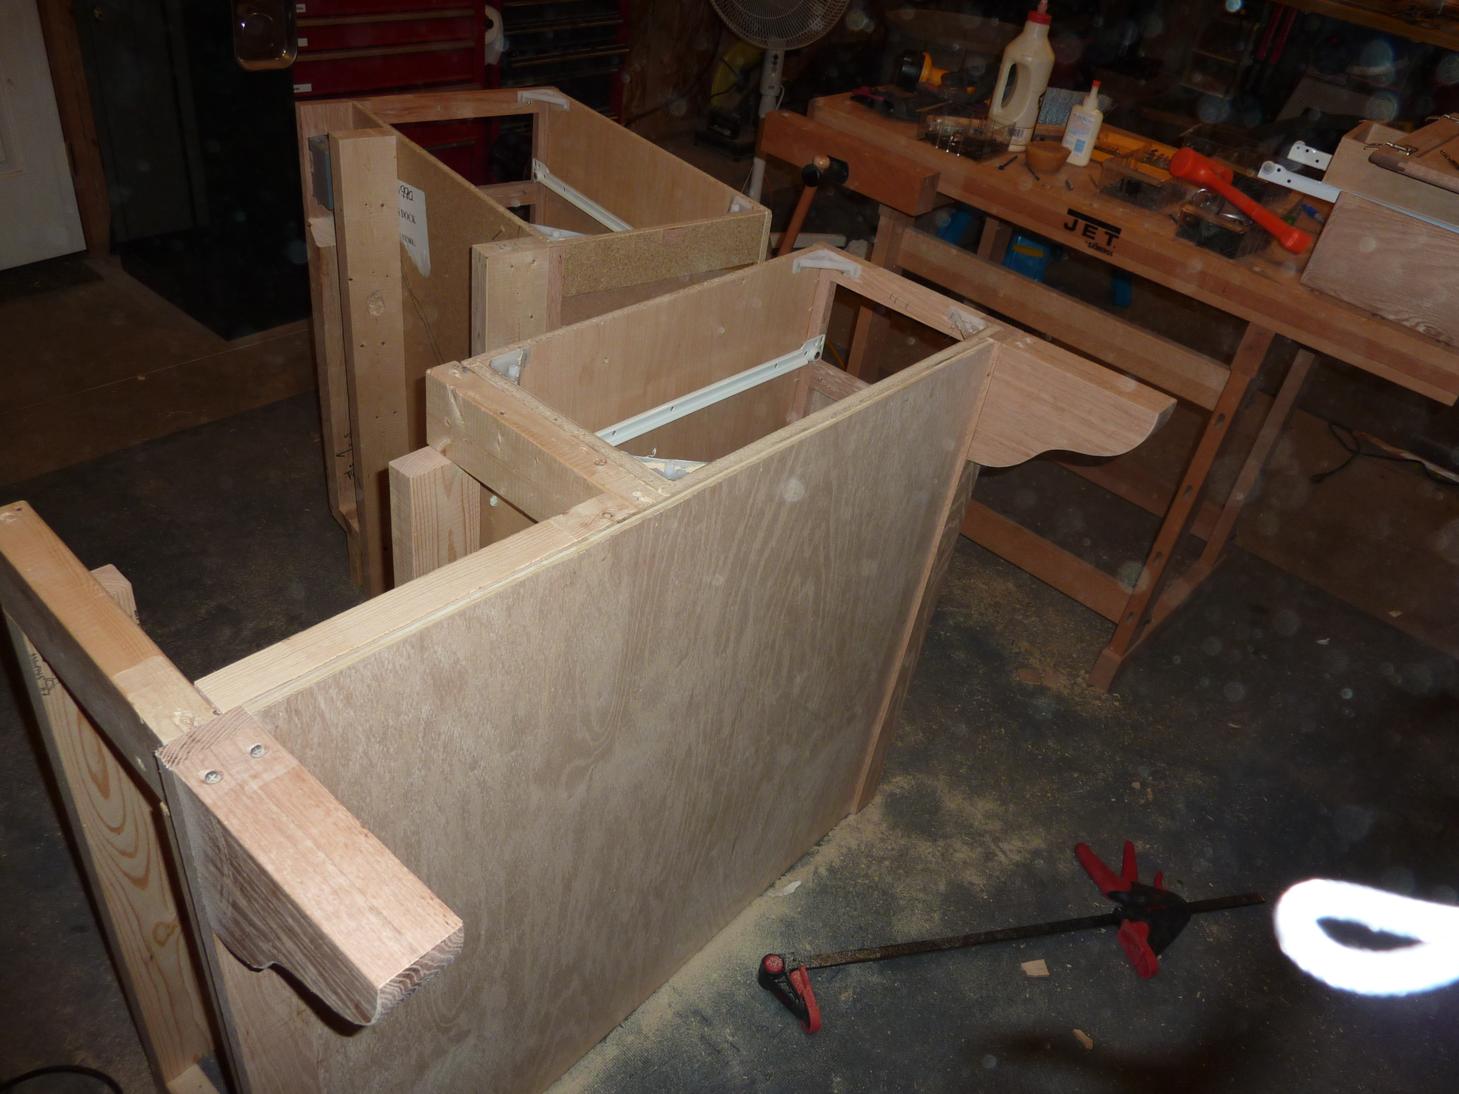 ...which will be used (as you can see here) to hold up an overhanging counter  Adding a finish kickplate strip to the bottom 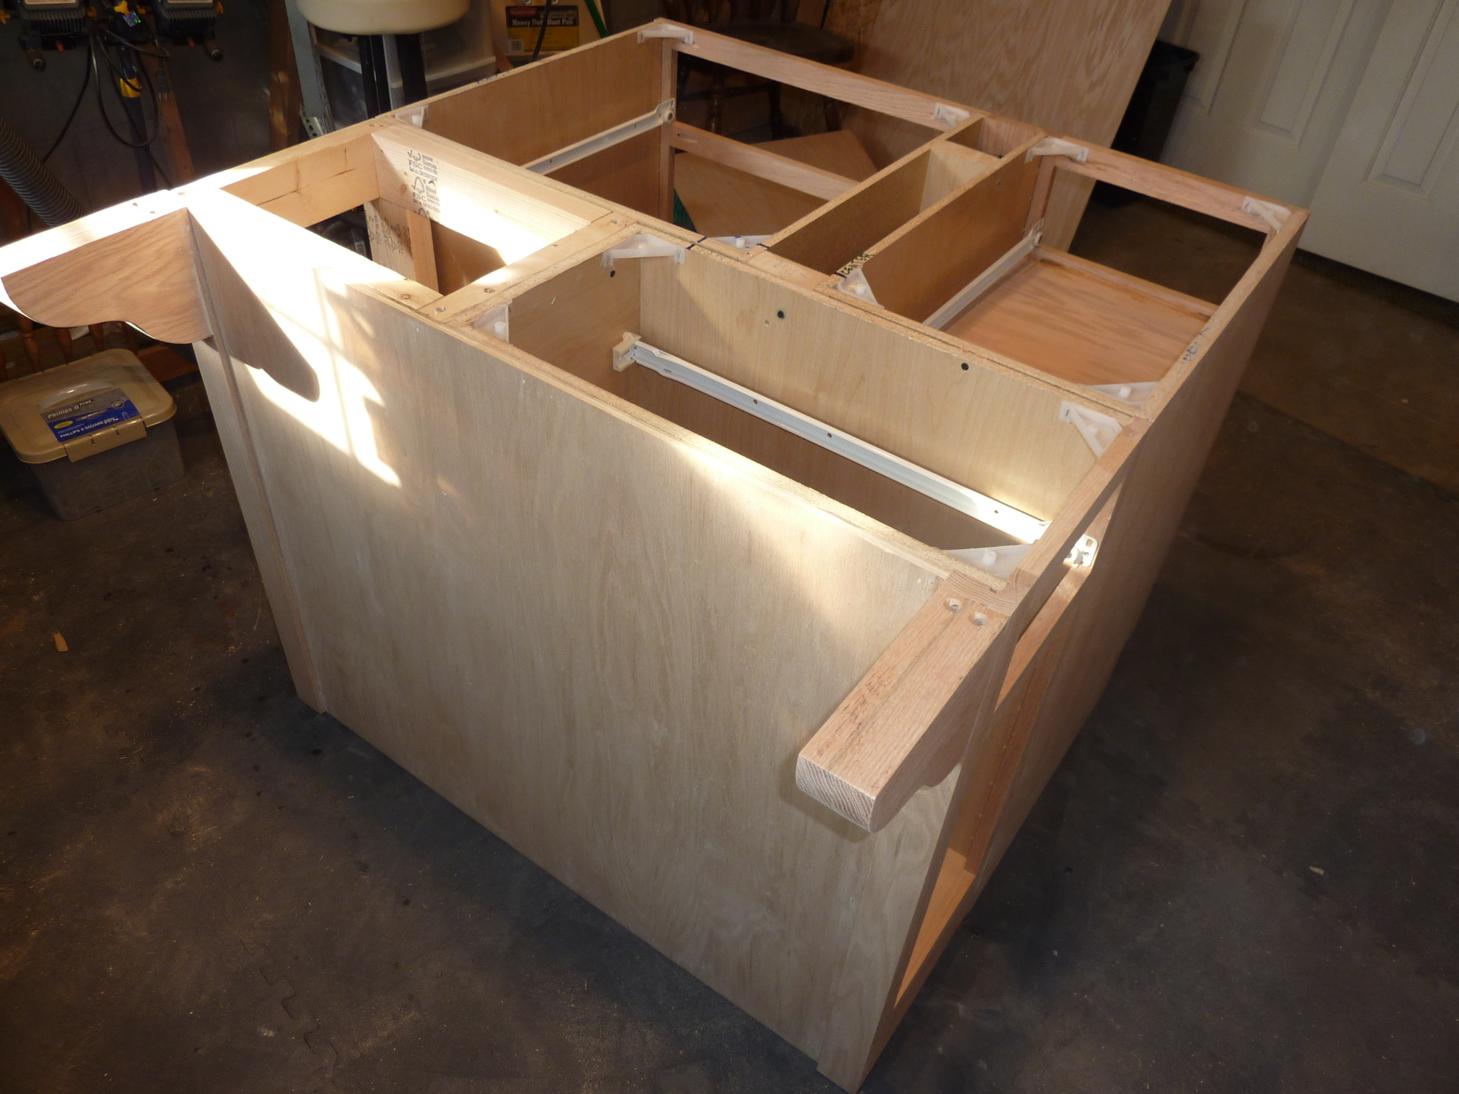 Construction complete! 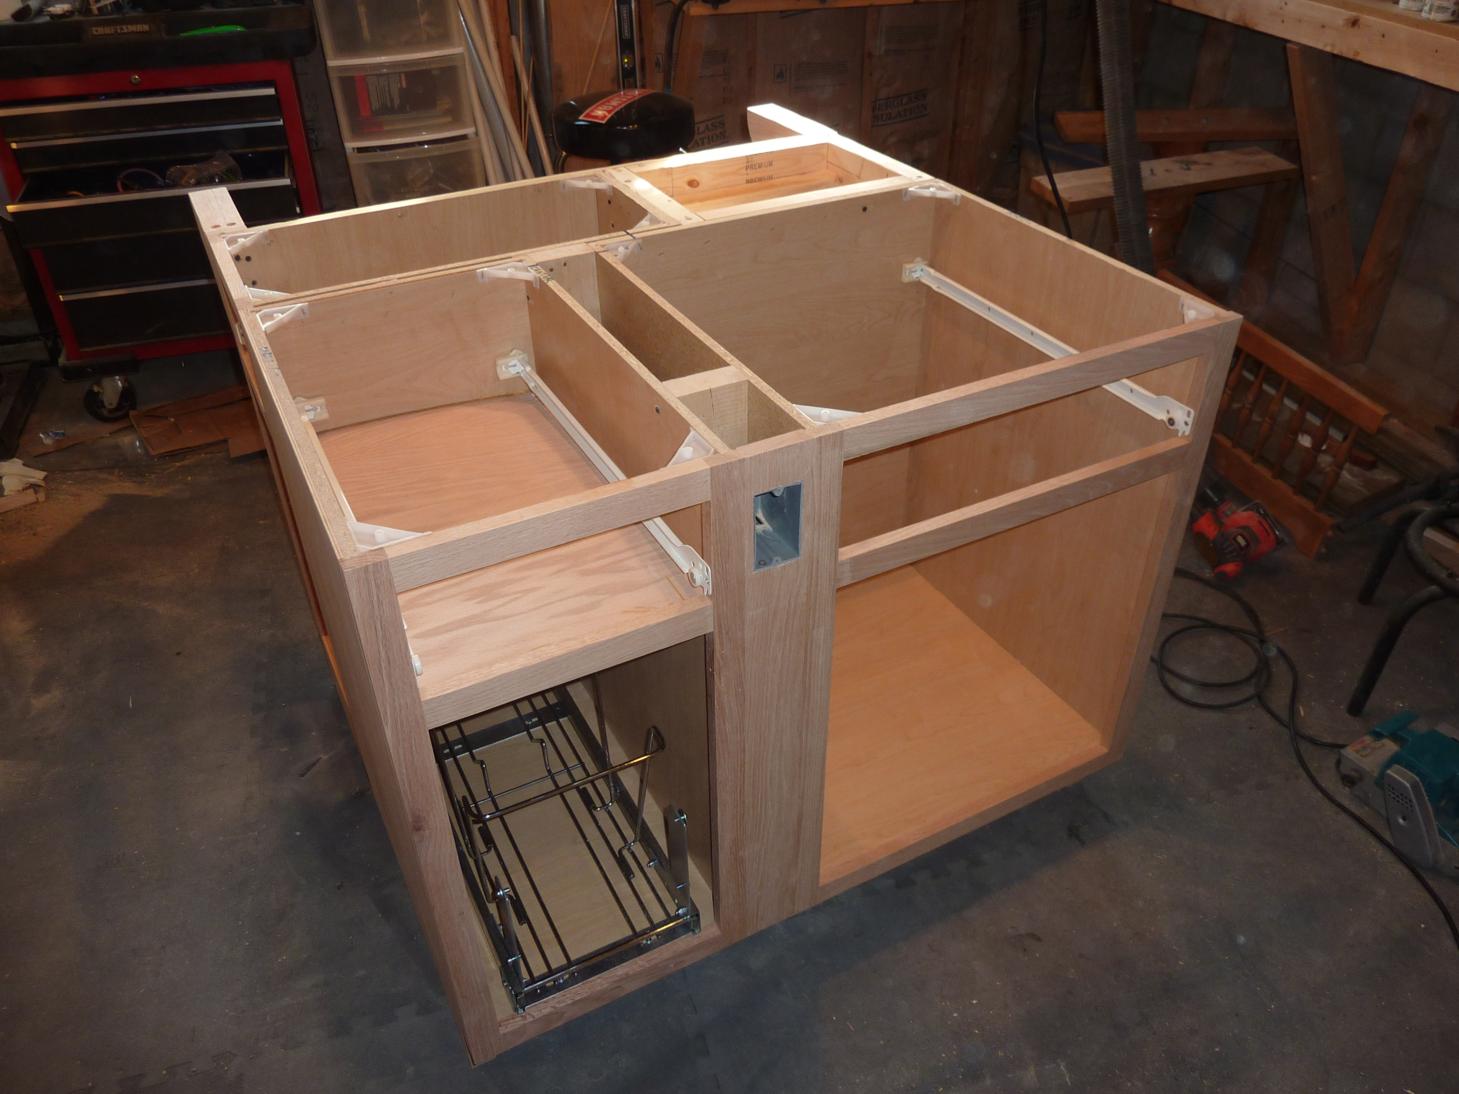 It's a brand new island for the kitchen 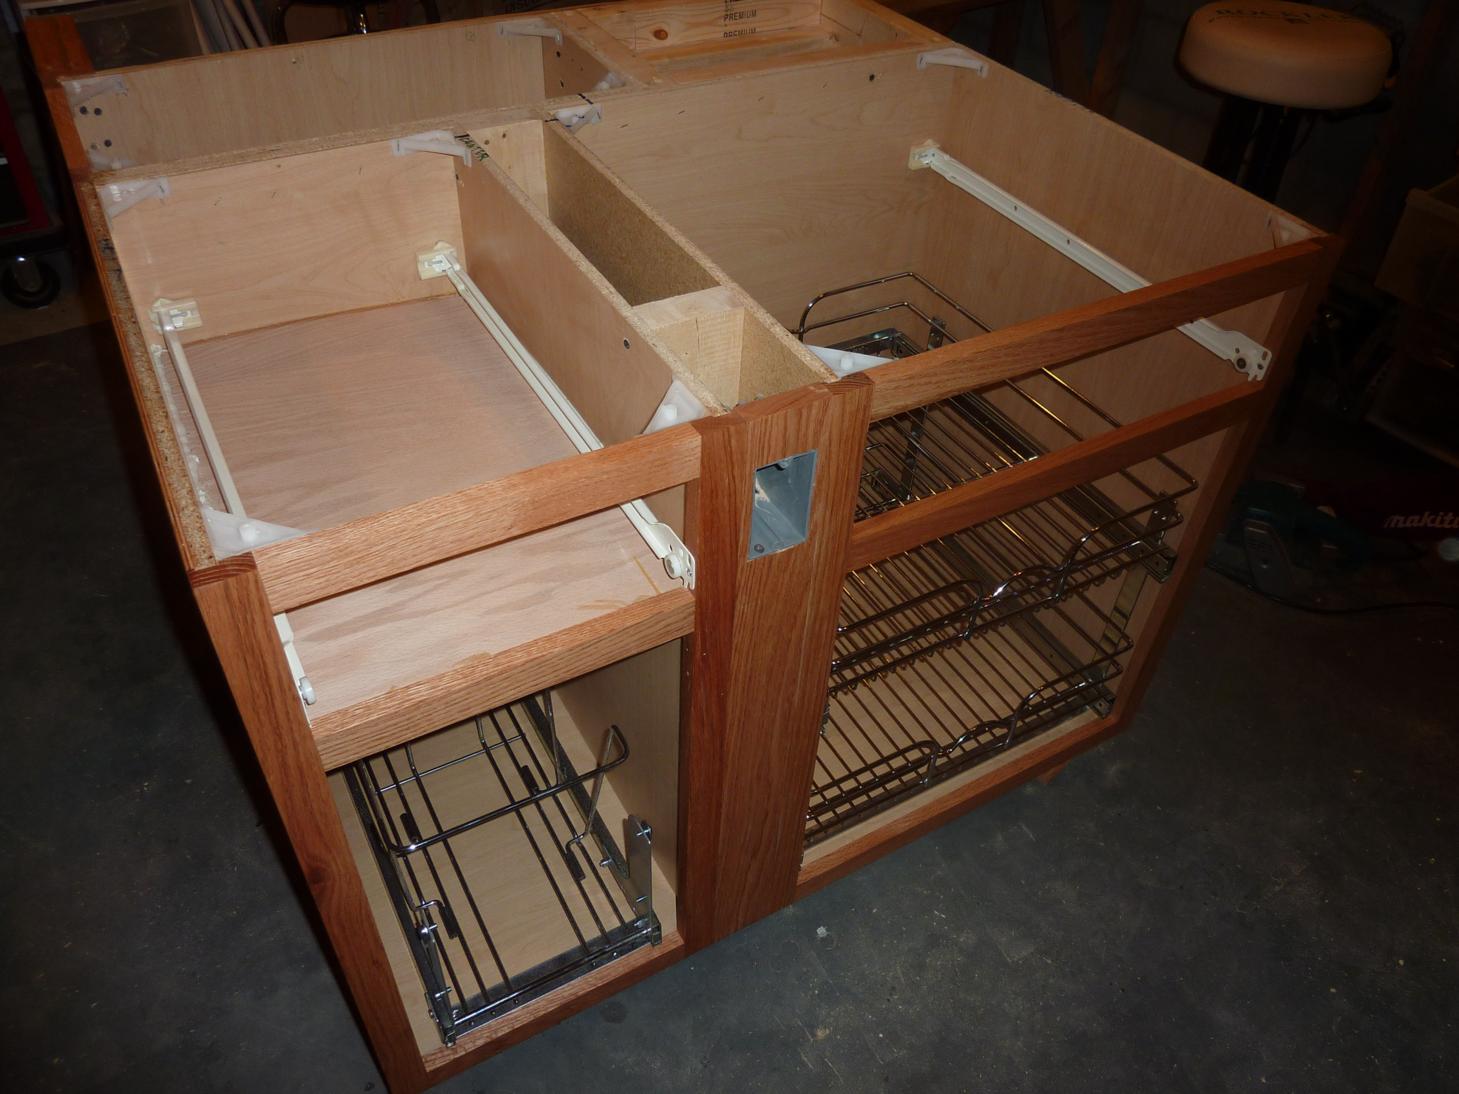 Now for the finishing, first the main unit 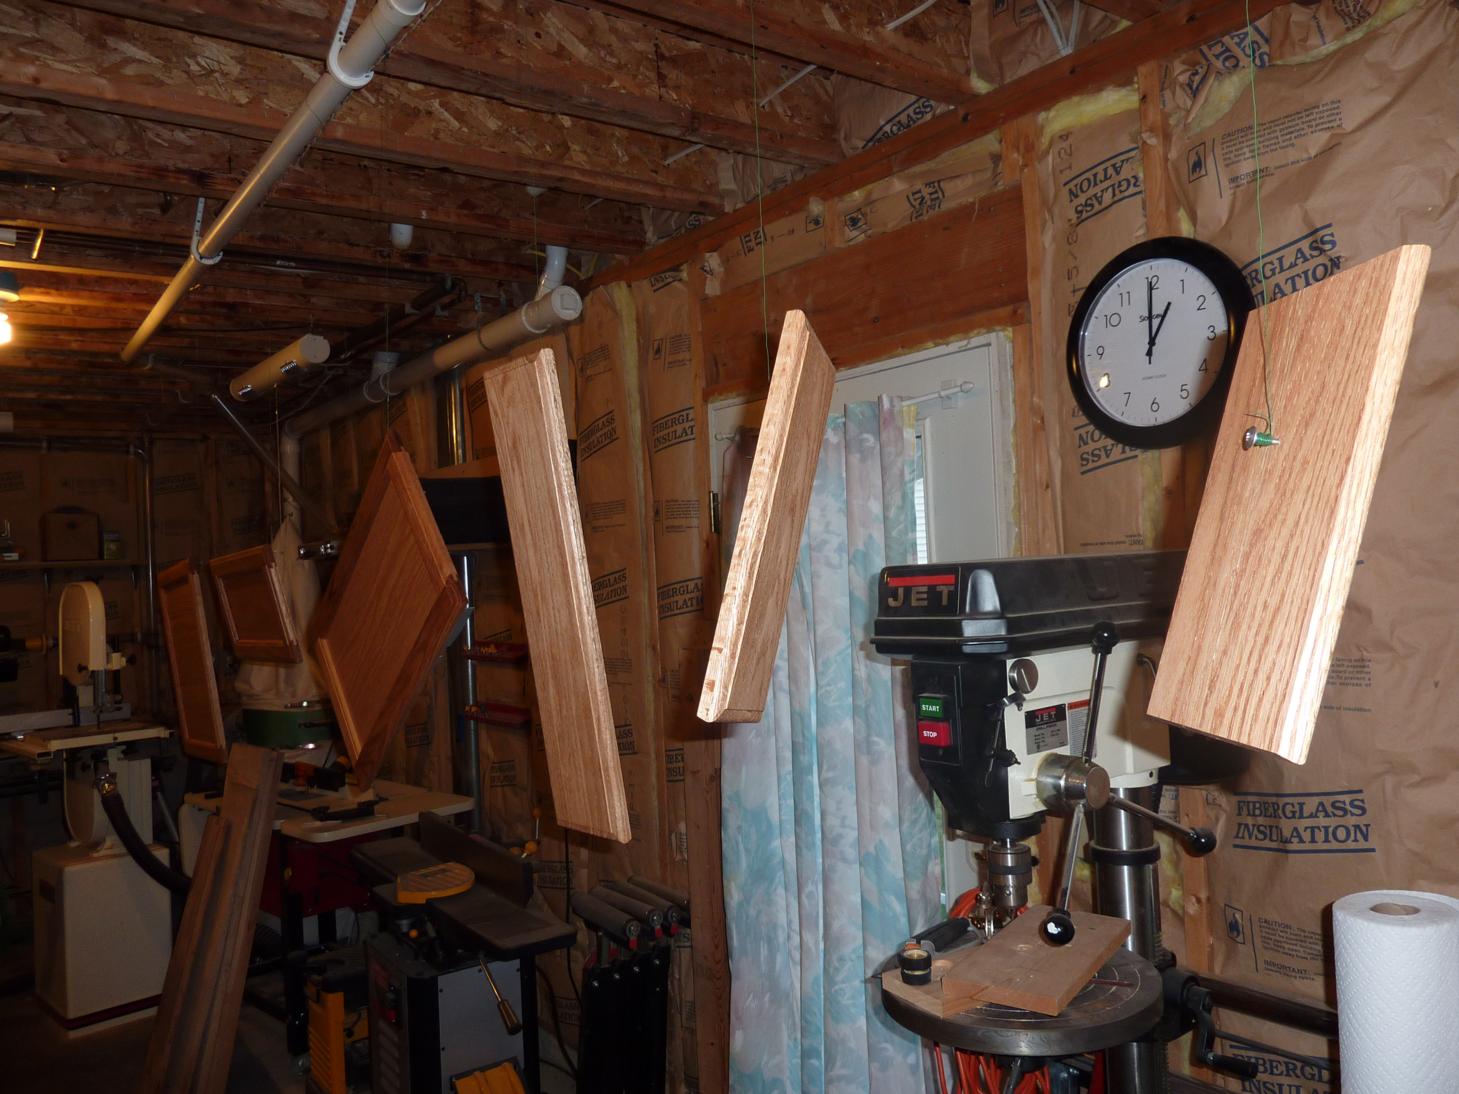 Then the doors and drawer fronts 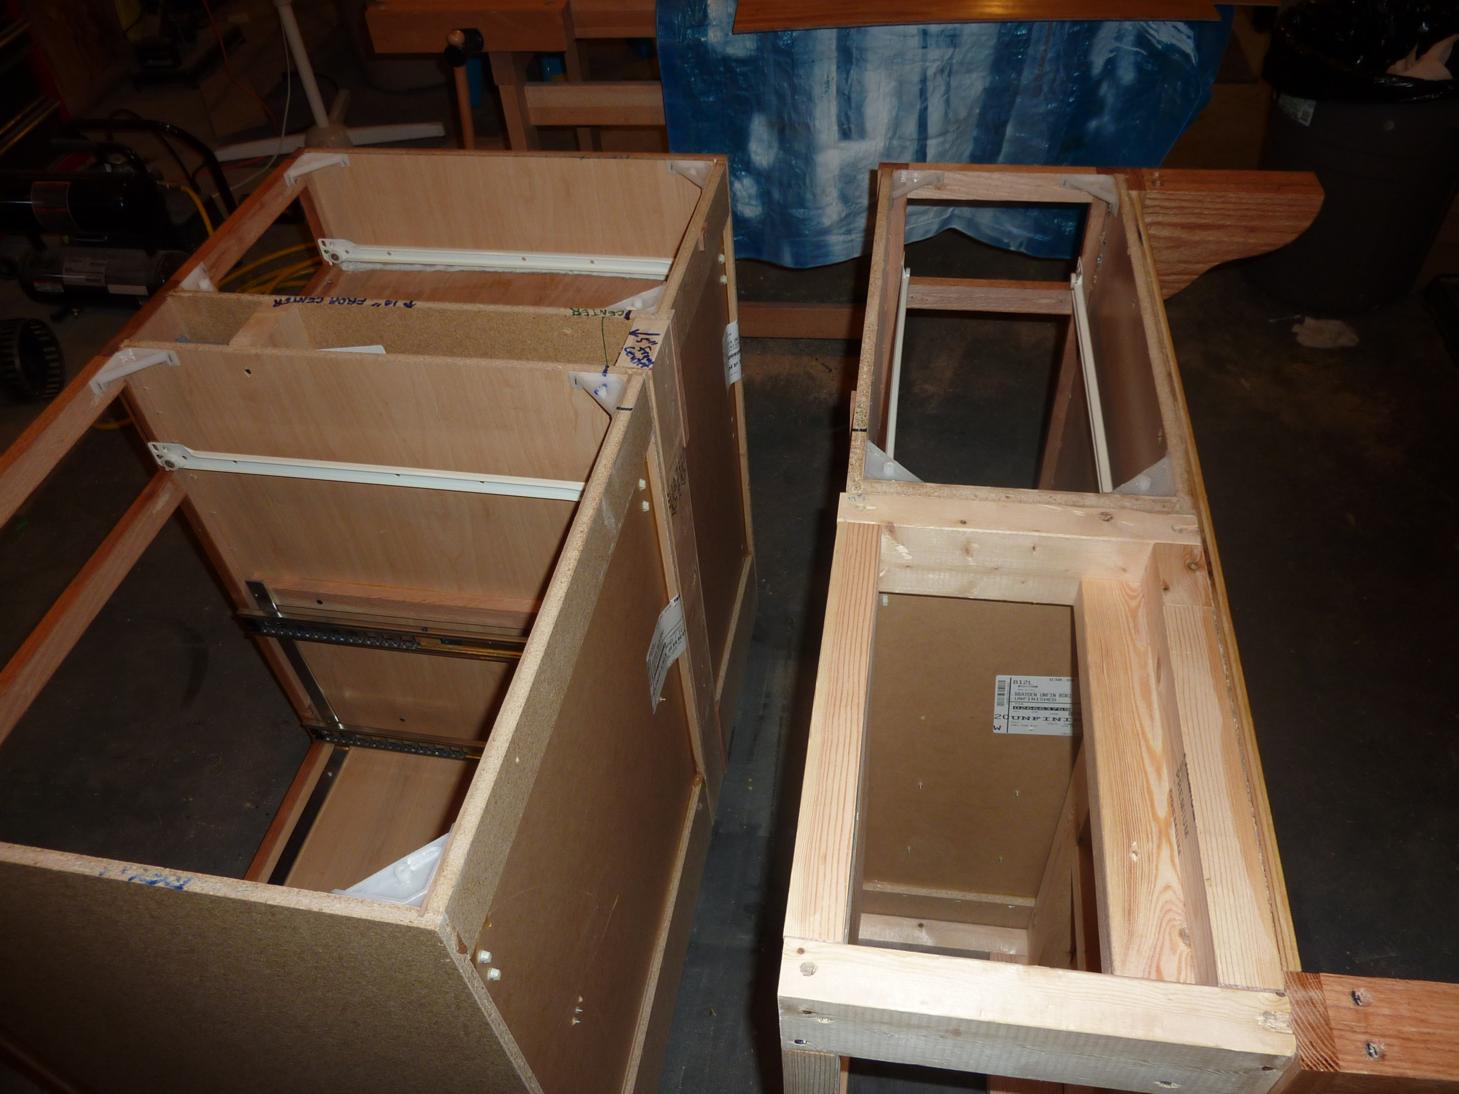 Ok, time to split the unit for transport upstairs (it's heavy!) 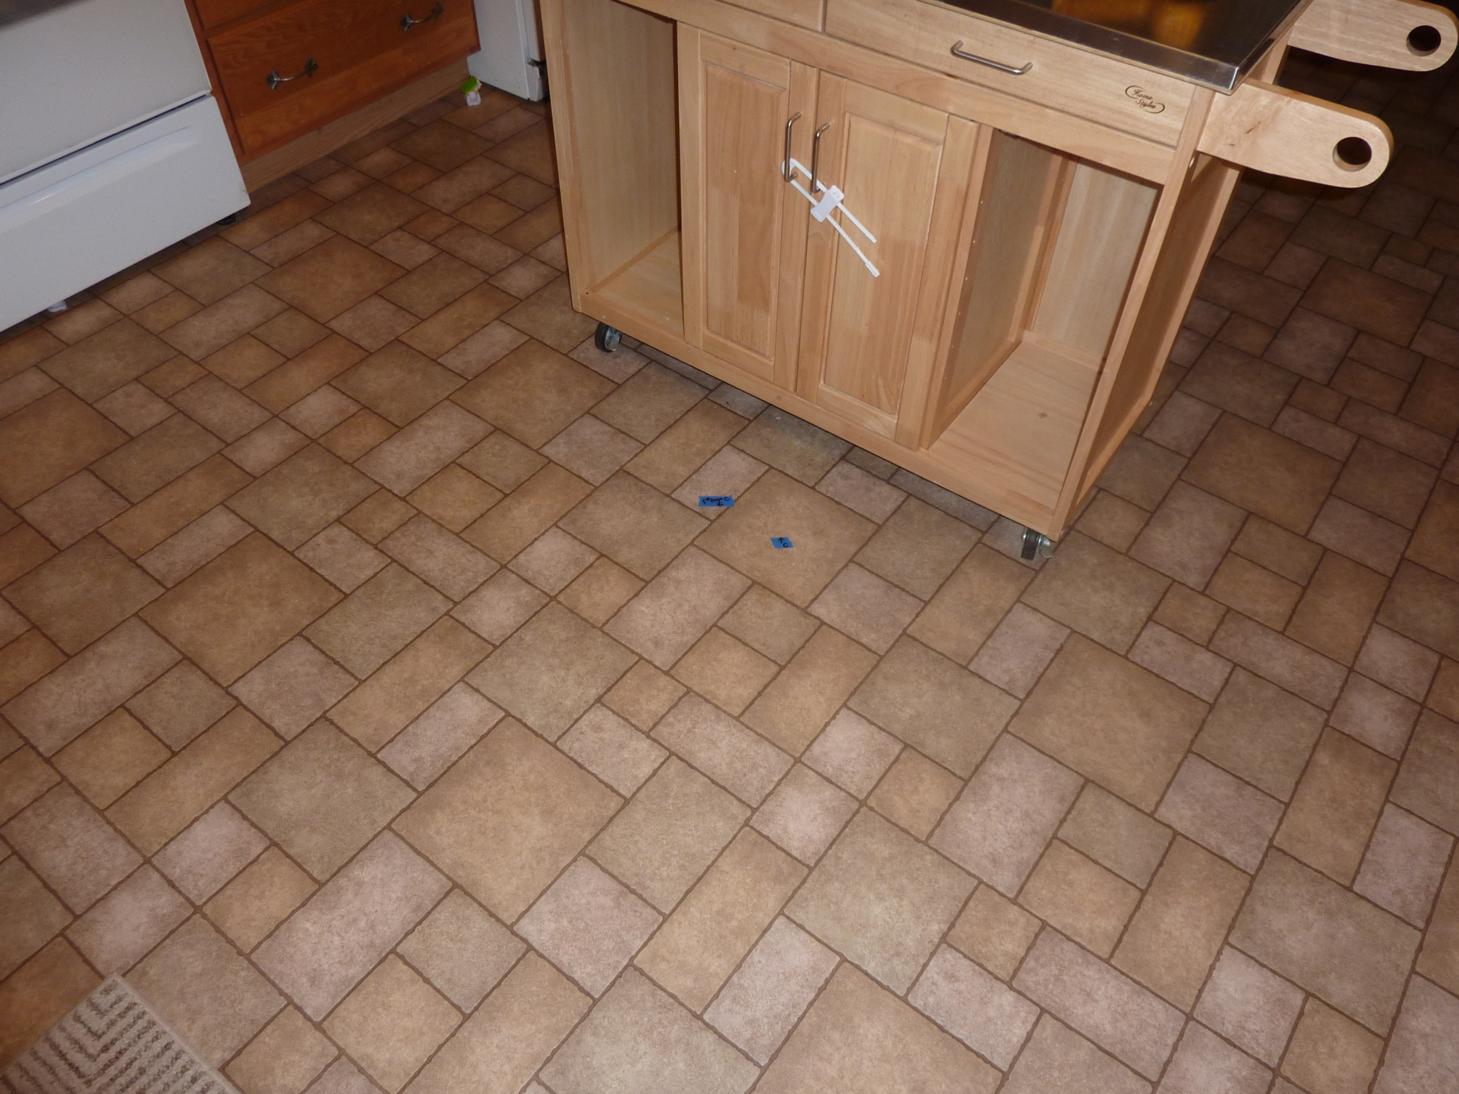 There's the old island that is going away. It served its purpose, but I wanted something a bit more substantial 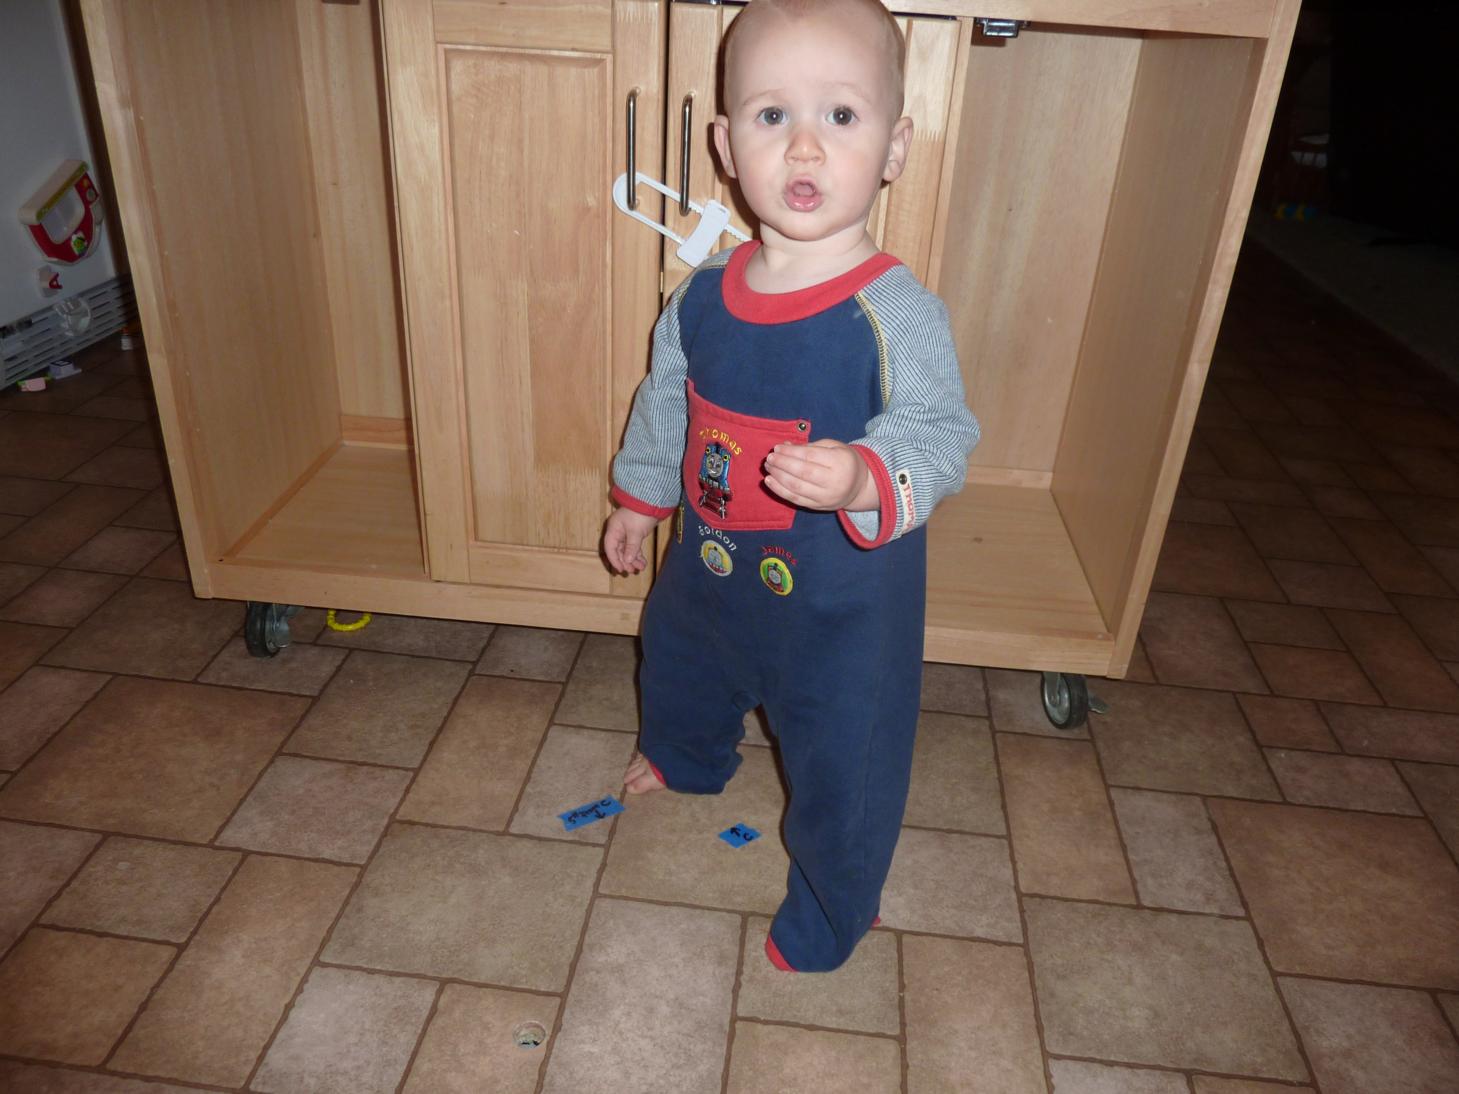 Woah daddy, you put a hole in Mama's floor! 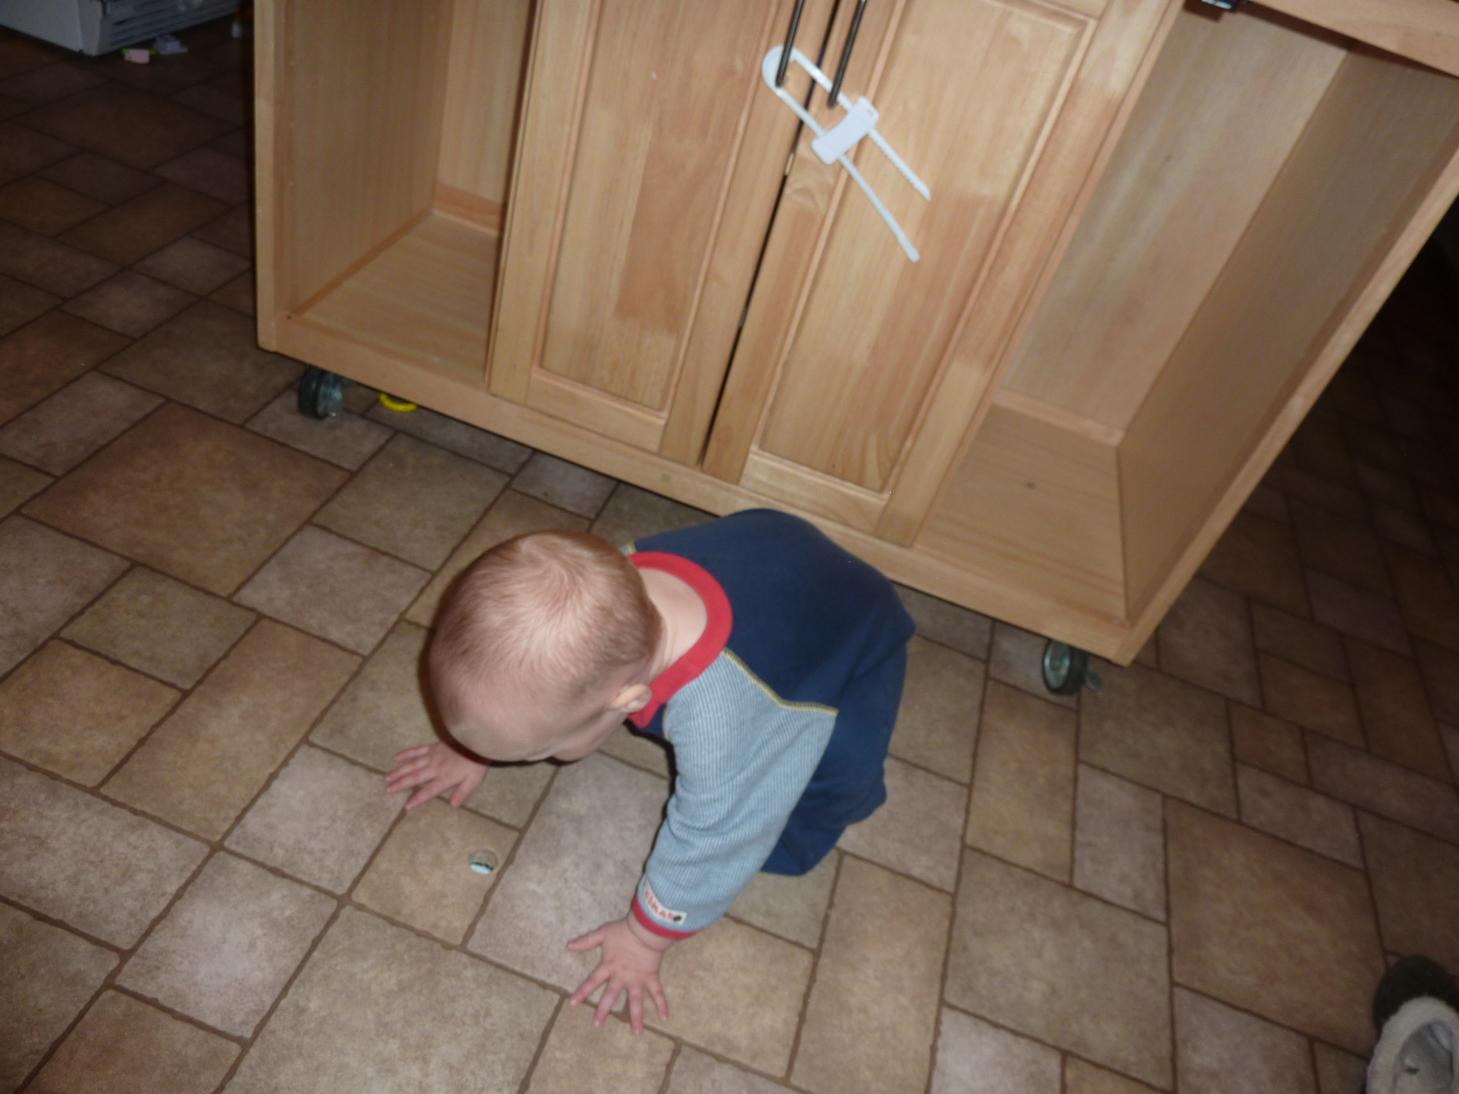 Let's see what's down there  Jared helping feed some electrical wire through the hole for the outlet sockets in the island 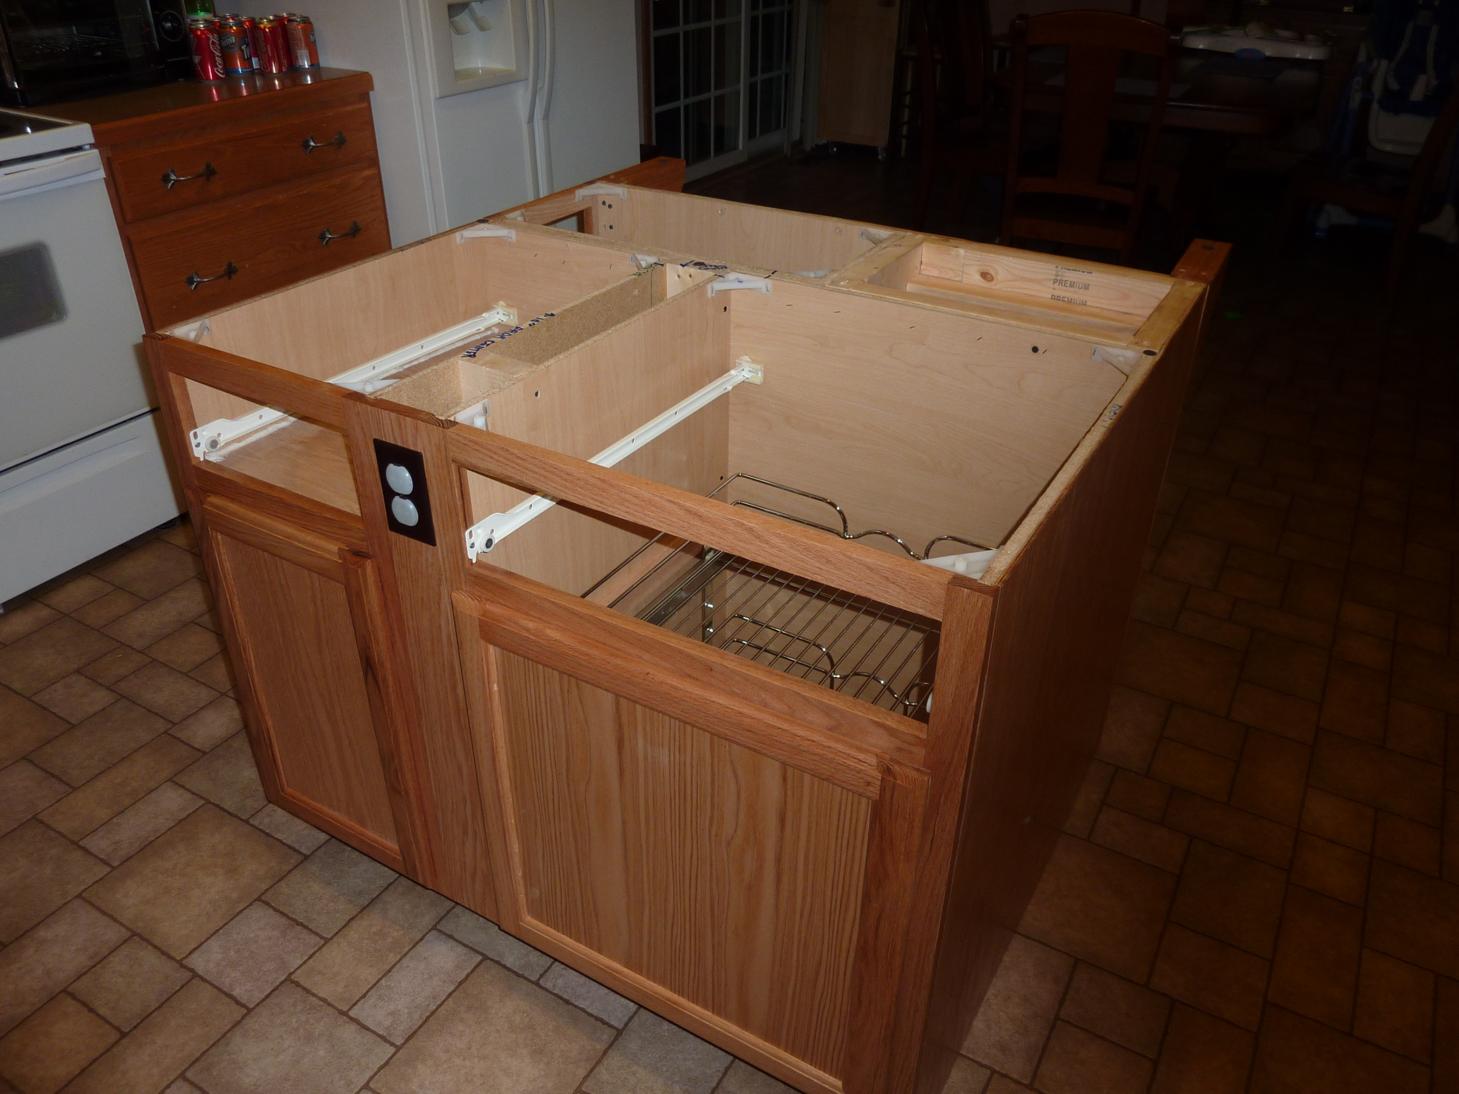 Placed and secured to the floor 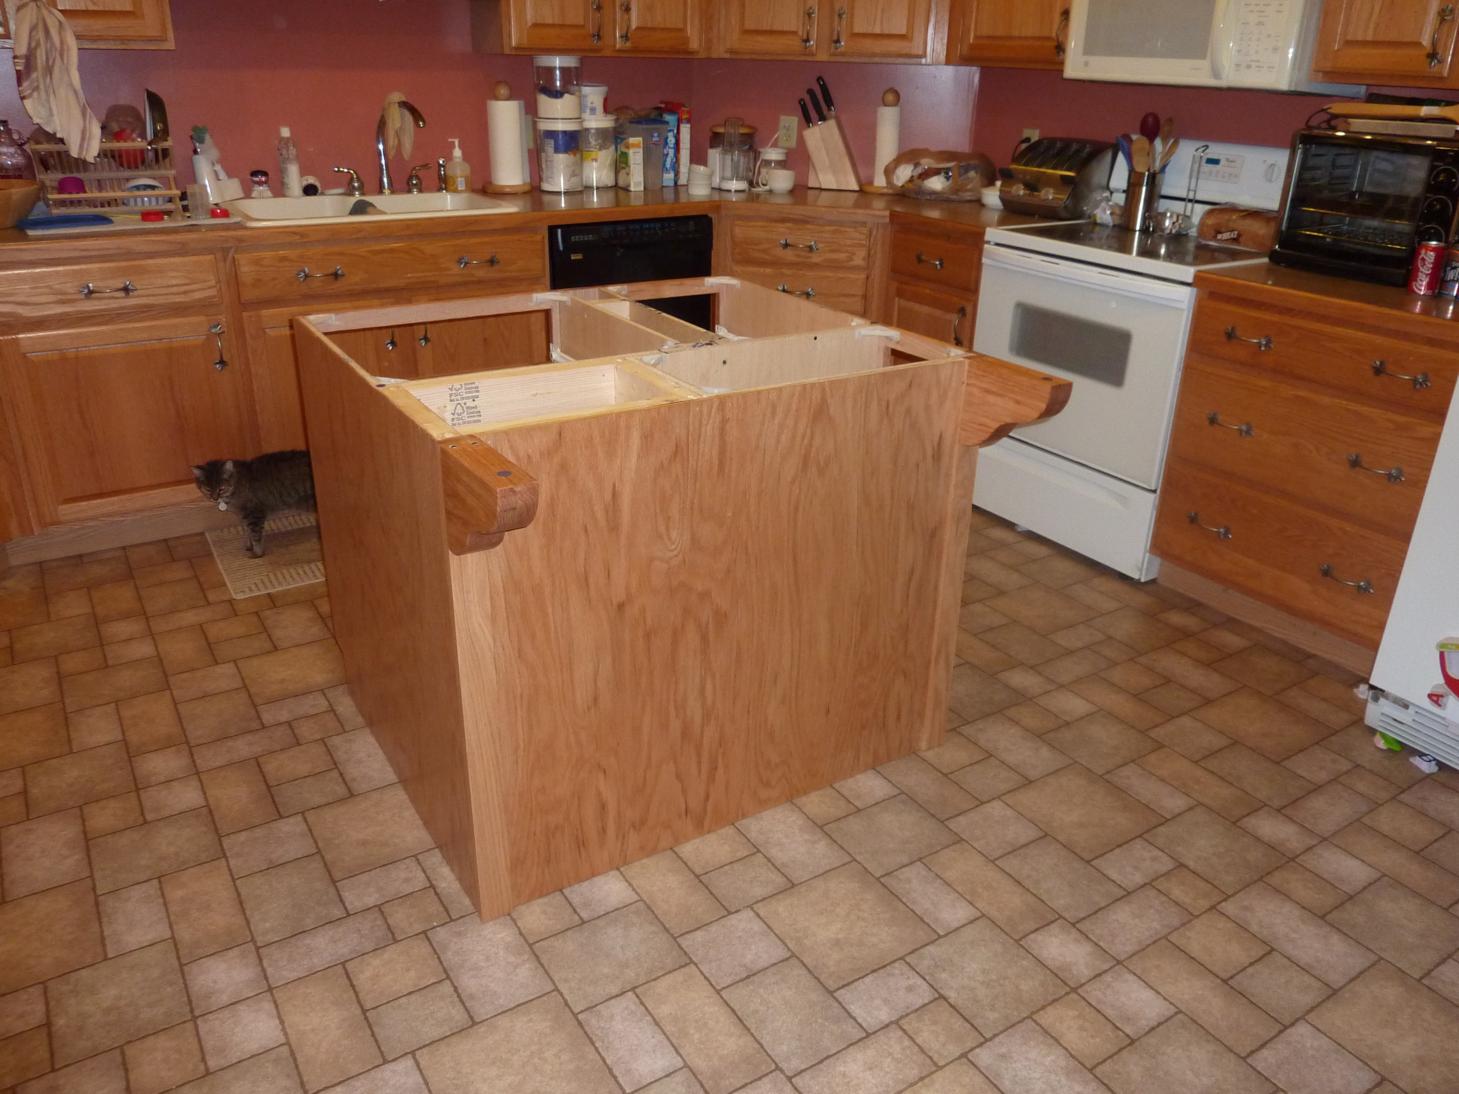 Side panel installed and the base is done 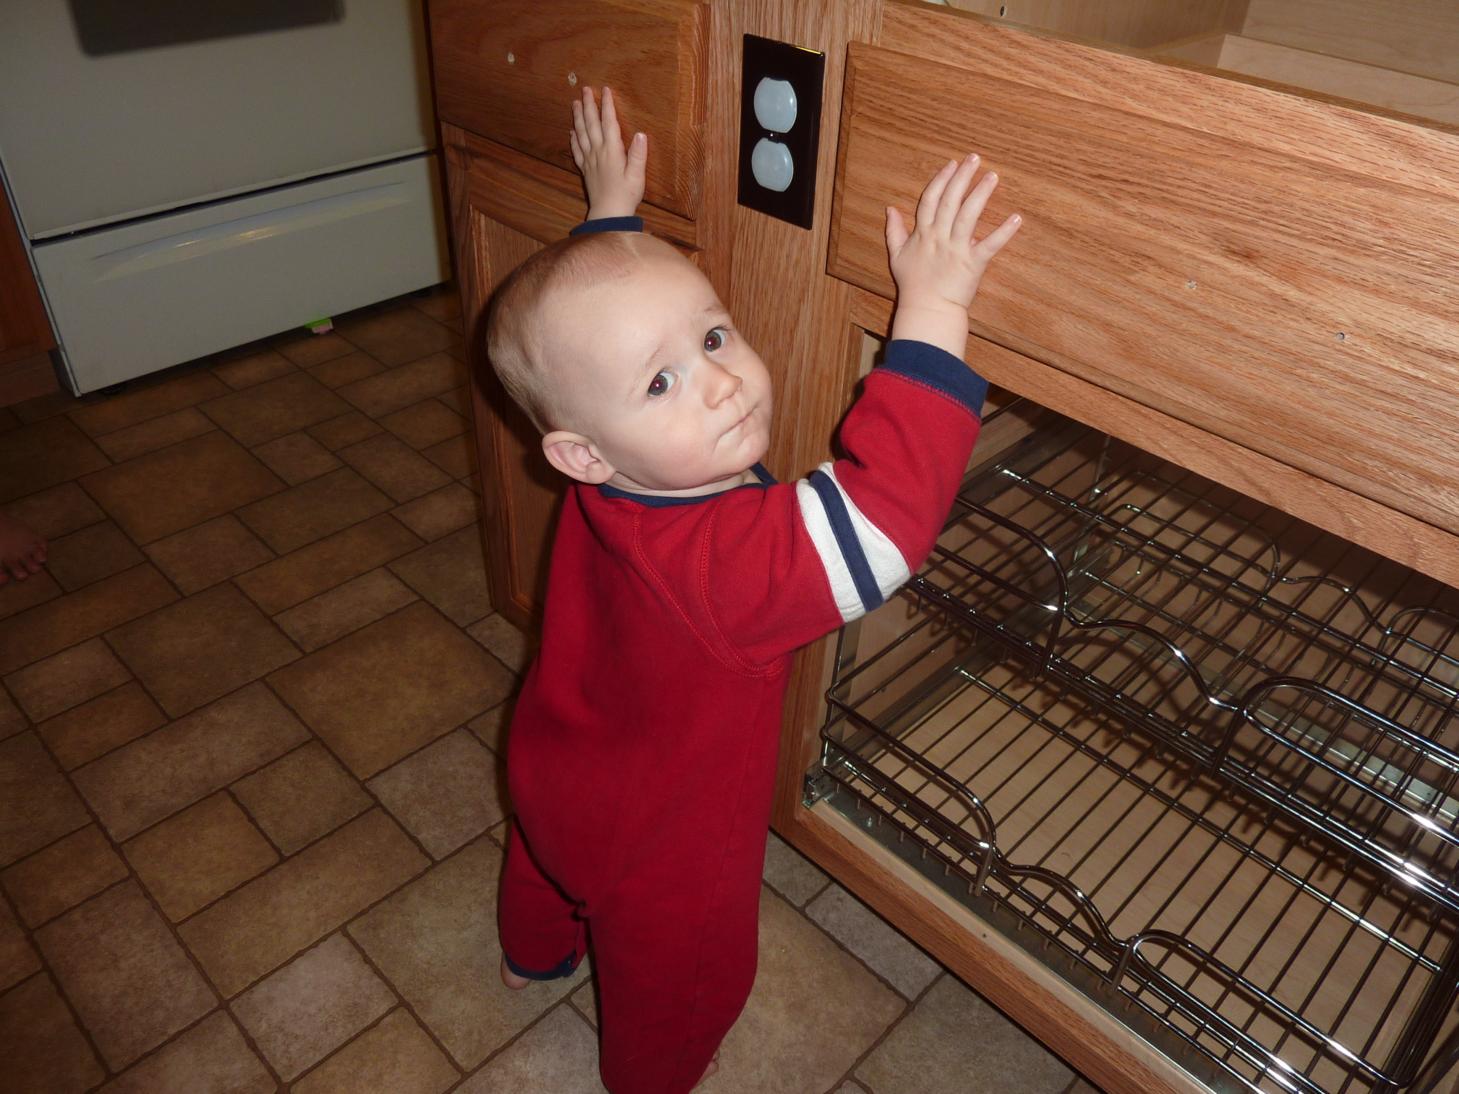 All set for Devin to drop tons of toys in and play around on 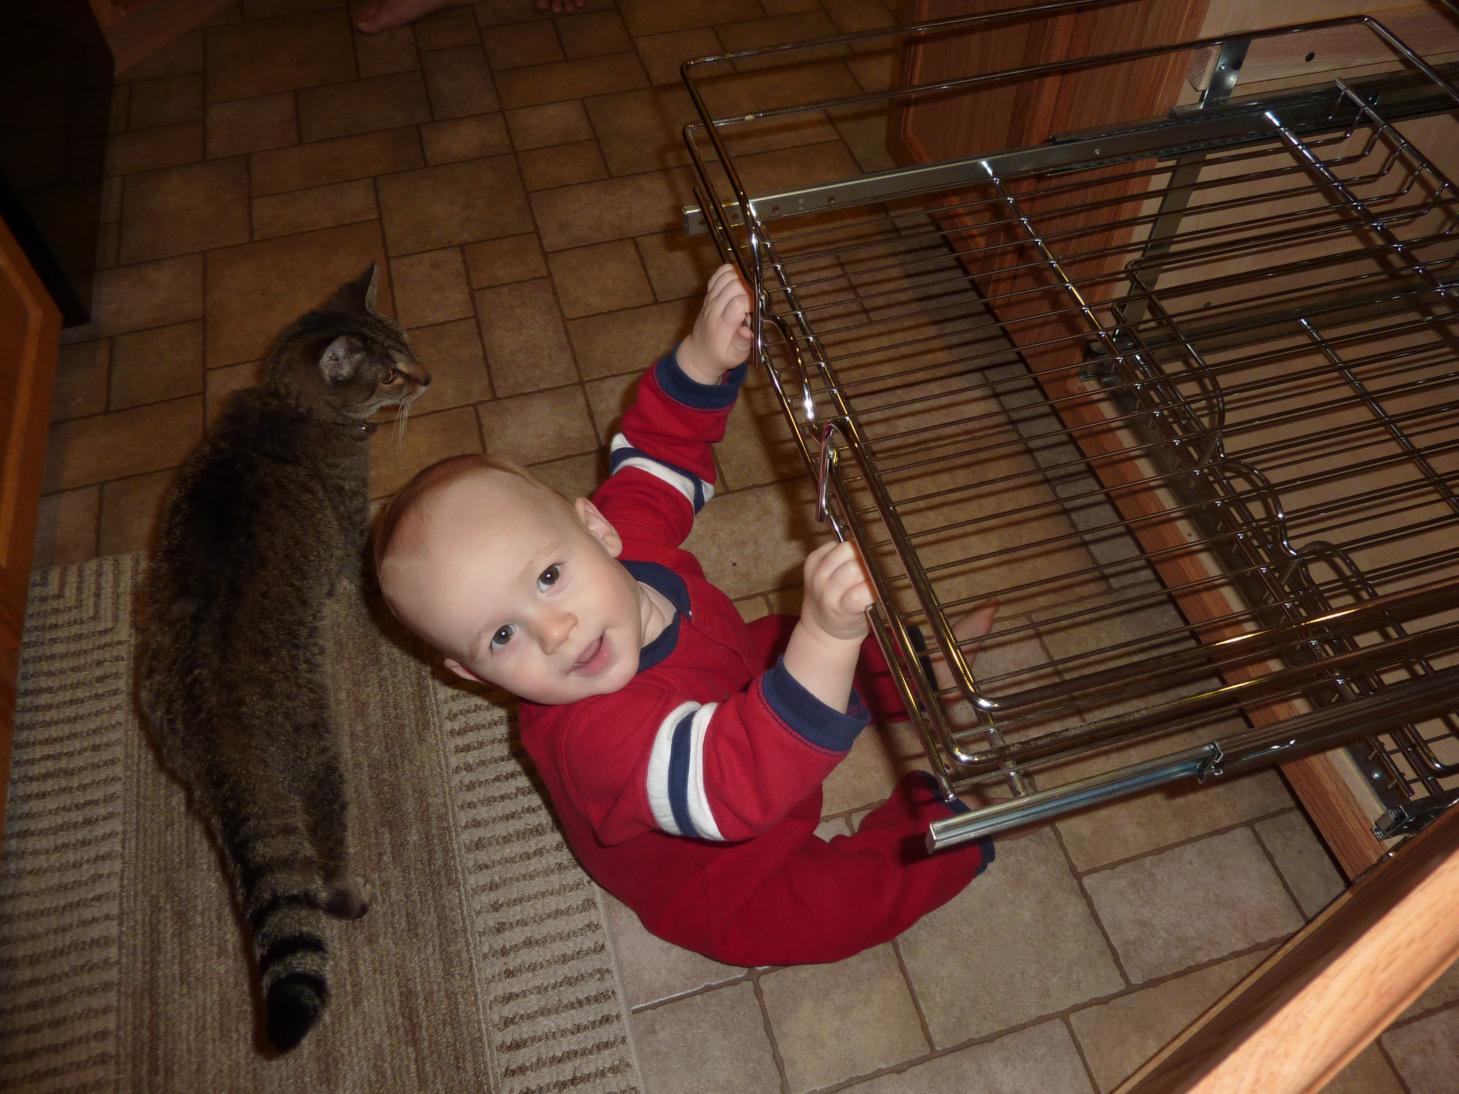 Ok, I like this Daddy (until Daddy installs baby catches, that is) 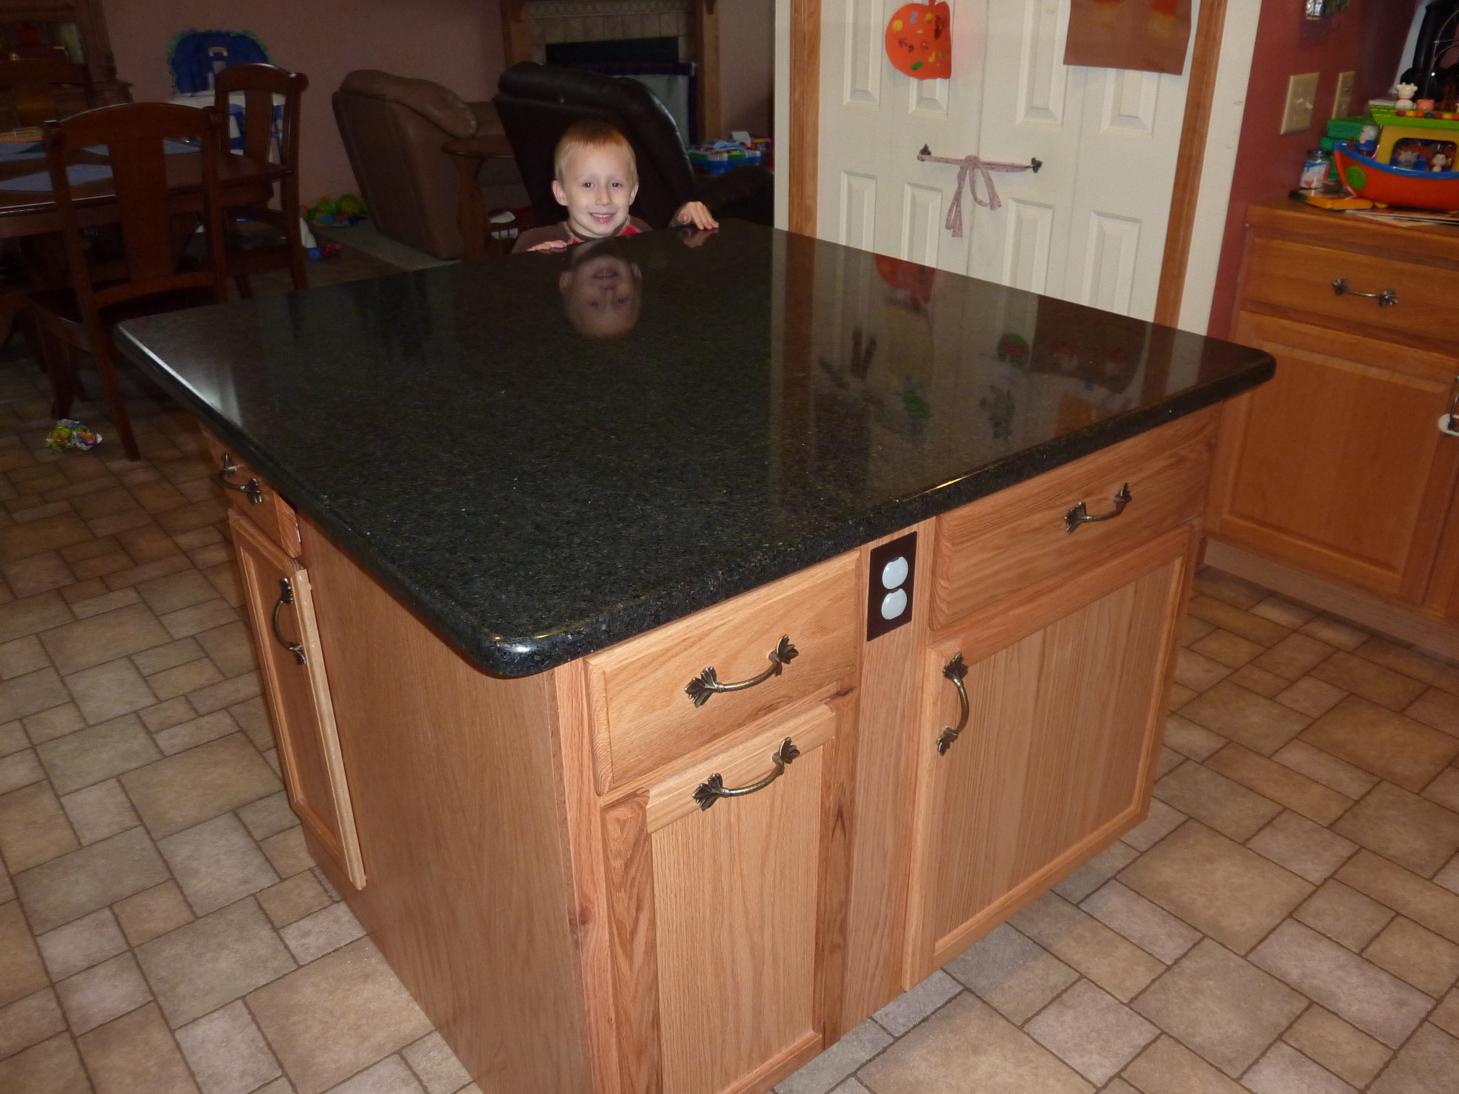 Here's the final touch though, a solid granite countertop 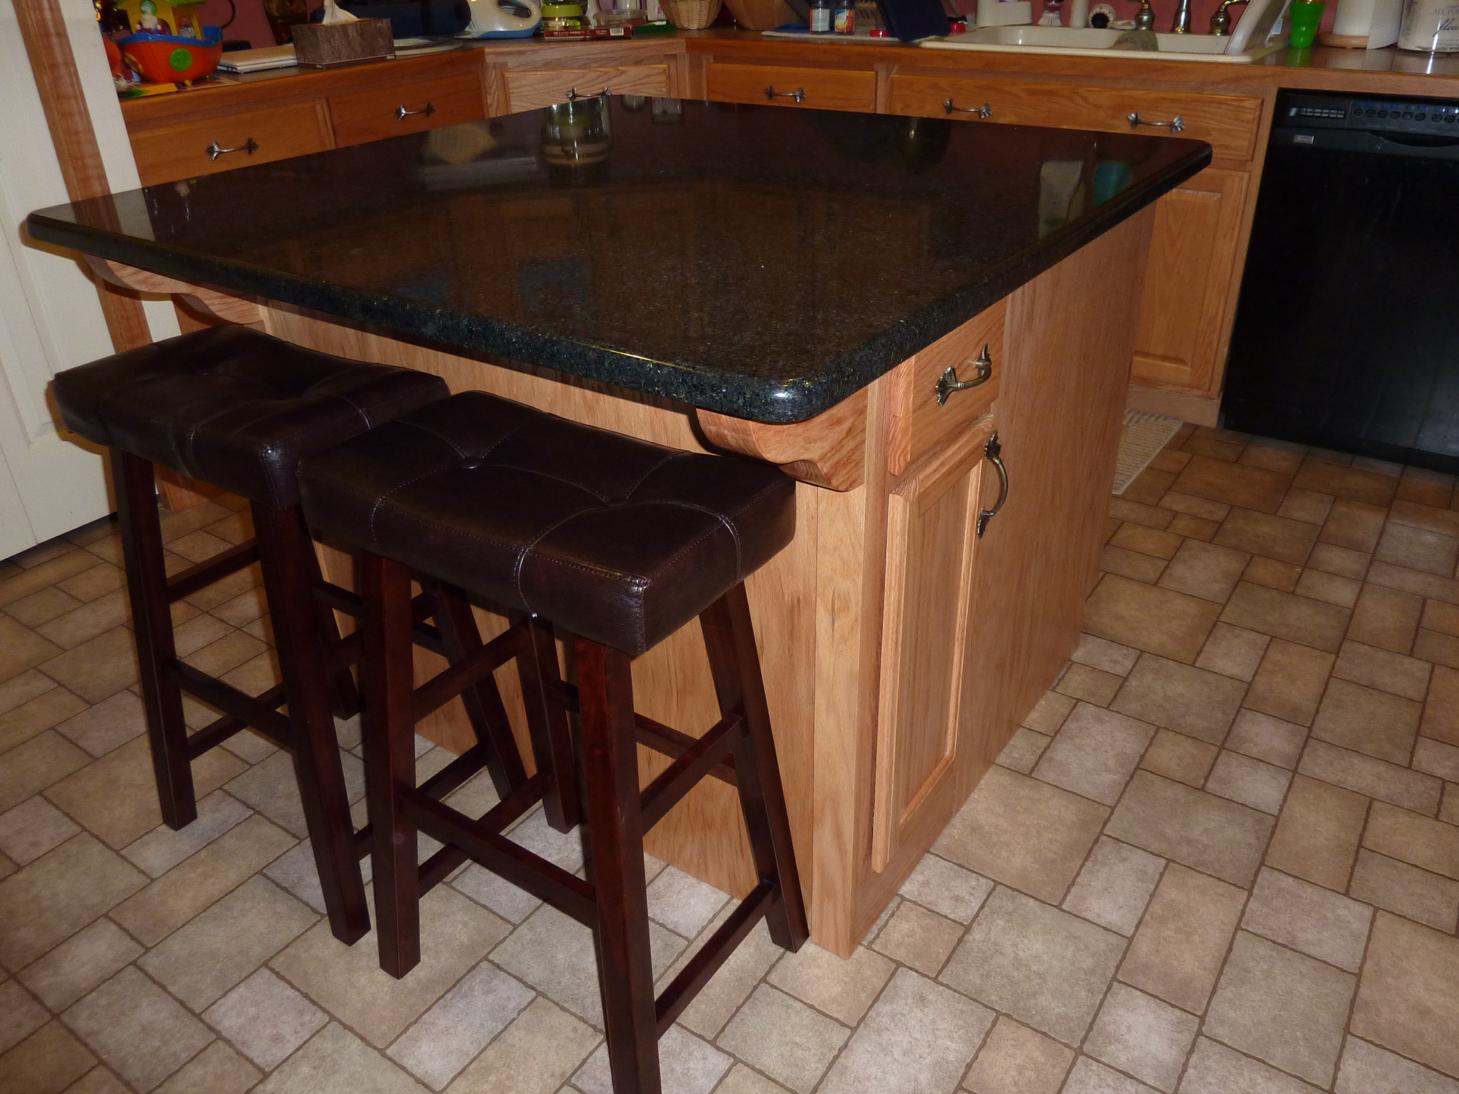 That thing (the granite) was about 400lbs, which is nearly unbelievable to move around. It took 5 guys for us to get it out of the minivan, up the stairs and carefully put on top. That island ain't going anywhere 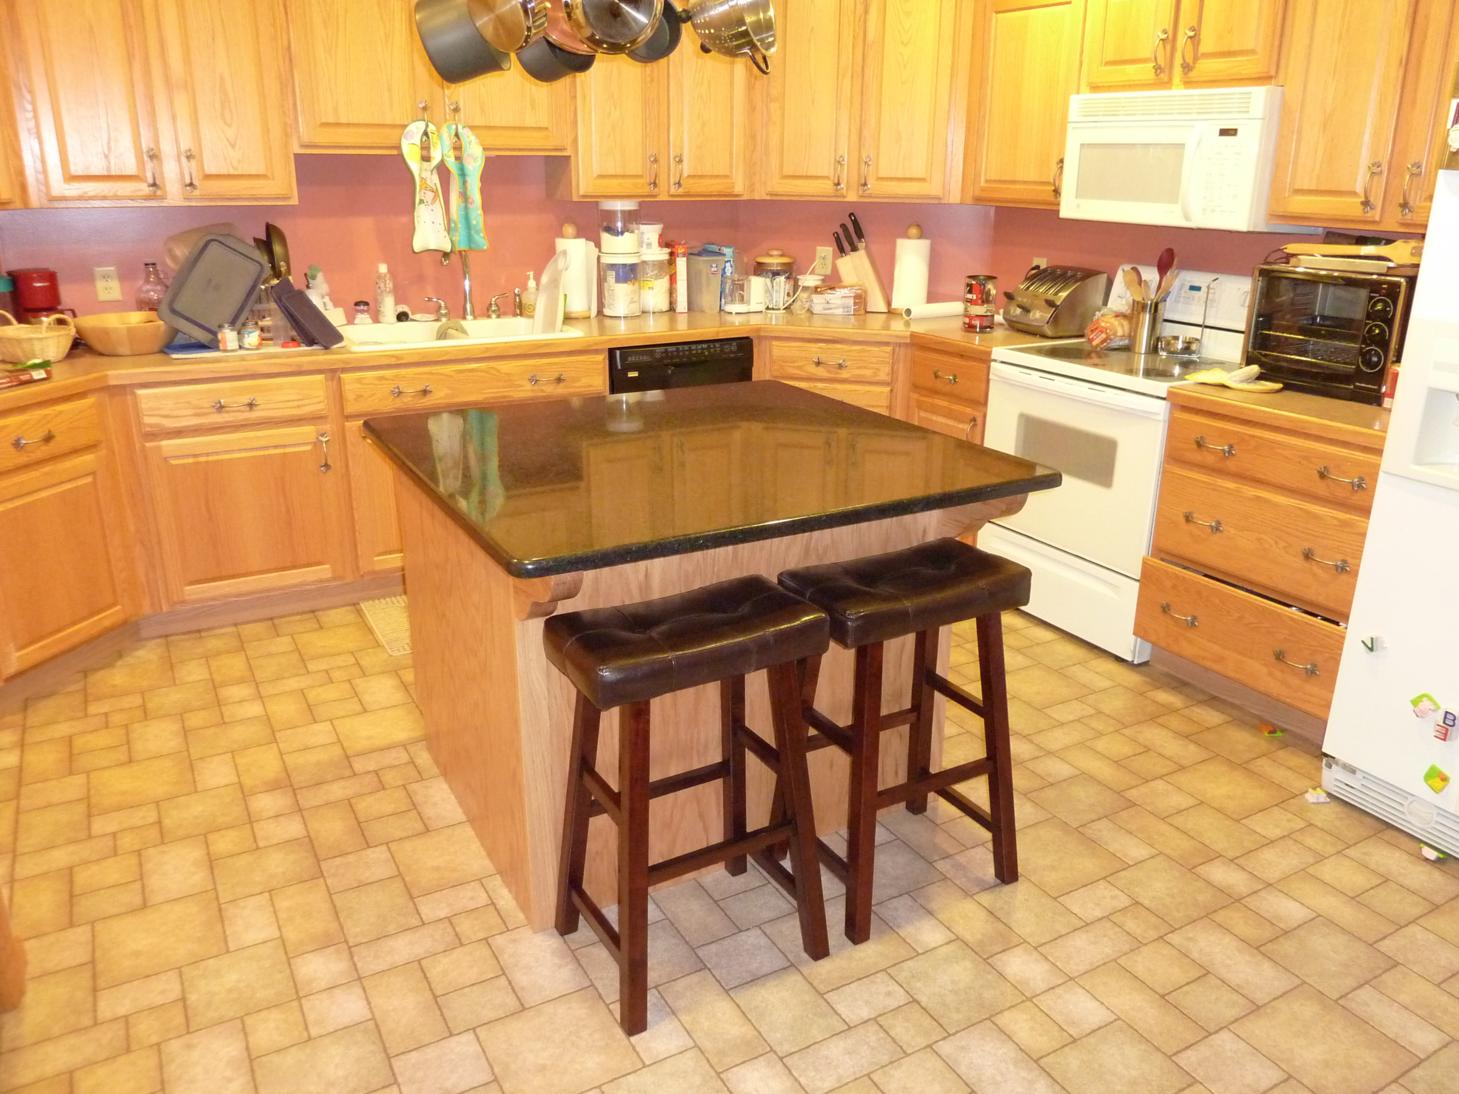 a final shot of the new island 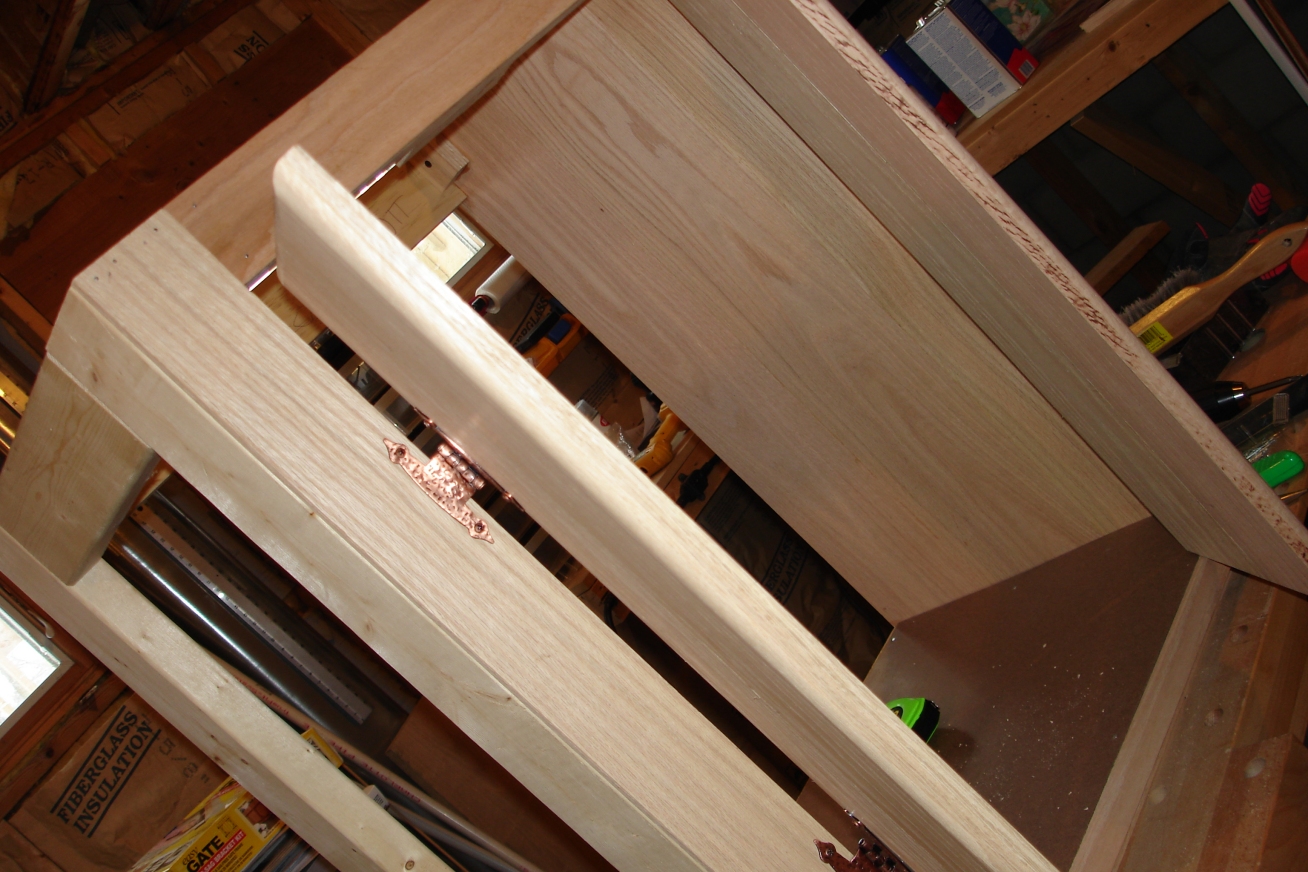 Here's a few shots of the centerpiece of the downstairs bathroom, a custom-made vanity 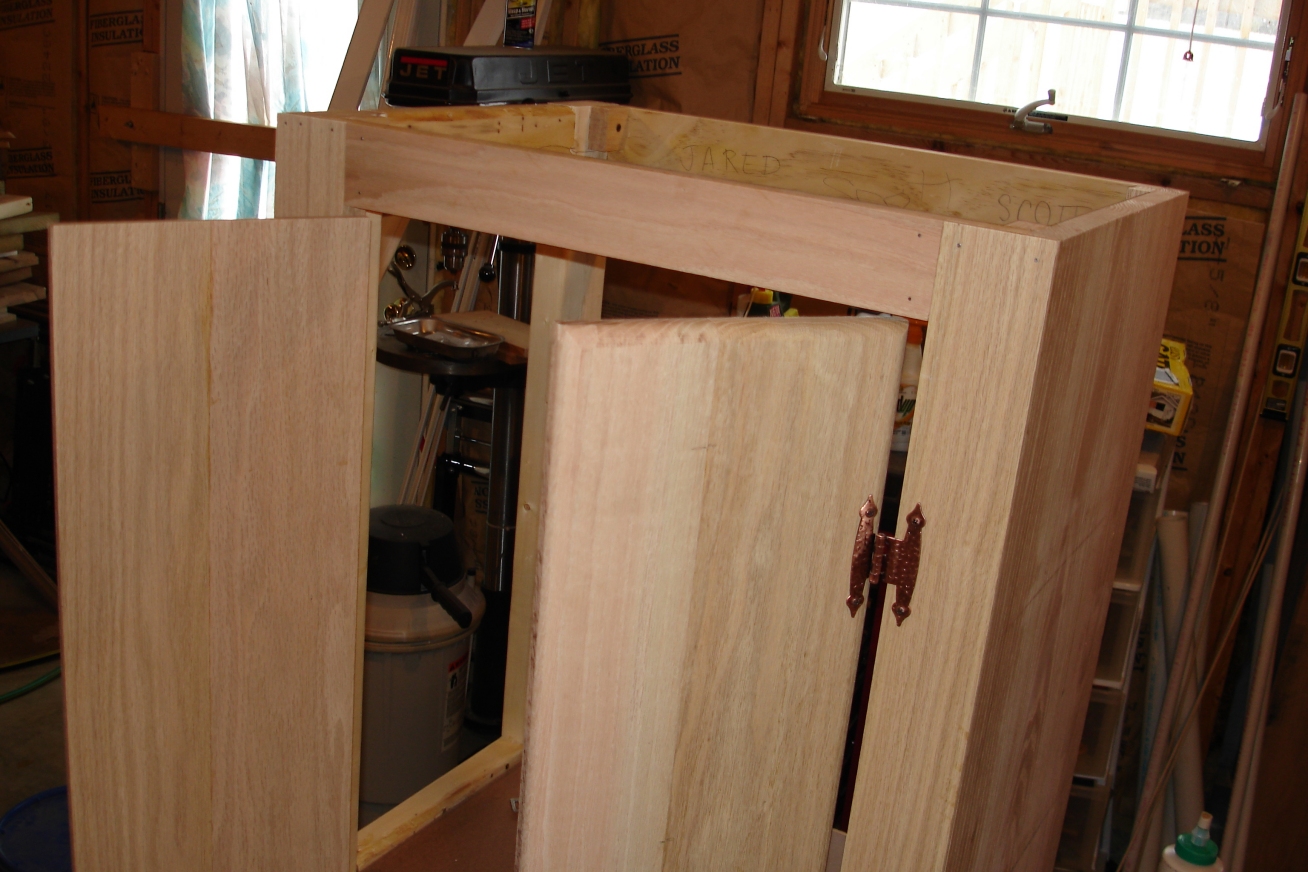 I also had some some nice copper hinges and pulls. Plus, Jared wanted me to write our names on it, so there you go 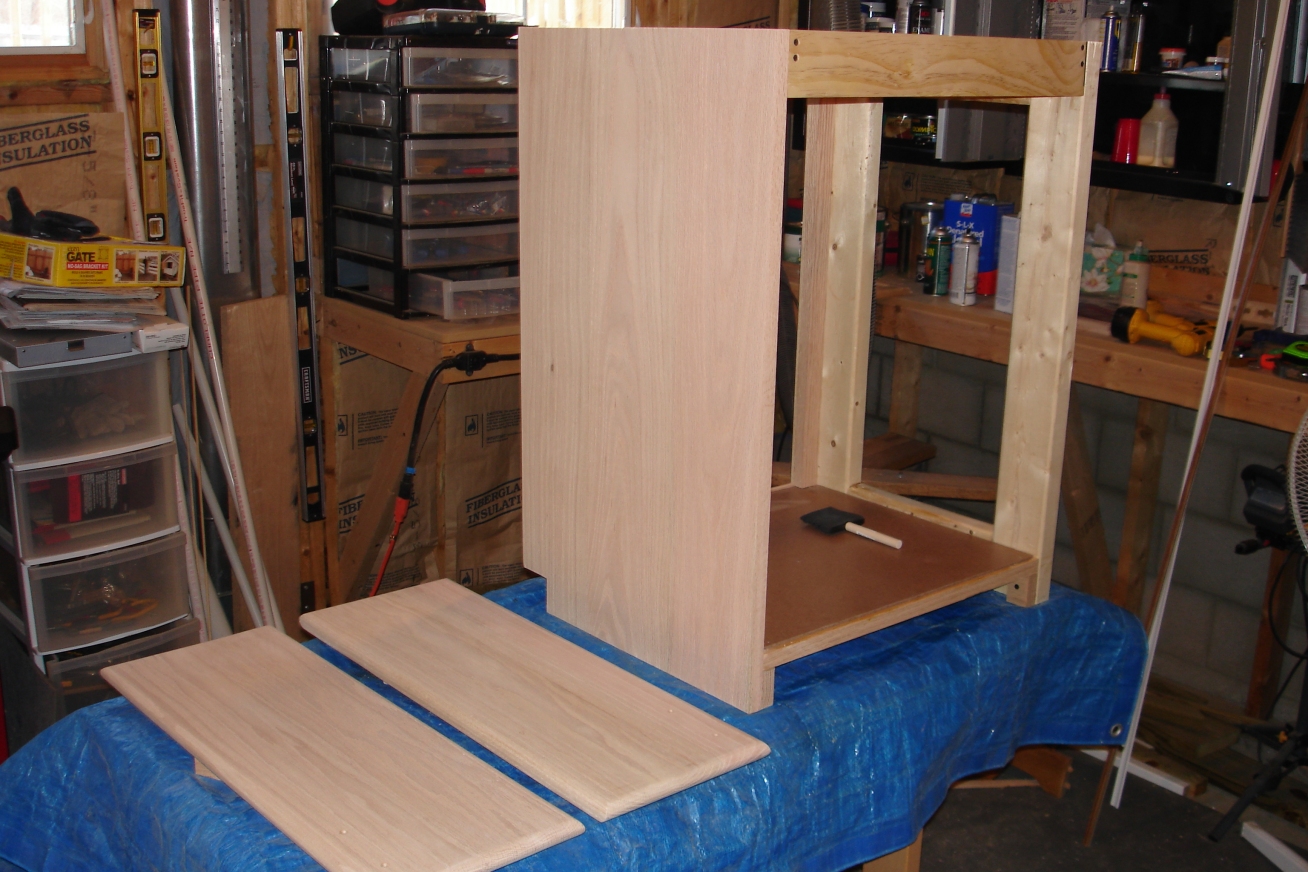 I had a good supply of red oak stock for this, so it worked out well 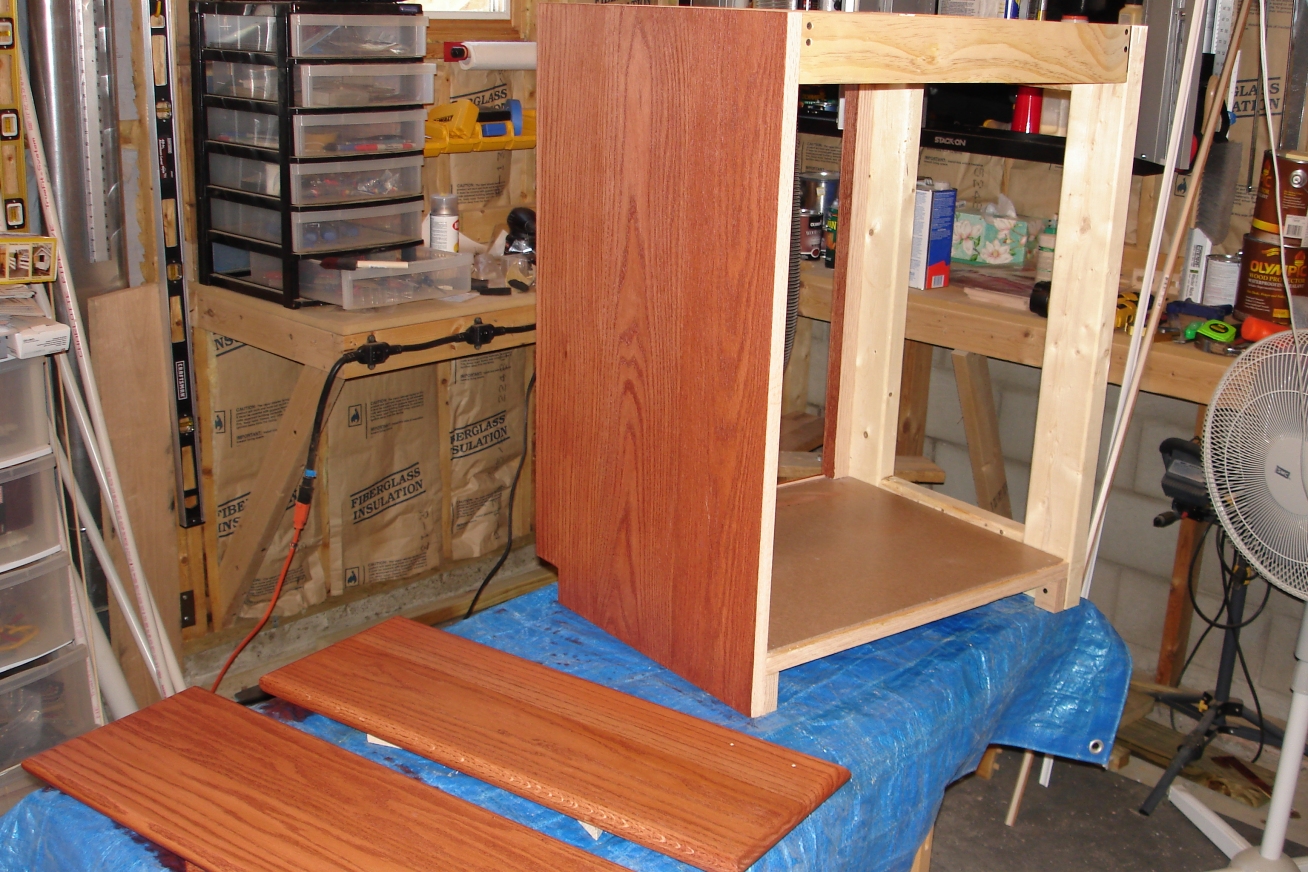 Adding a nice cherry finish, which is really my favorite shade for oak 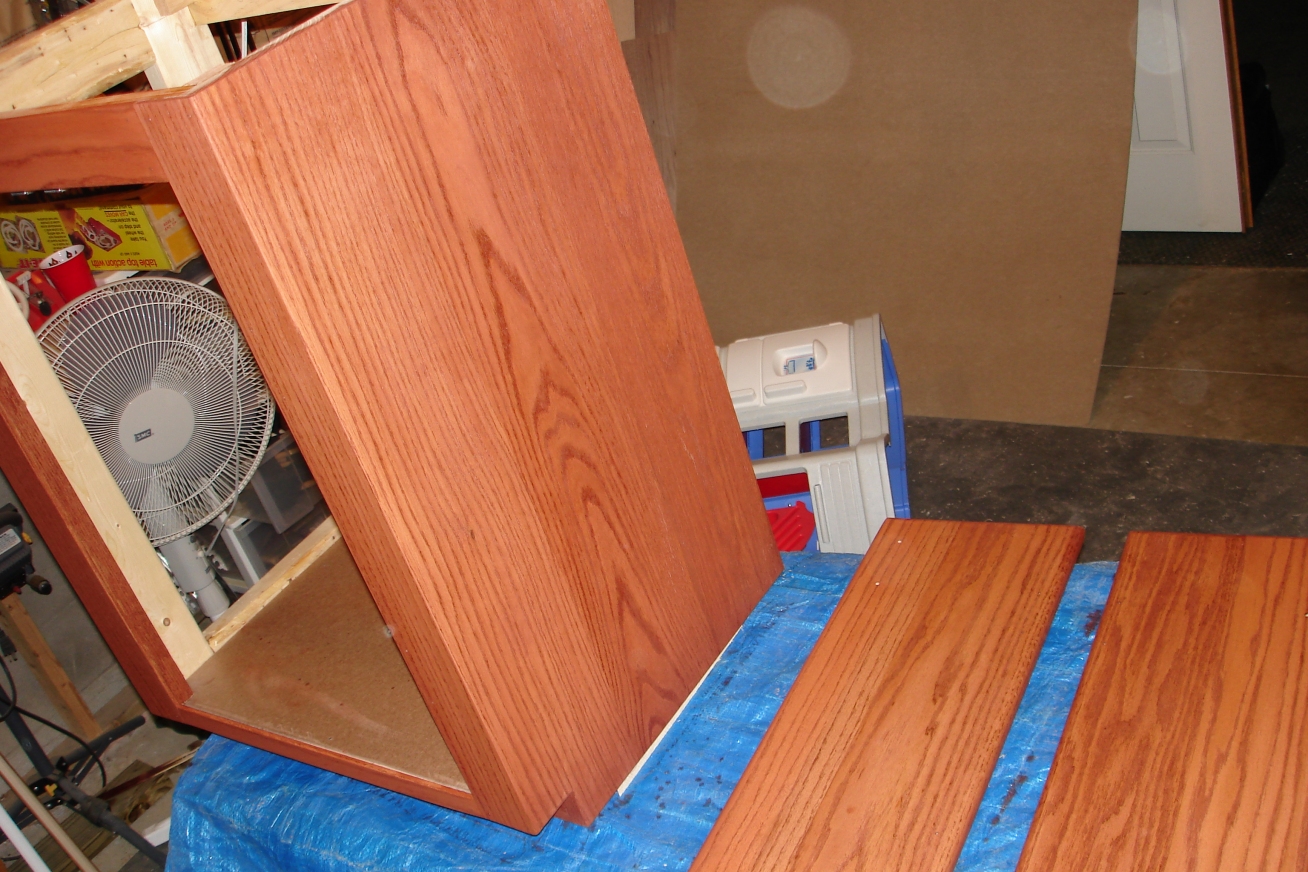 It has such a rich, deep color and allows the grain to really show 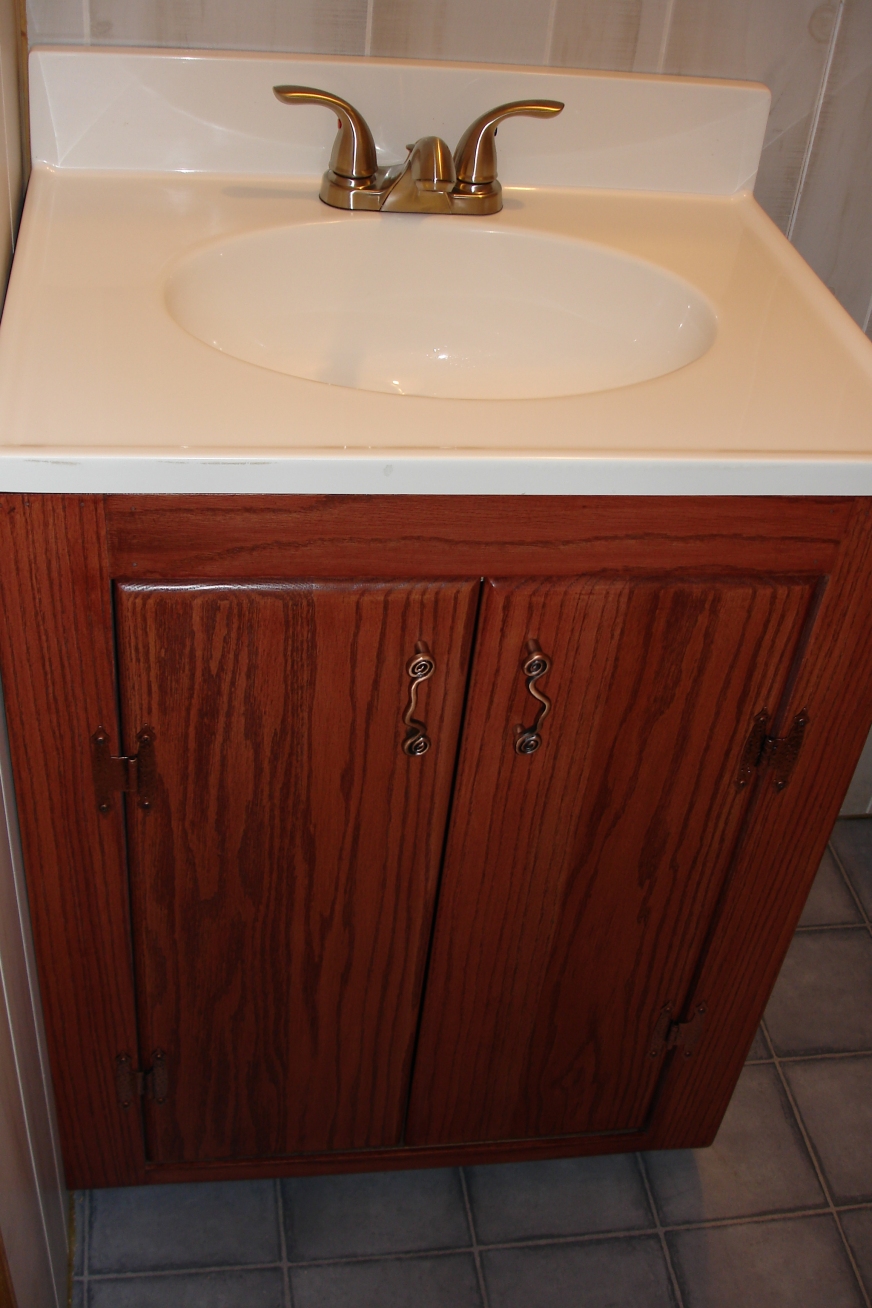 And here it is installed with the sink and all. I love how it turned out 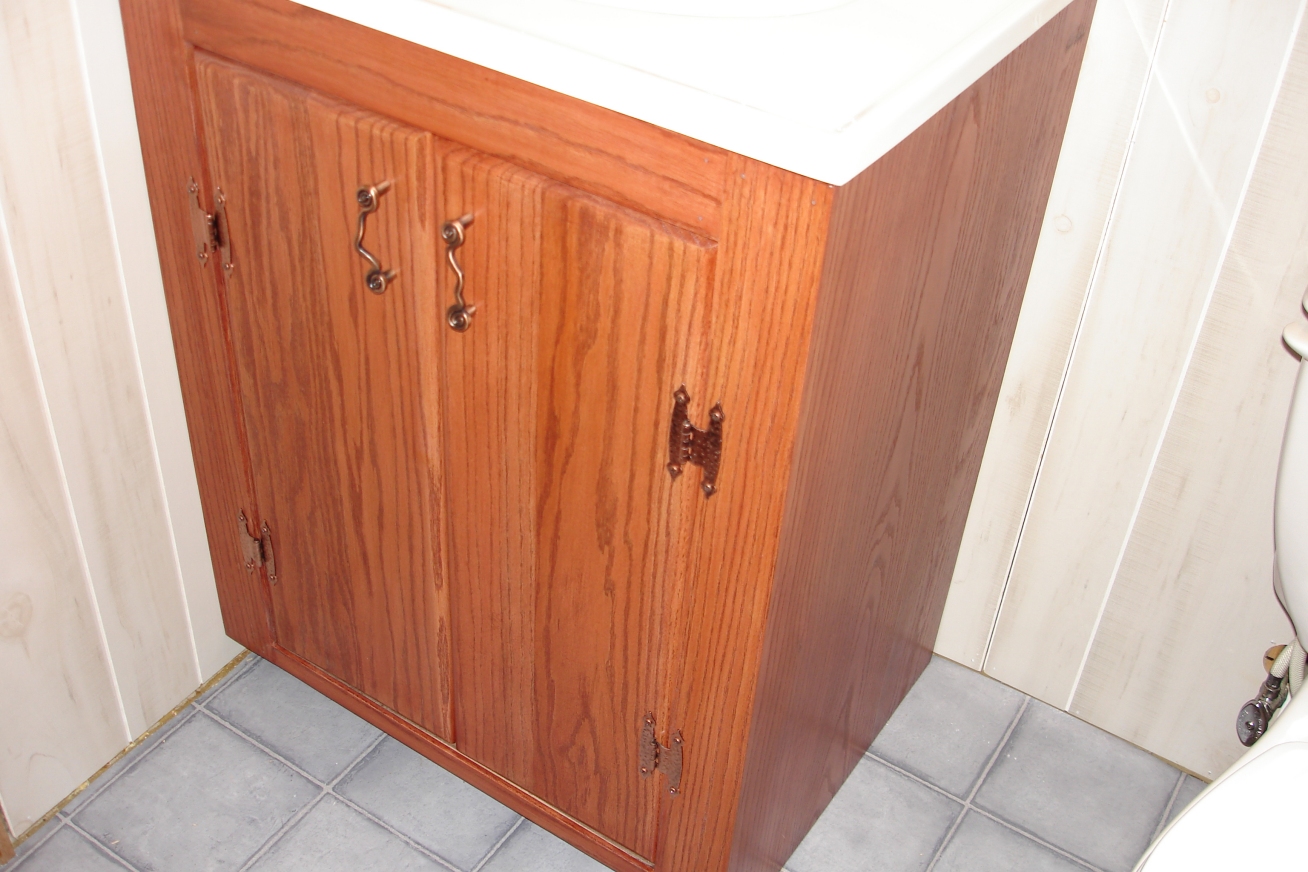 Here's a little brighter shot 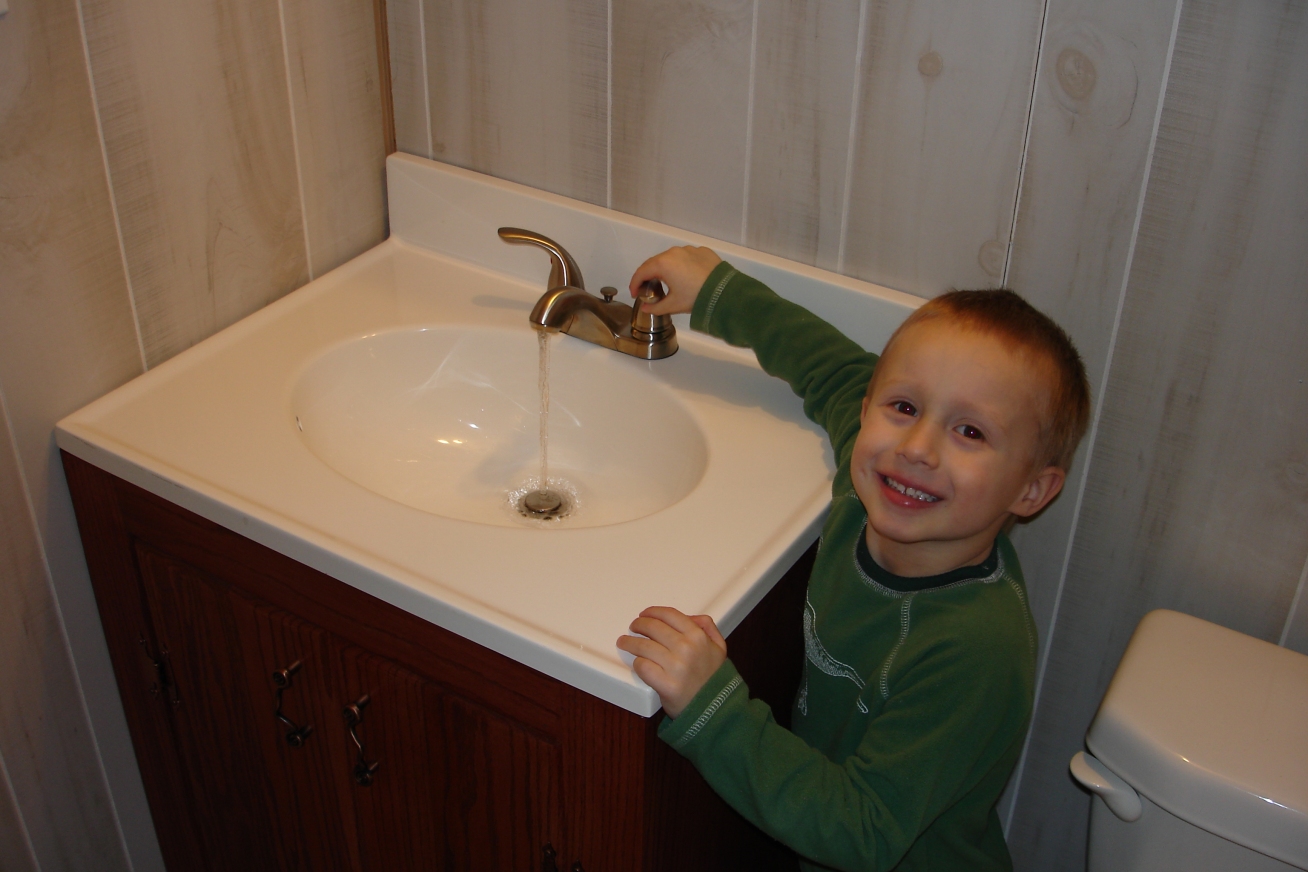 Jared does too, as he tests out the new faucet 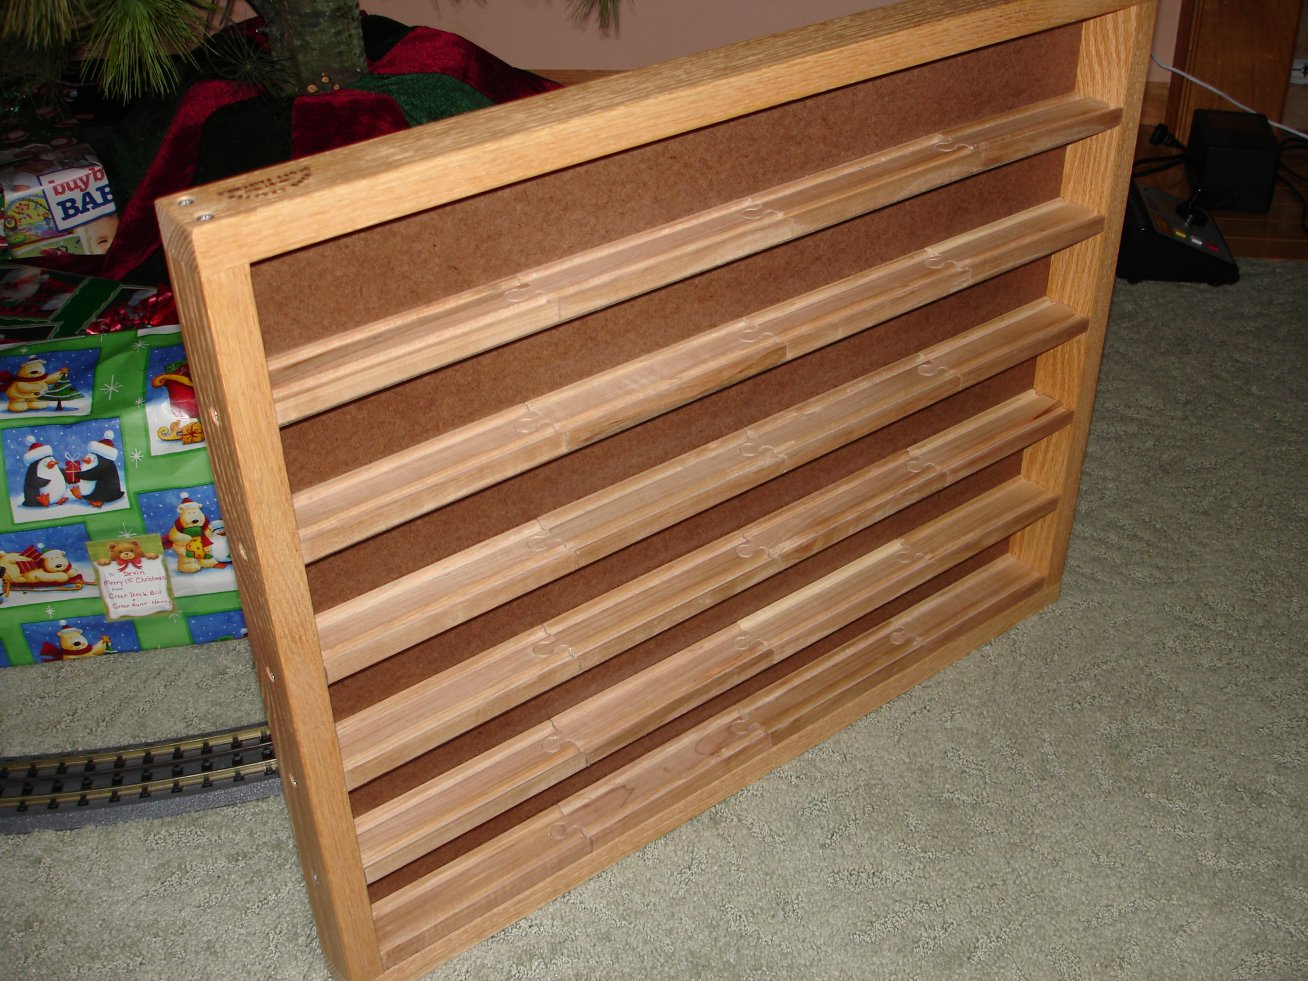 Here's an oak train rack for Jared (and eventually Devin) to use to store his Thomas train engines and cars 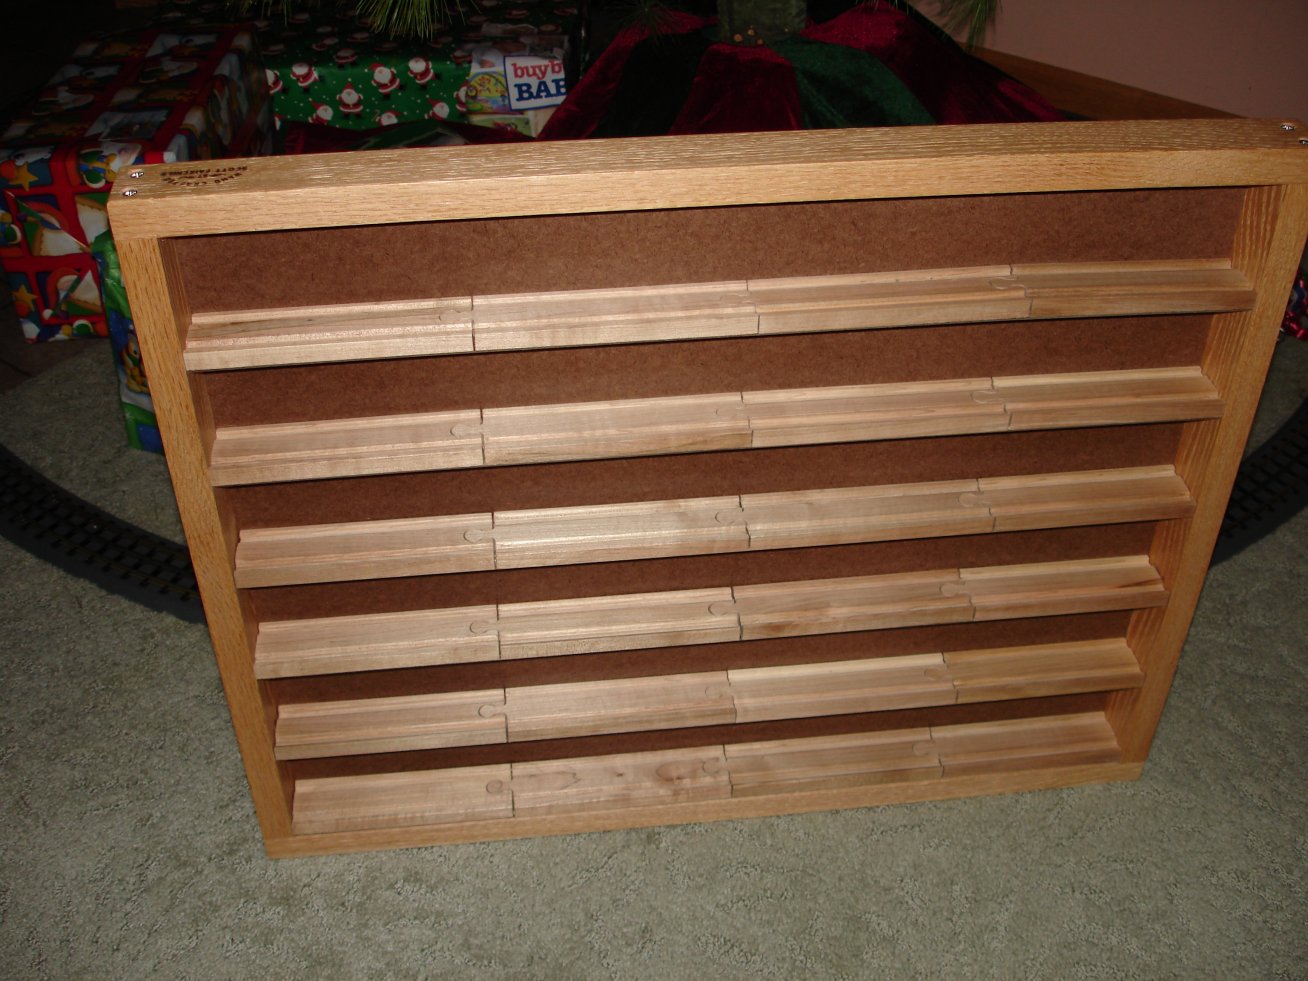 I used a few scrap pieces of train track and put it all together. Next time I'll just use solid wood and rout the train grooves  Daddy and his big boy finishing up the latest project 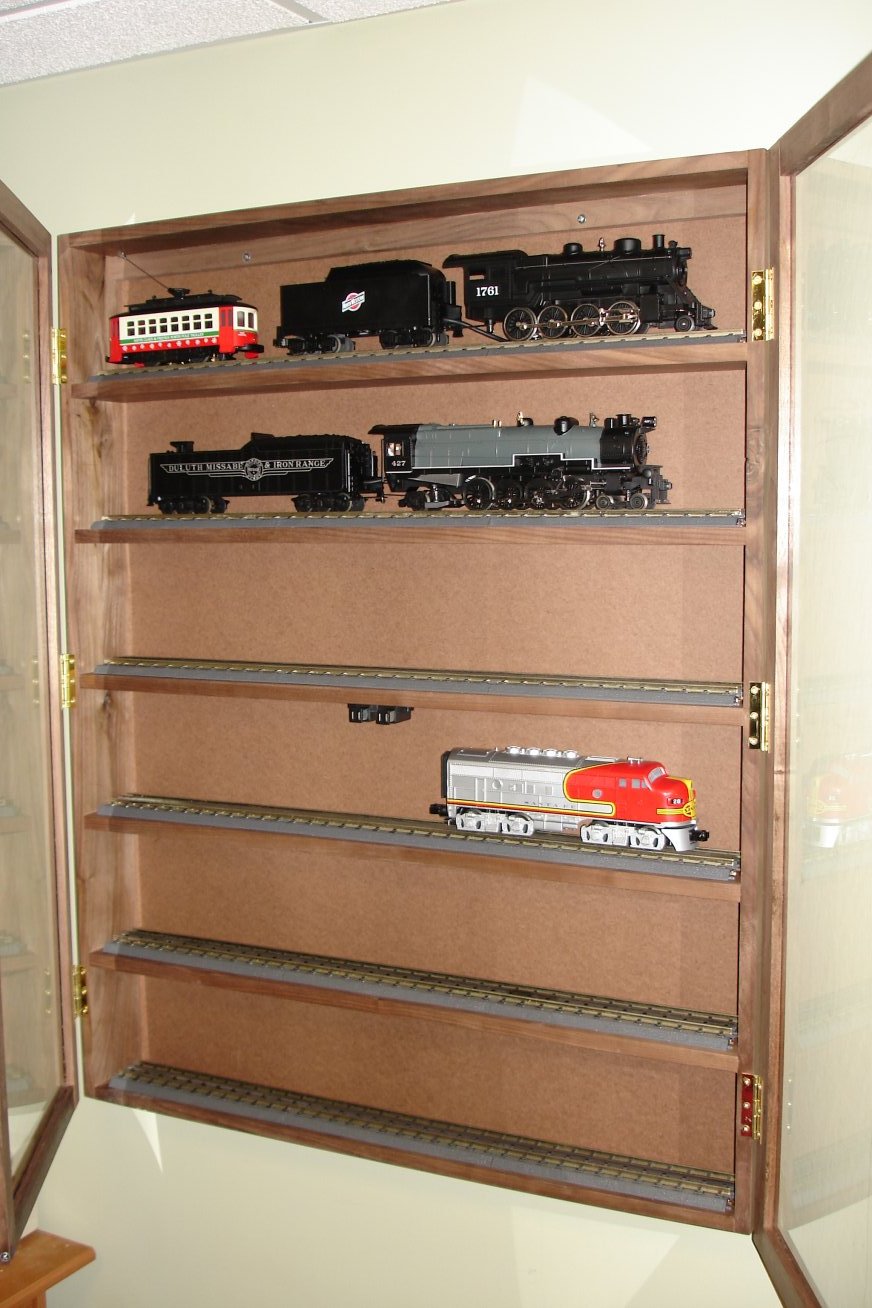 A cabinet for storing the engines for the ceiling train! 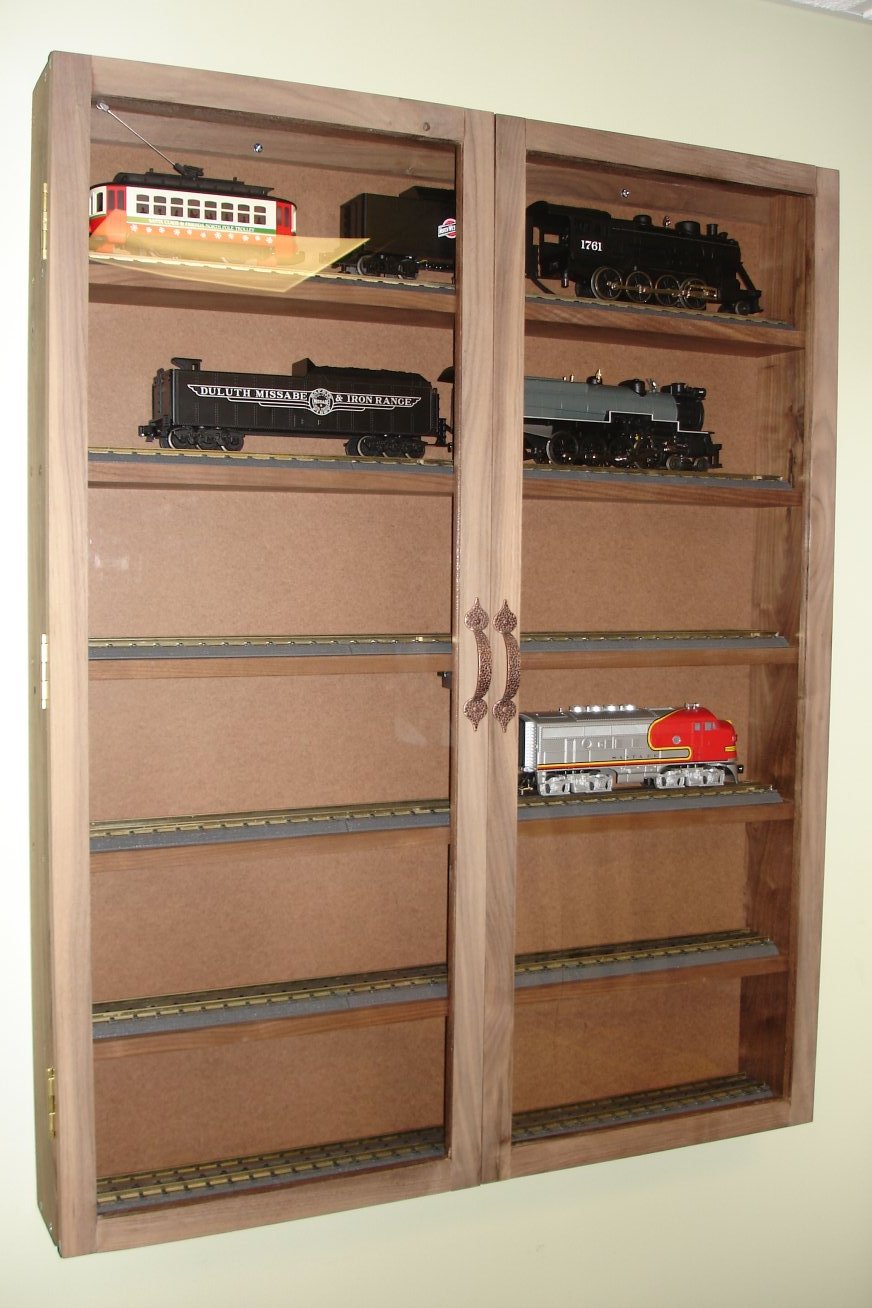 It's a simple design made with beautiful walnut wood, plus it keps the dust off of them engines 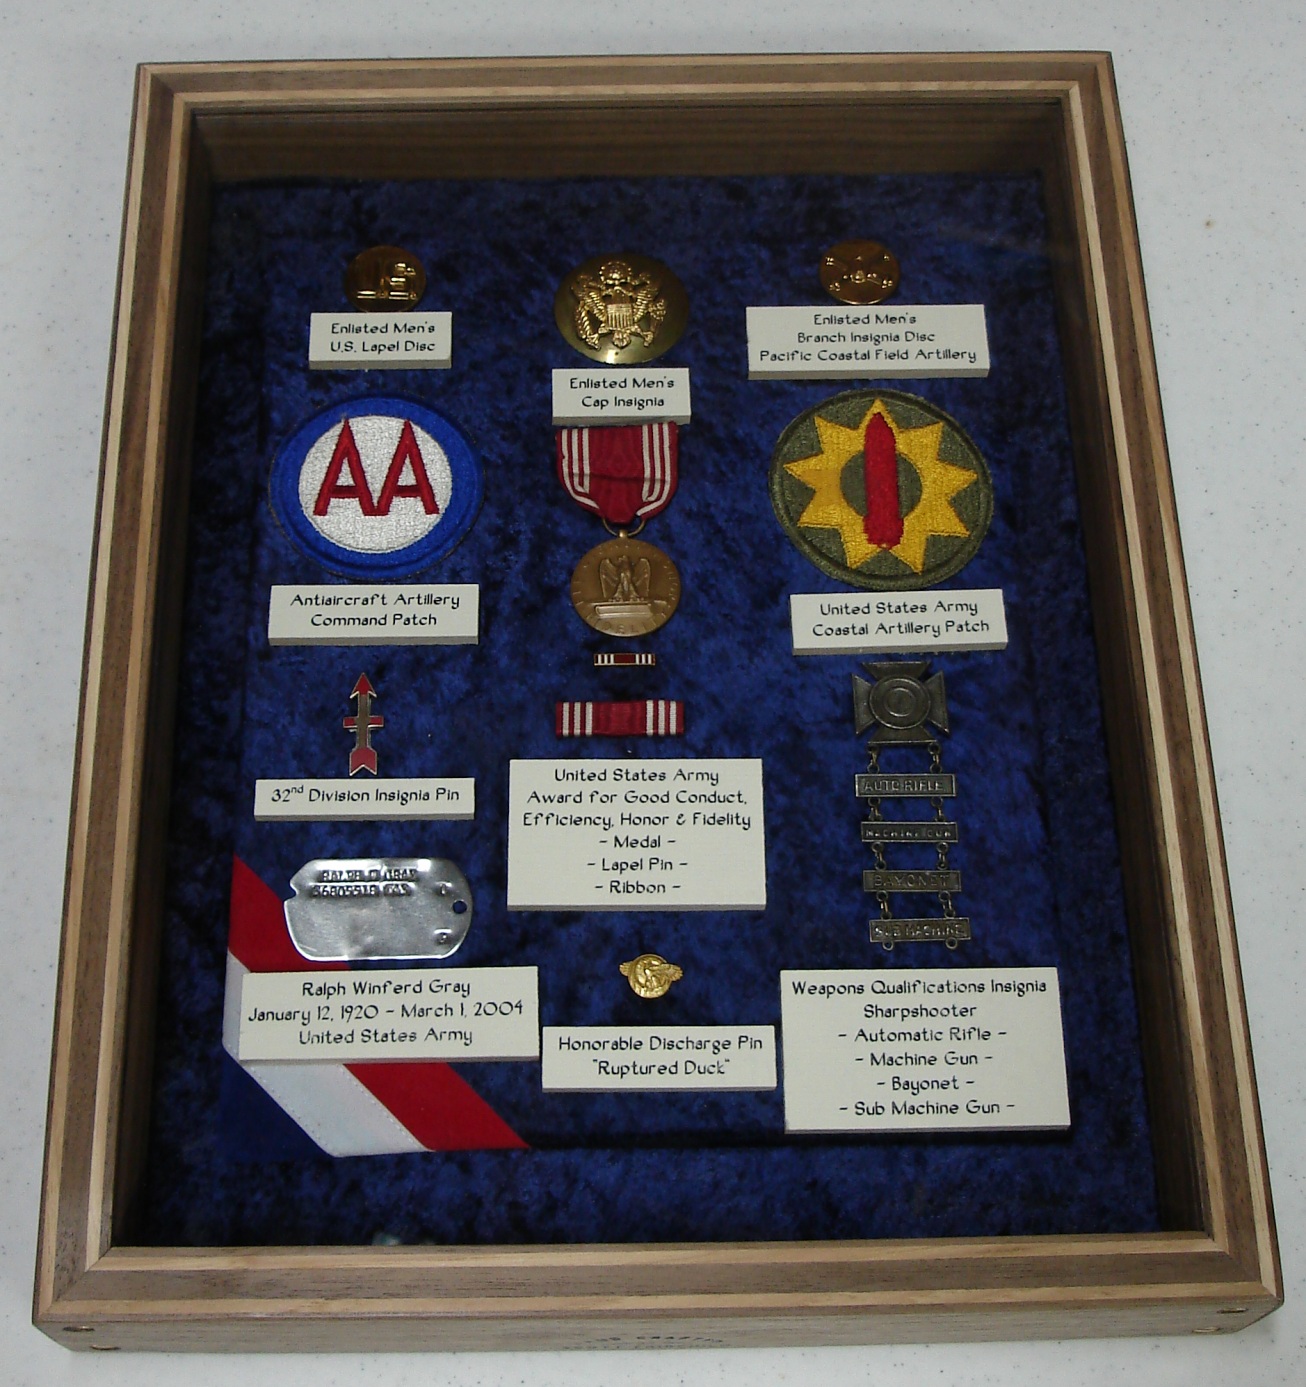 Here's a display box that I made to display Great-Grandpa Ralph's WWII medals and insignia. It's walnut wood with hickory inlays and no stain (only poly) to really bring highlight that natural wood contrast. I also took time to select inlays with both light and dark streaks that are the signatures of hickory 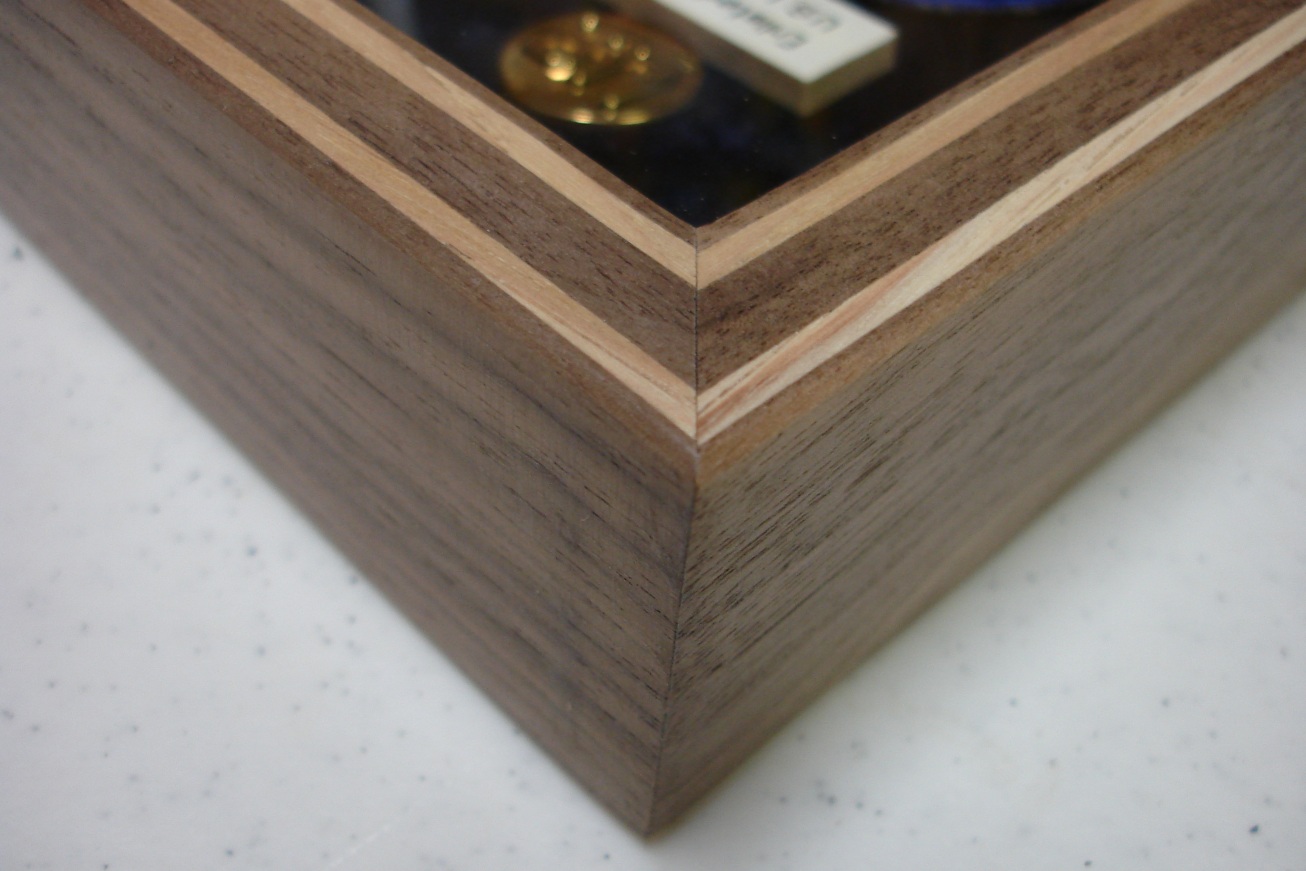 Here's a closer shot of one of the corners 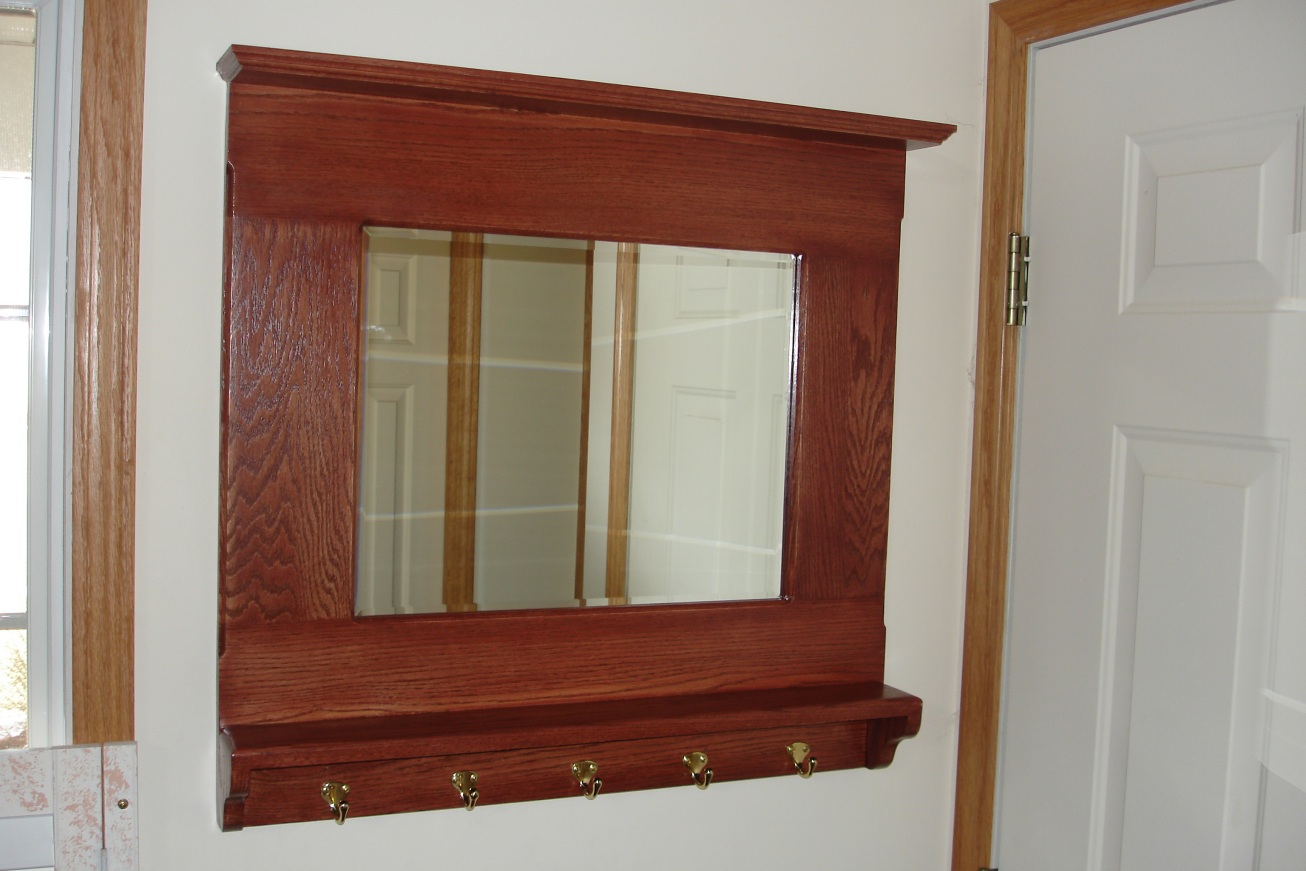 Here's a hall mirror stained to match the bench below. I'm really happy how this turned out. 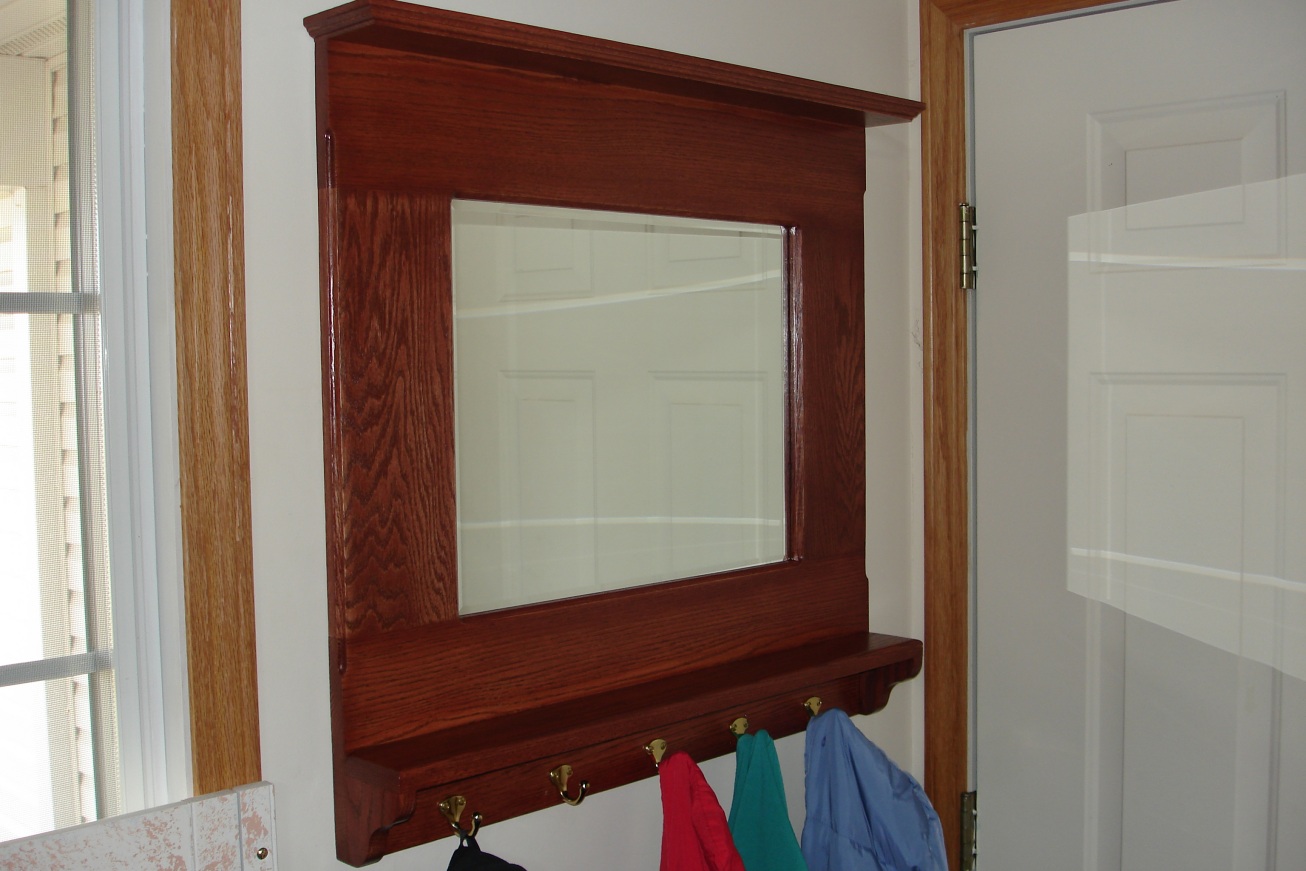 It has a handy shelf and strong brass hooks to hang our seasonal coats. 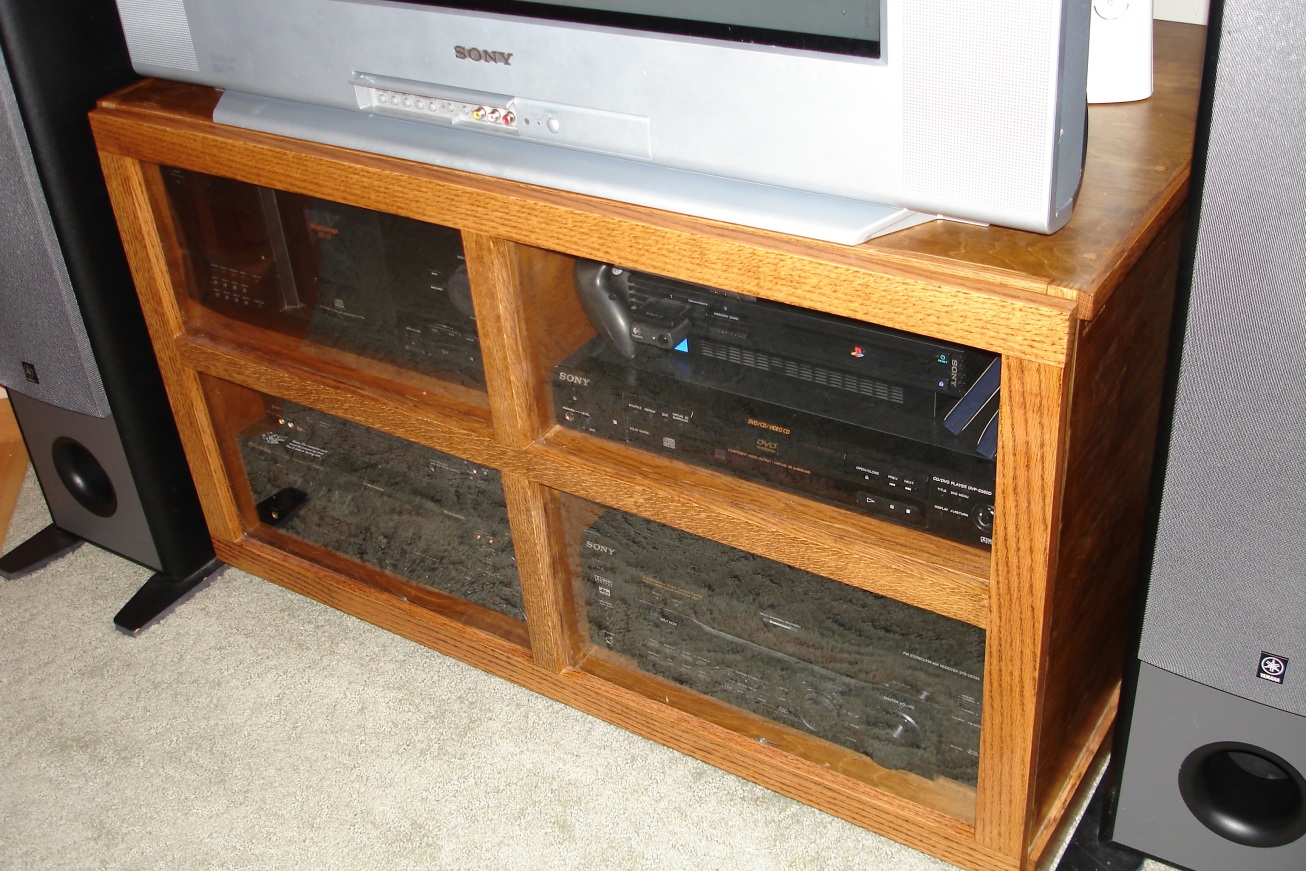 Here's our new entertainment center. Ok it's really just a case to house the equipment and keep it safe from the boy. In any event, it's simple, effective, and looks pretty good to me. 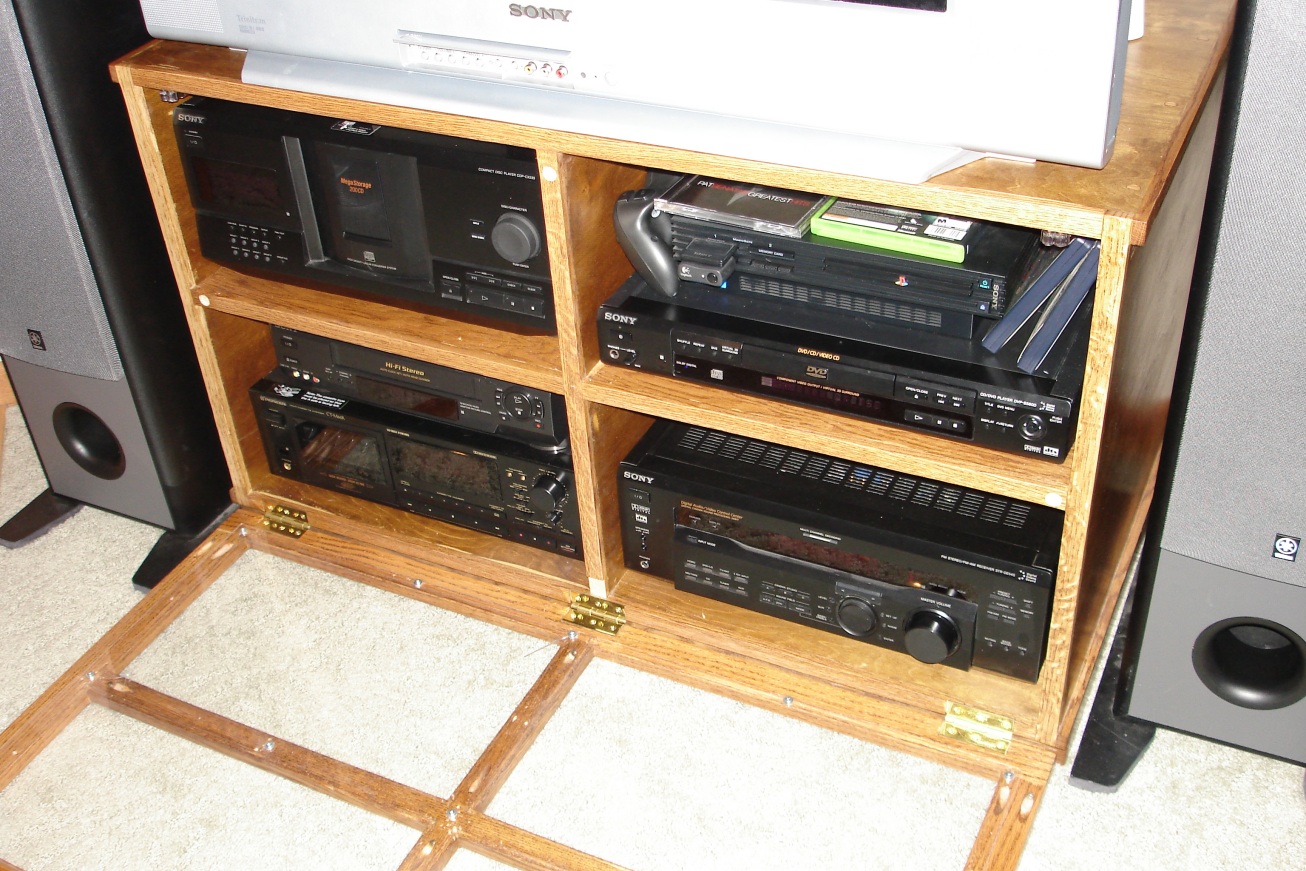 ...and with the door open 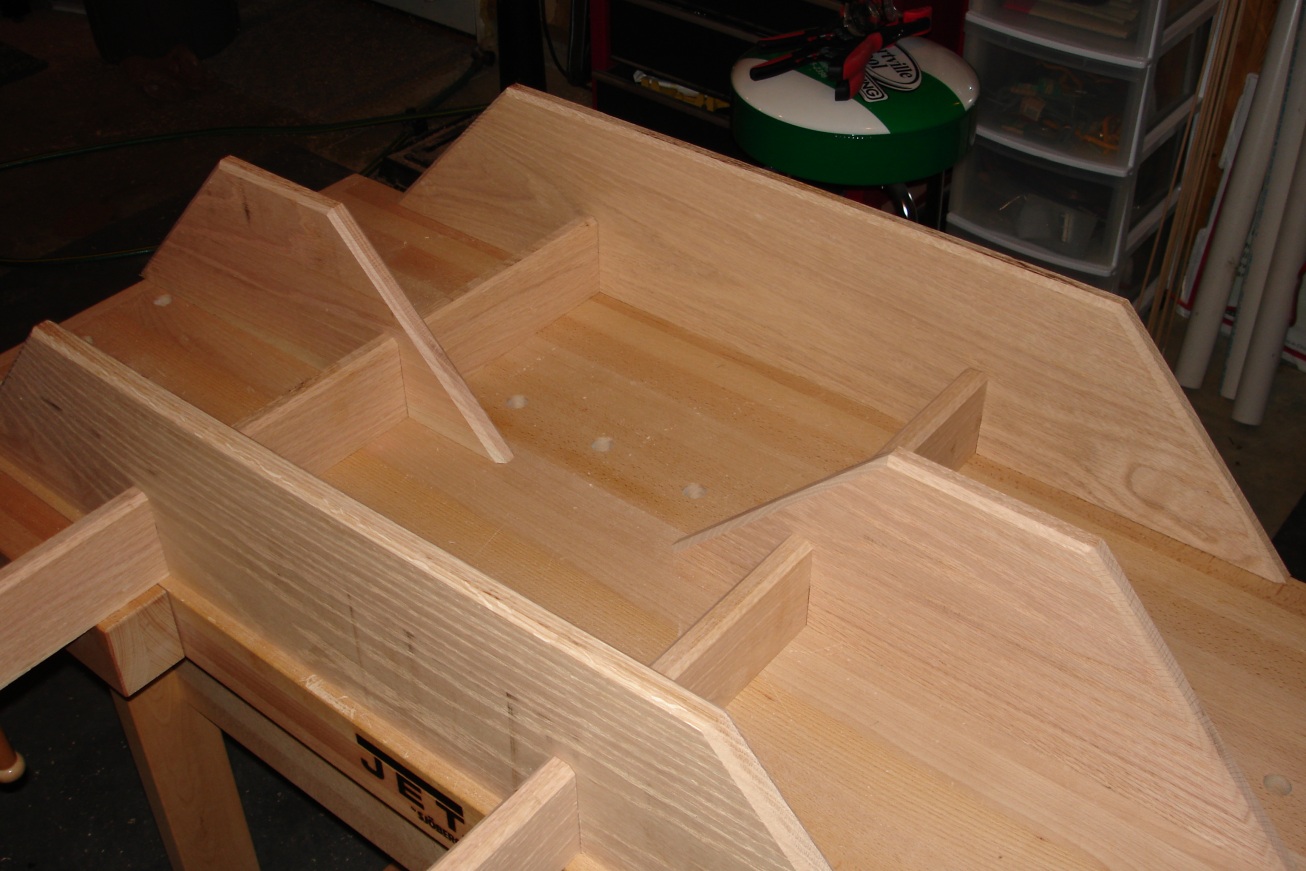 Here's a pre-finished shelving unit I made because, well, we needed some more shelves for photos and knick knacks 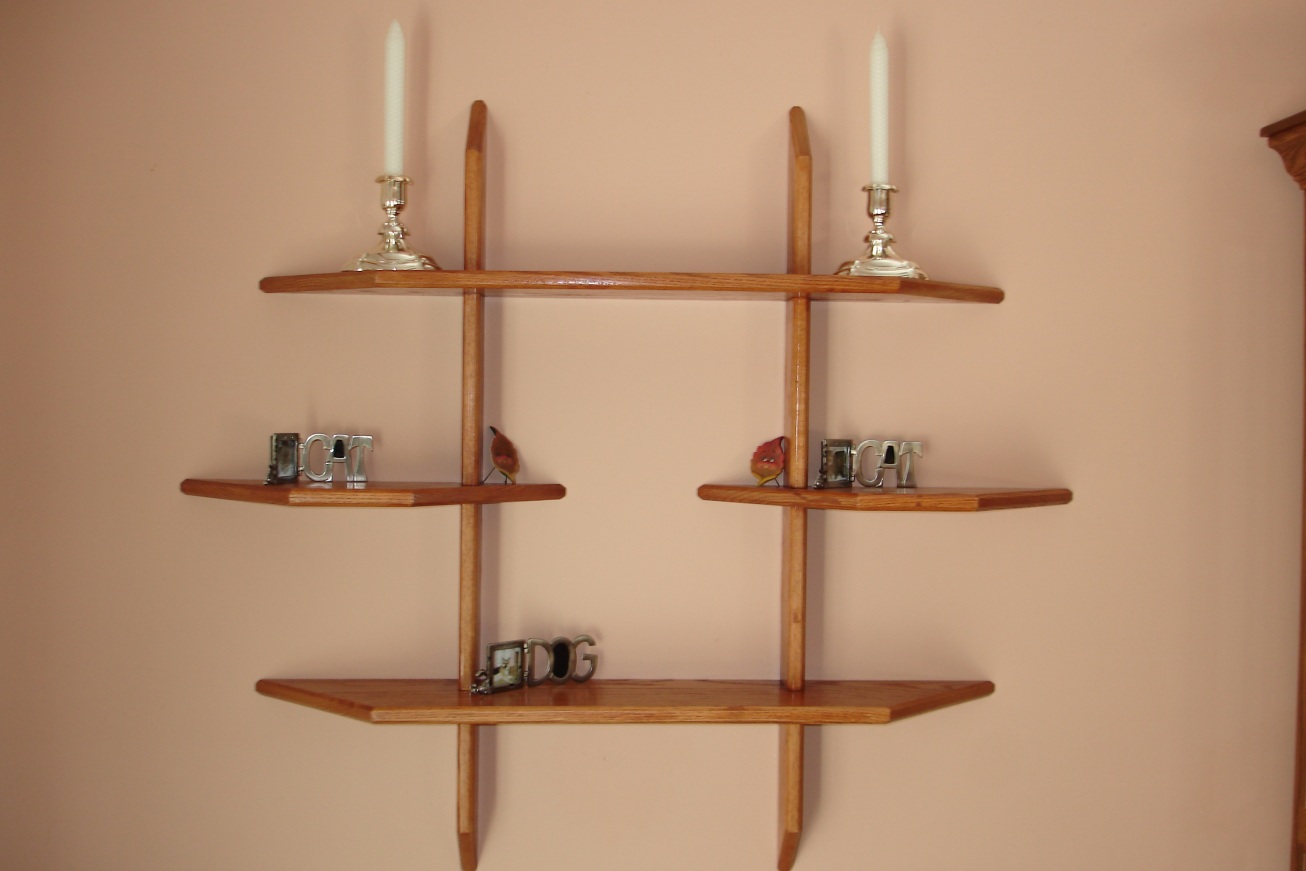 Here we see the shelves on the wall. The design I just made up with some interlocking pieces and some 45 degree chamfers. 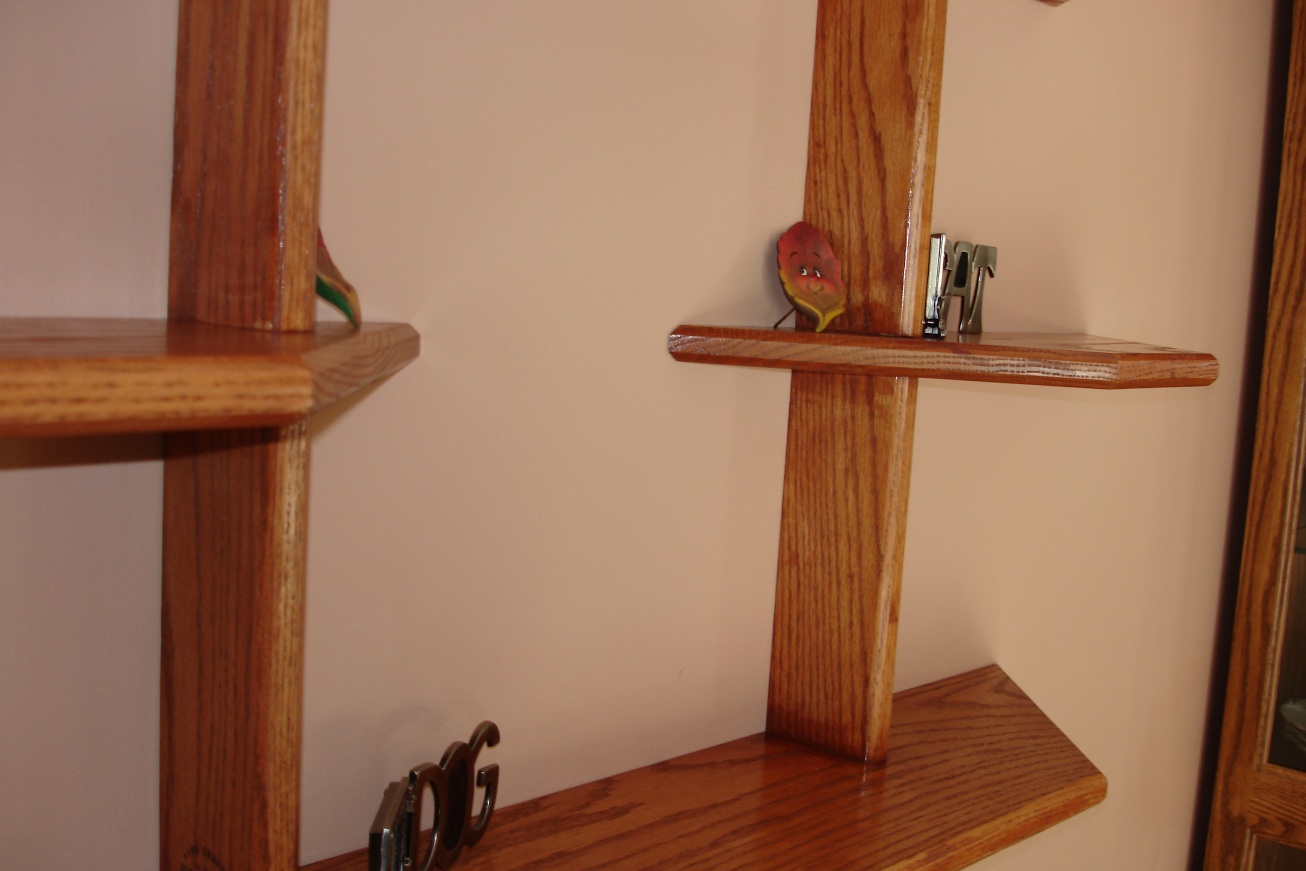 ...and a bit closer. Aren't those little leaves cute? 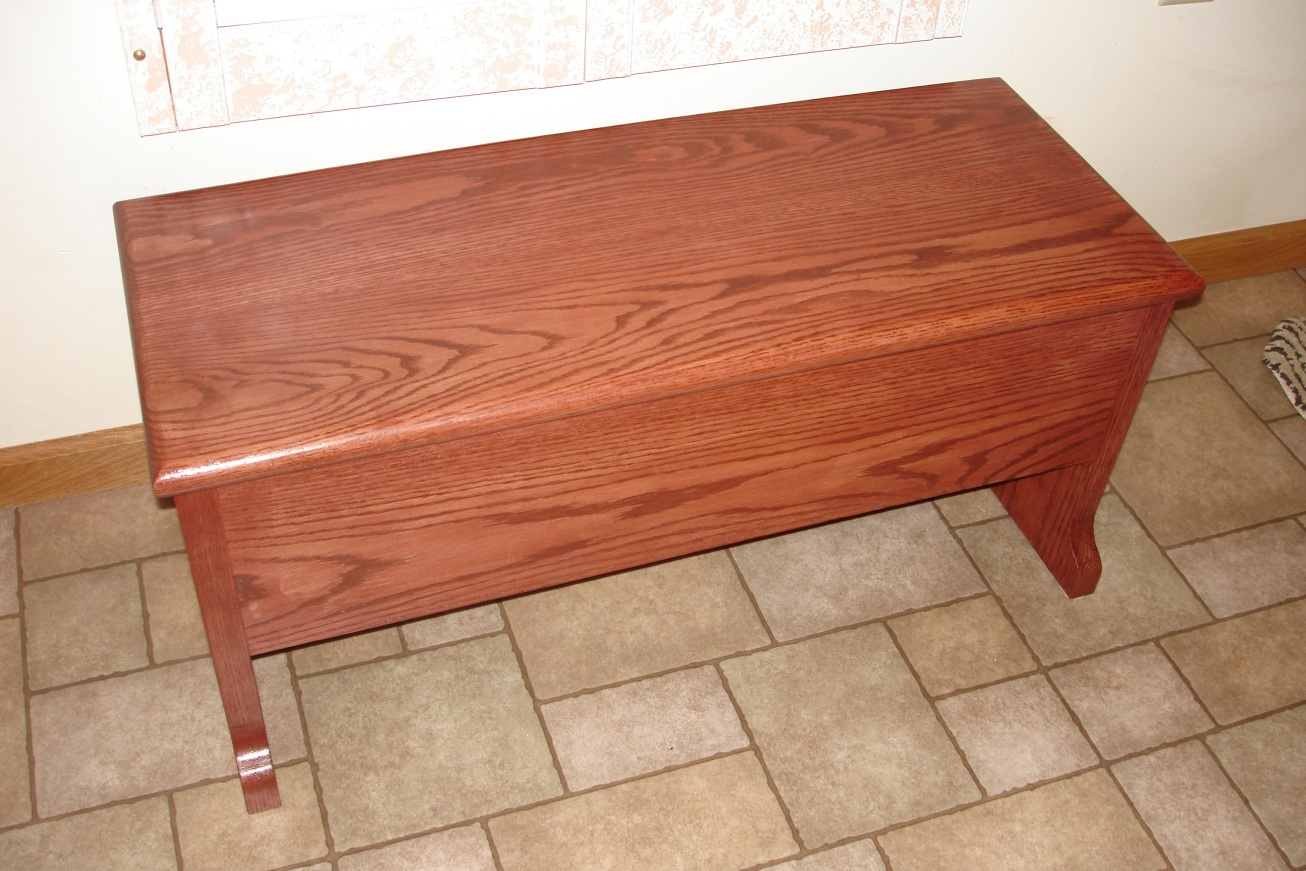 Now we have a bench I made out of some solid oak. It fits the room nicely and... 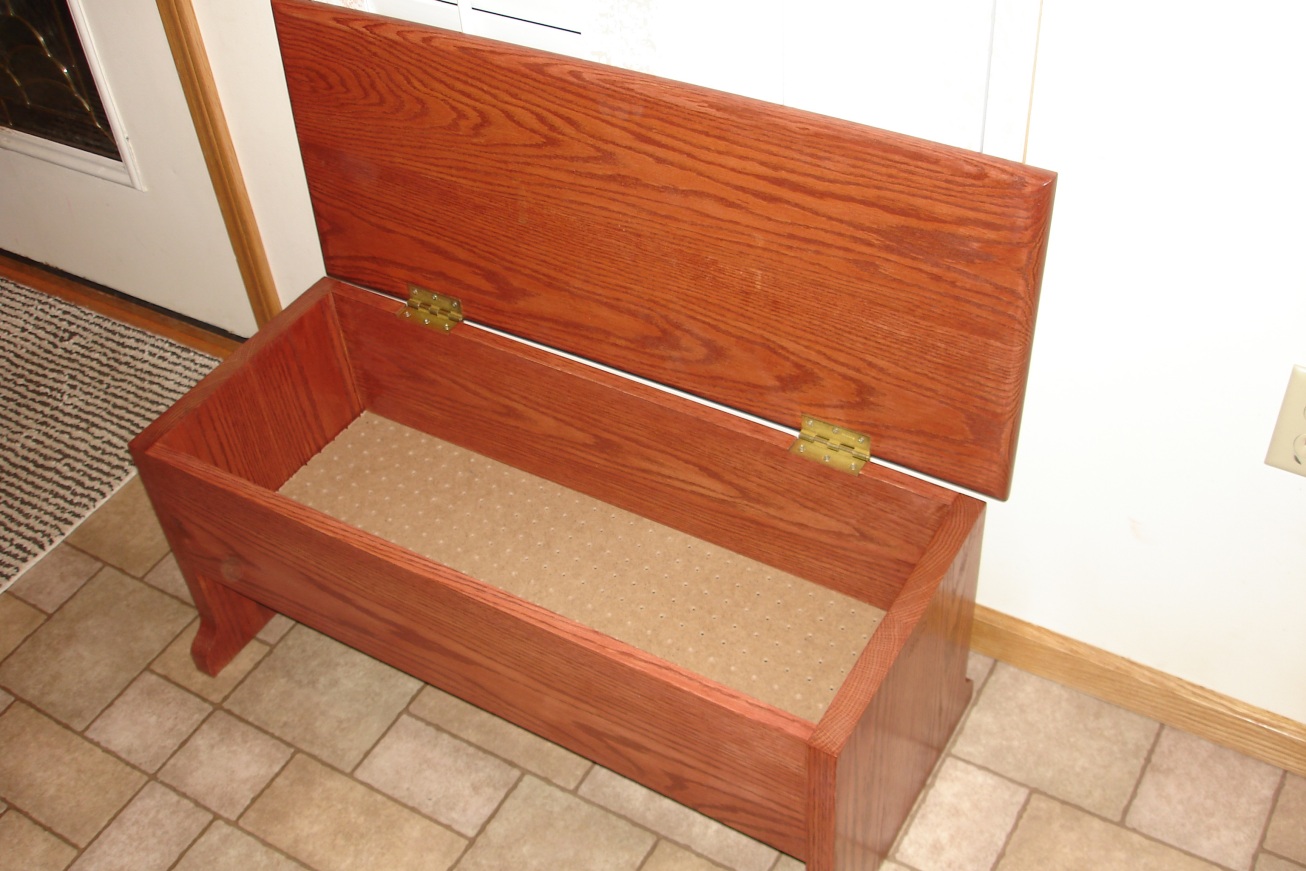 ...is useful as well! 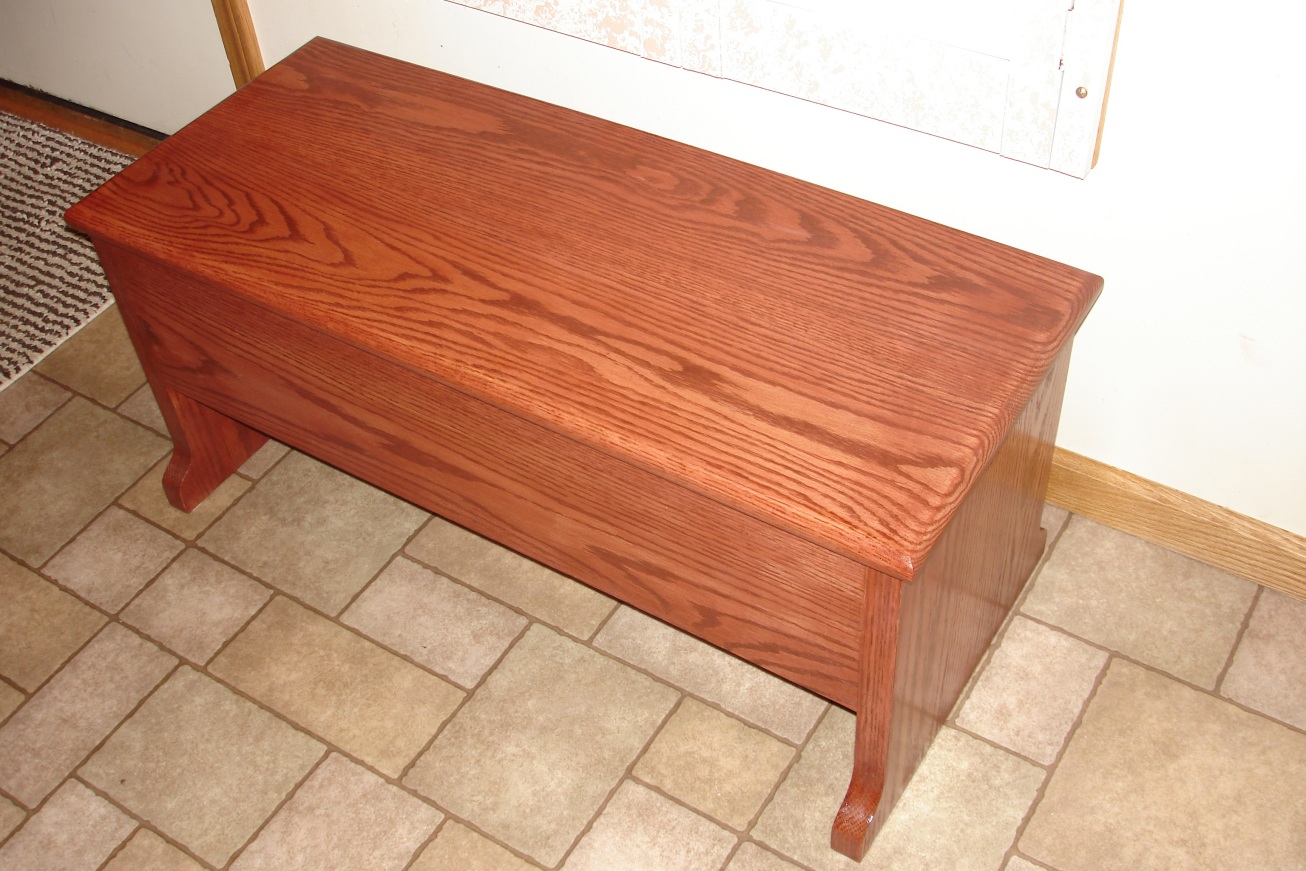 Here's another angle 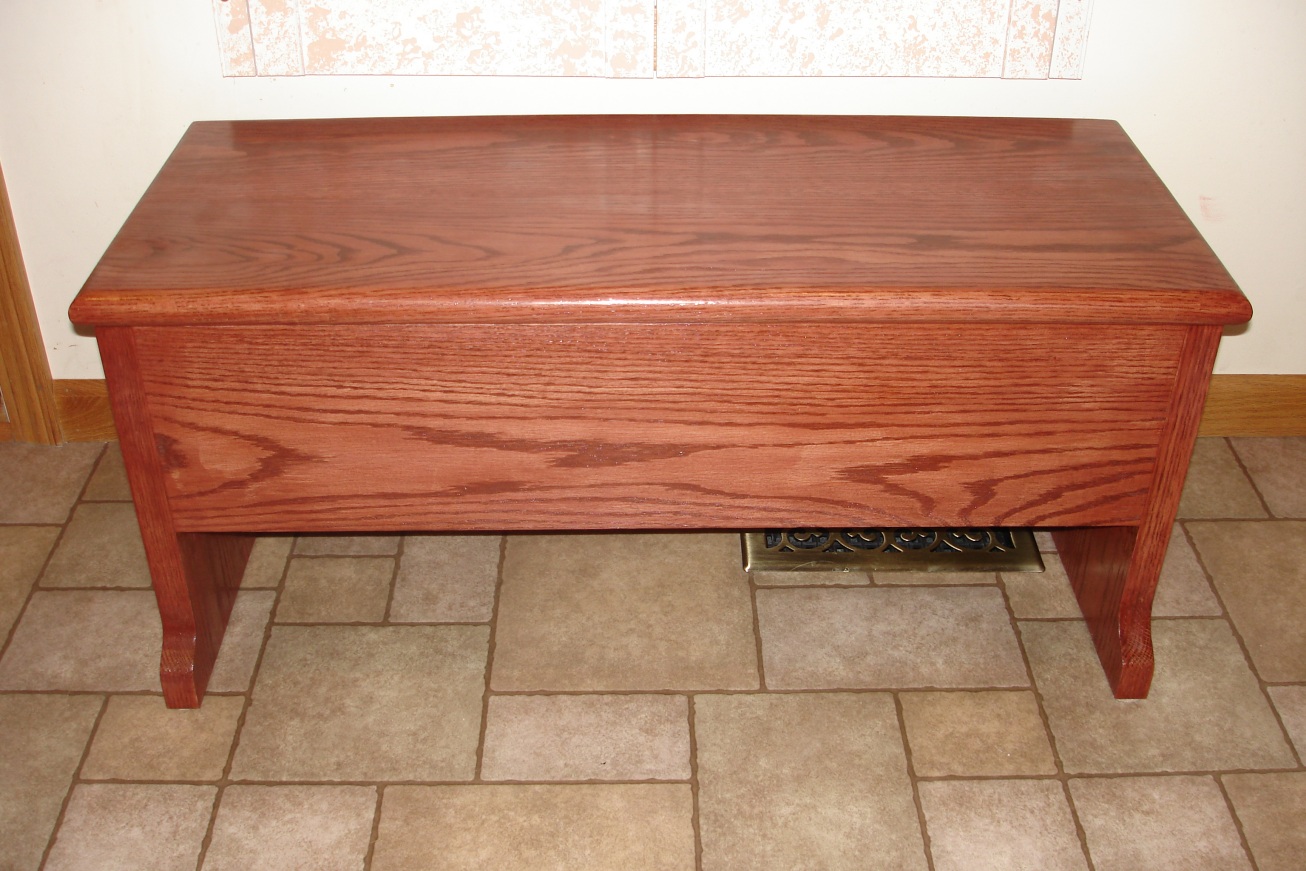 Front view 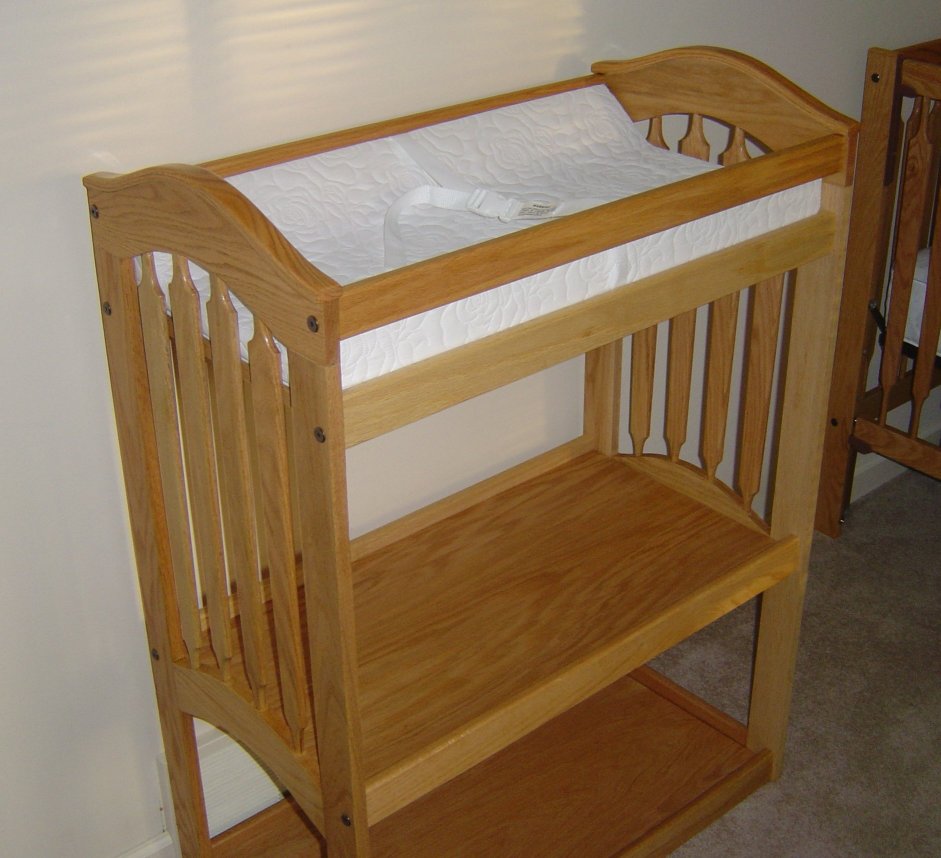 Ok, when it comes to baby furniture, you can do a couple things. You can buy super expensive pieces that are of good quality. You can also try to save some money by buying really crappy pieces that are basically, well, really crappy. Not wanting to do either, here we have a changing table that is going to last a good, long time. 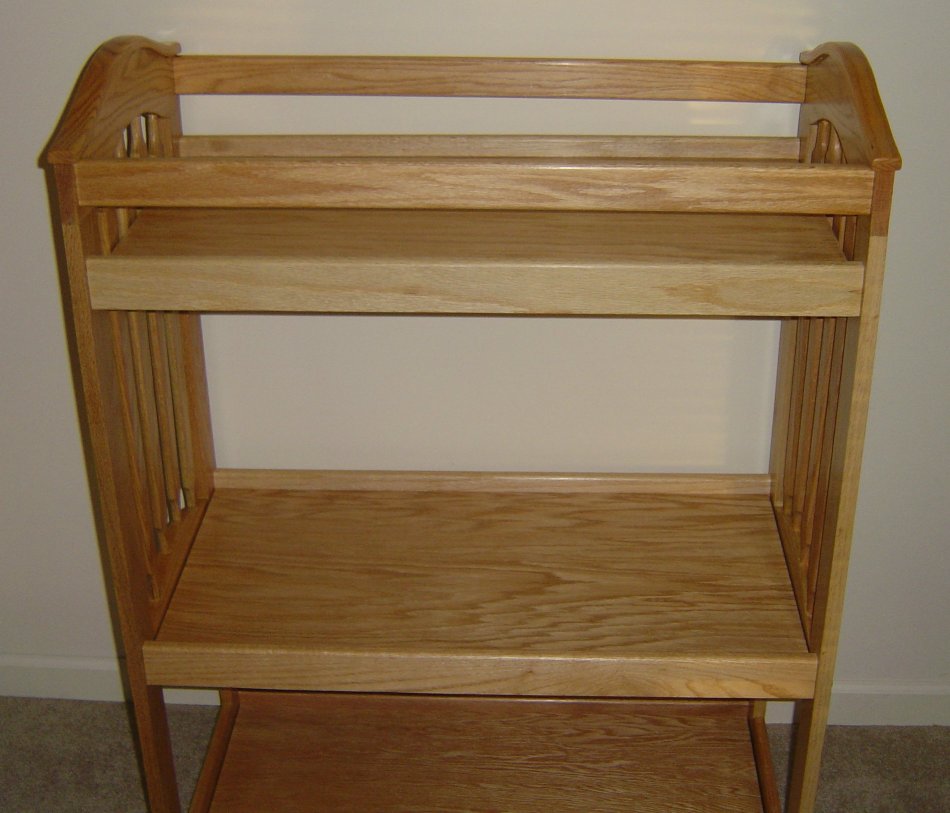 Made of the same red oak as the crib (below), this piece had no plans. I basically looked at some tables on the market, matched the size to the contoured changing pad and designed it to match the crib with the tapered slats and the curved caps. Making the tight curves on the table end-caps took some doing, including alternating steaming, gluing and clamping. 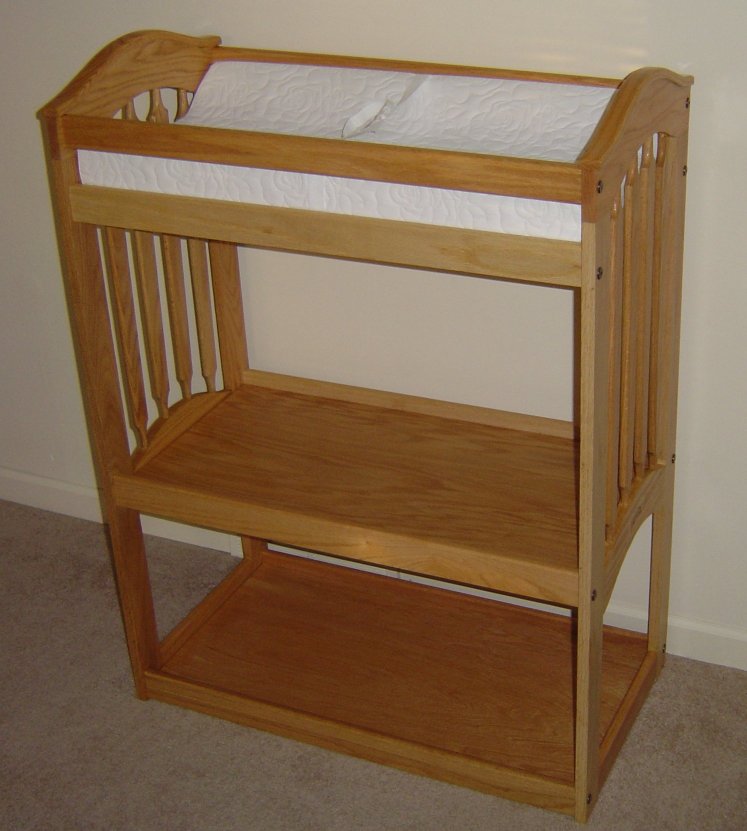 Also, like the crib, the table disassembles and the pieces break down flat for storage. 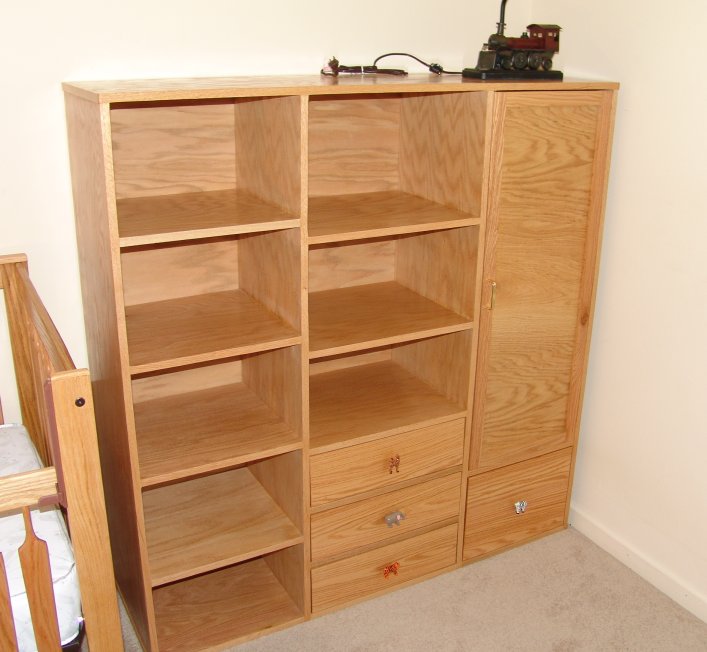 And then we move onto the combo unit - red oak and solid. I didn't have plans for this one either. I basically winged it knowing that I wanted the four main elements of a cabinet unit: plenty of storage space in the shelves, four drawers for all kinds of baby essentials, an armoire and a big flat top to allow for display of lots of other baby goodies. 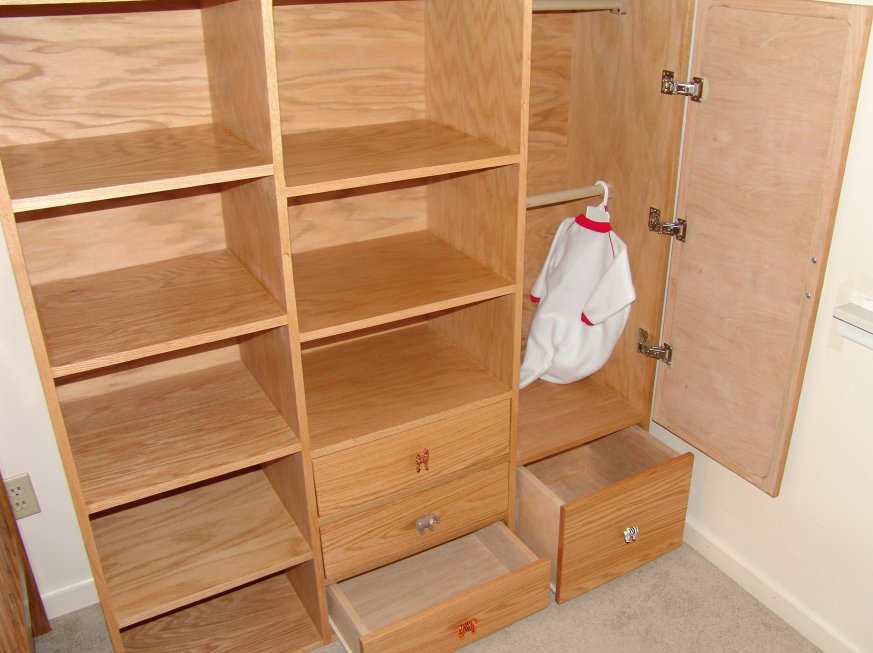 Inside the armoire door are two hanger racks for baby clothes. Down the road, this can be adjusted to handle normal hangers. 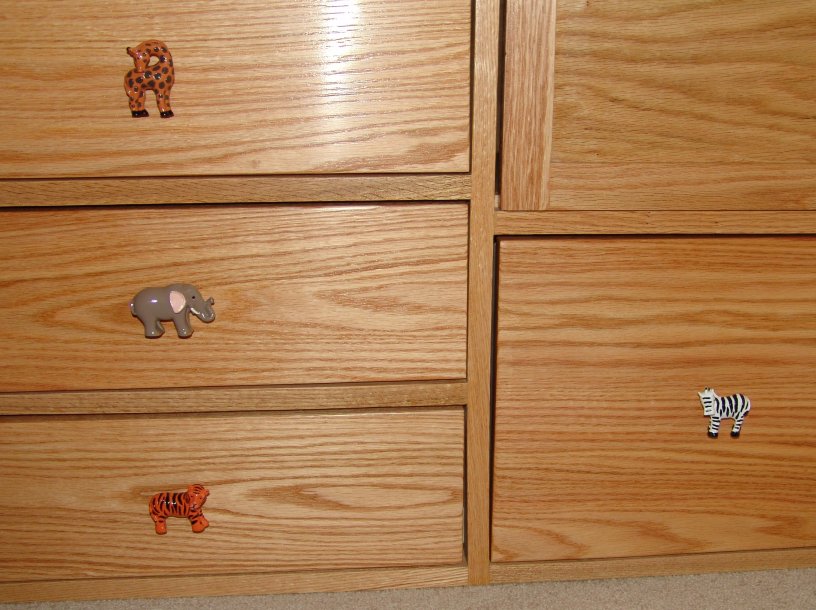 Here are some cute little animal drawer pulls that go with the theme of the room. Yeah, you saw a train in the above picture. Trains go into jungles sometimes. Who cares, trains rule. 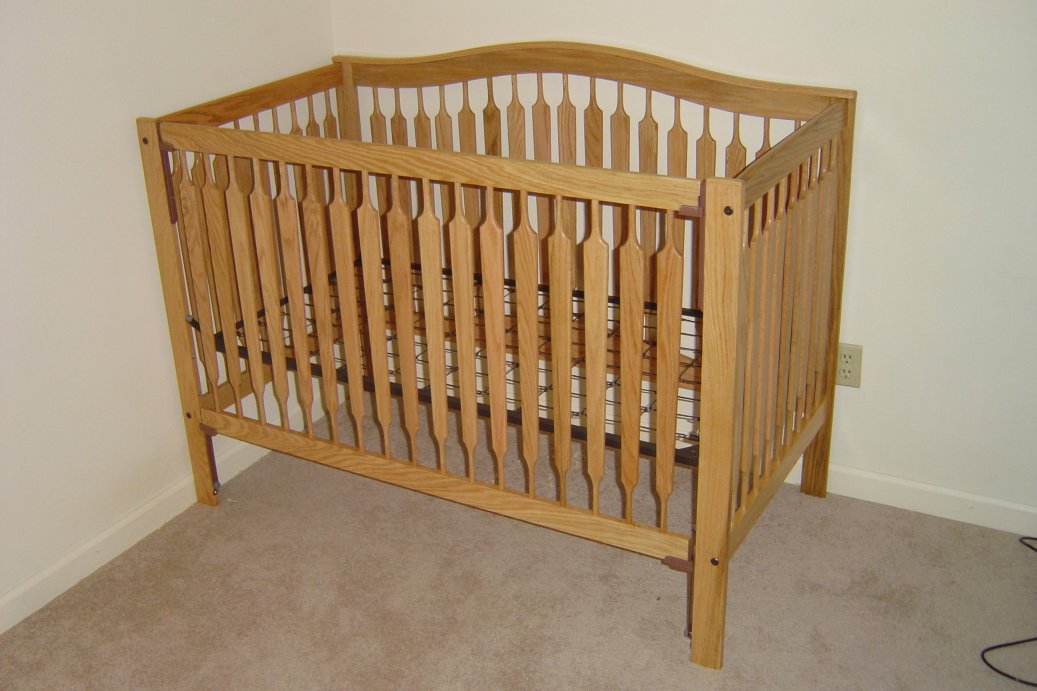 Suffice to say the most important thing to ever happen to us (yet!) motivated me to make this crib for our new little one. Built from scratch, I actually bought the plans and hardware years ago, in expectation that one day I would make it for my baby. That day has come, and so has the crib. 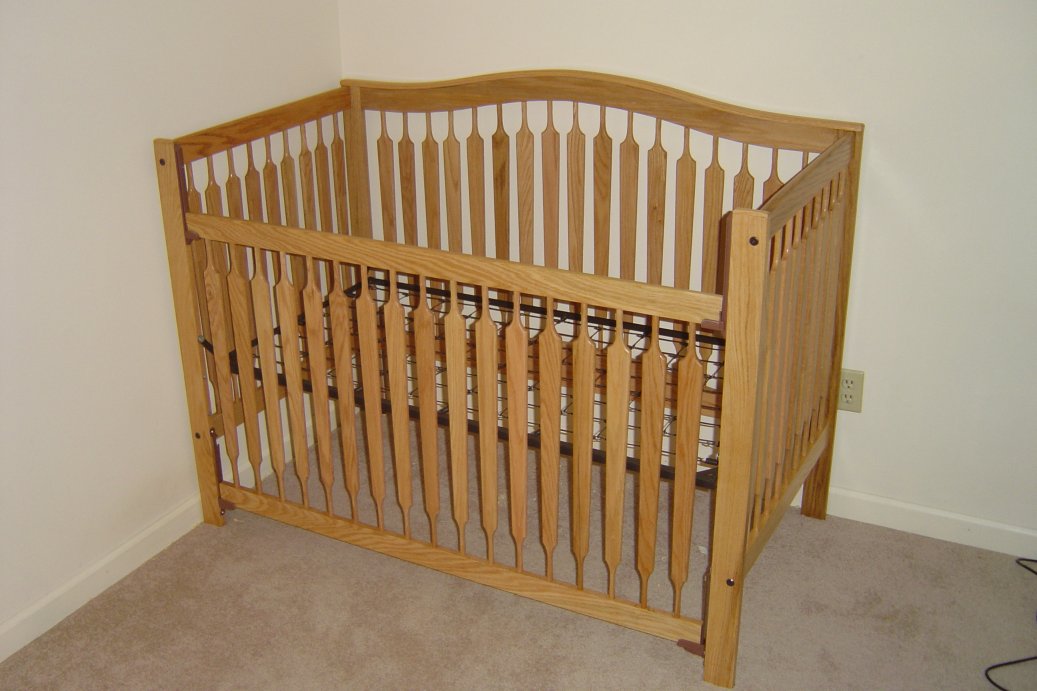 It's made of solid, american red oak and finished with a non-toxic, blonde shellac finish. Sanded and wooled smooth as a, well, baby's bottom, it'll be a great place for our baby to spend his or her first part of life. This particular crib actually converts for later in the baby's life. Removing the gate and adding a bottom panel turns it into a toddler day-bed. After that, you can remove the sides, add bed rails and a footboard and create a full-size bed. That's down the road though. 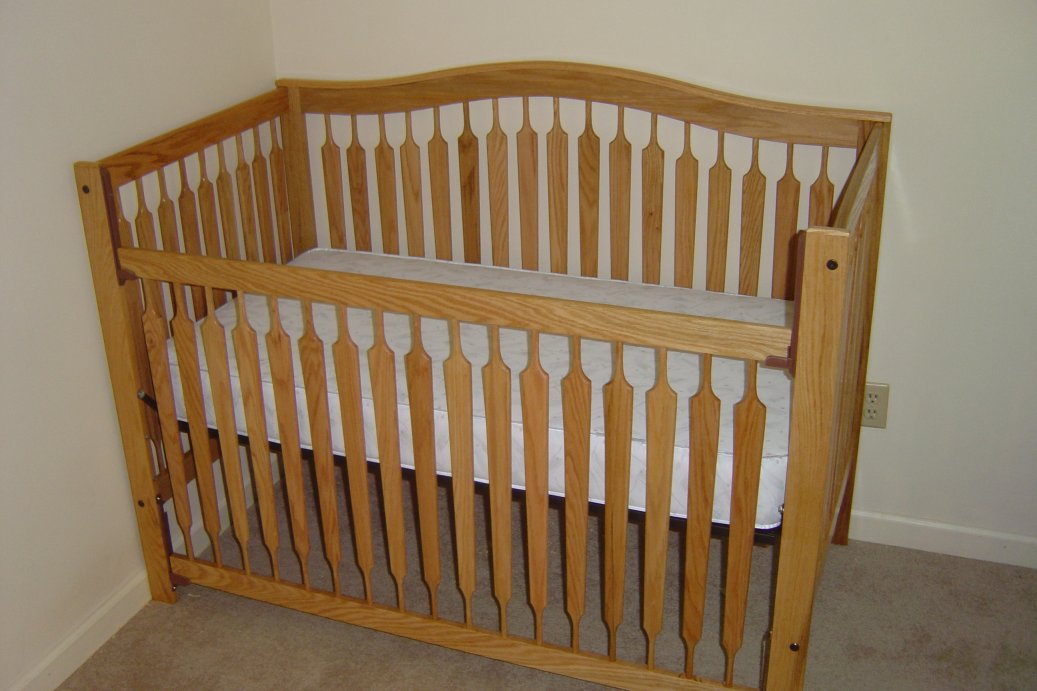 The tapered slats were the most difficult and time-consuming aspect of this project. This included cutting them out, followed by sanding, finishing then sanding and finishing them multiple more times. good thing Tara helped out here. My favorite part of the whole crib is the headboard cap. It really finishes off the biggest piece of the crib. This is my most favorite project thus far, and I don't see it being replaced anytime soon. 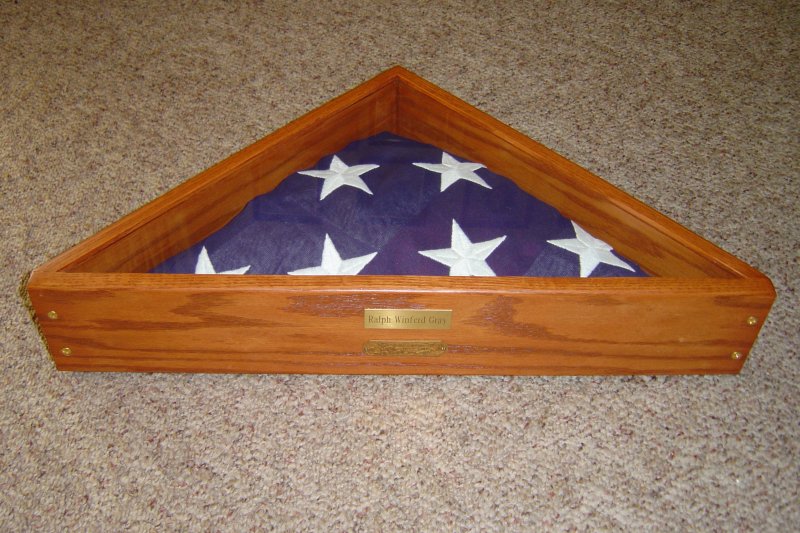 My grandfather, Ralph Winferd Gray, died on March 1st 2004. He was a veteran that served active duty in World War II. This is the oak flag box that I made for my grandmother to store and display his funeral flag. 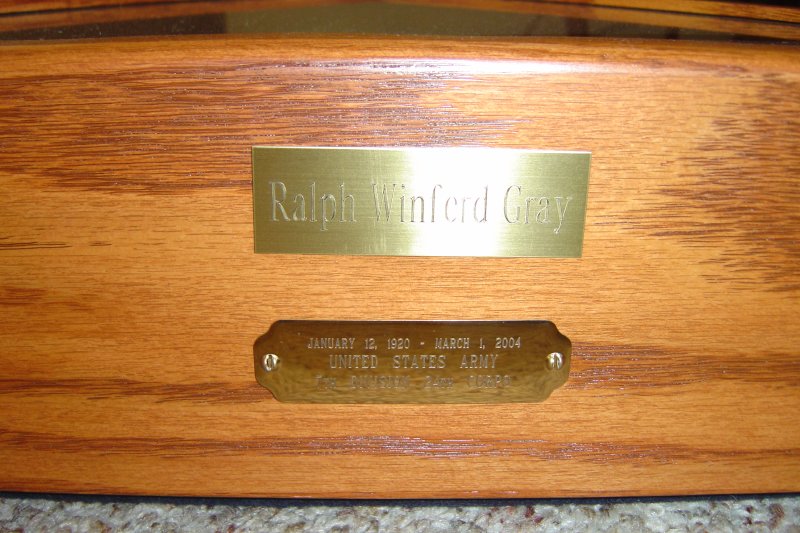 Ralph Winferd Gray January 12, 1920 - March 1, 2004 United States Army 7th Division, 24th Corps  We miss you grandpa, rest in peace 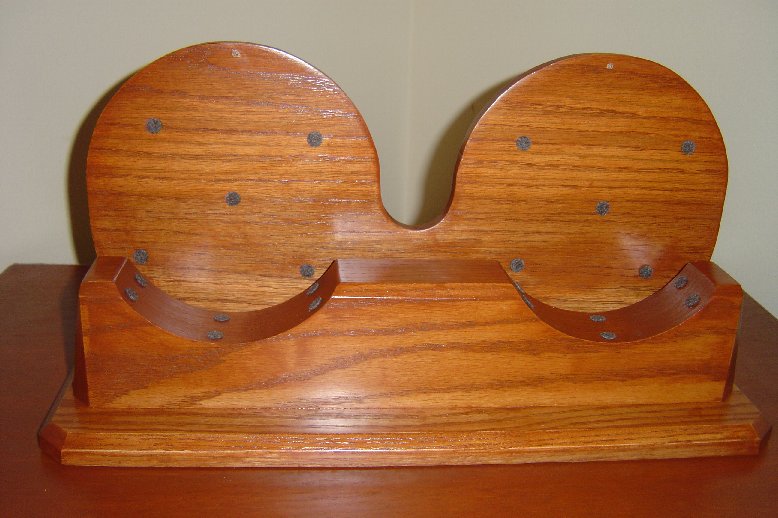 This is an oak base I made for our new Chelsea shipstrike clock. I had made a smaller (single) base earlier, but we decided to get the matching barometer as well, so I made this (much nicer) double one. Those little dots are felt pads to protect the brass.  And here's the base with the clock and barometer in place. 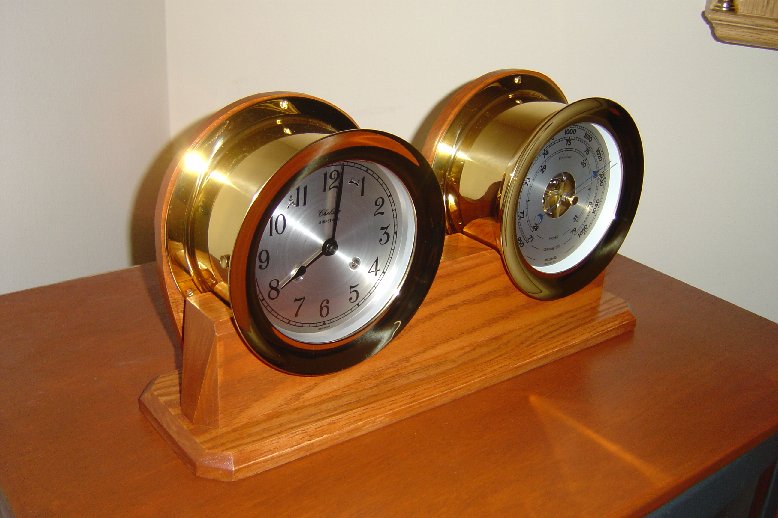 Pictures don't do these things justice, as the solid brass gleams like liquid gold. 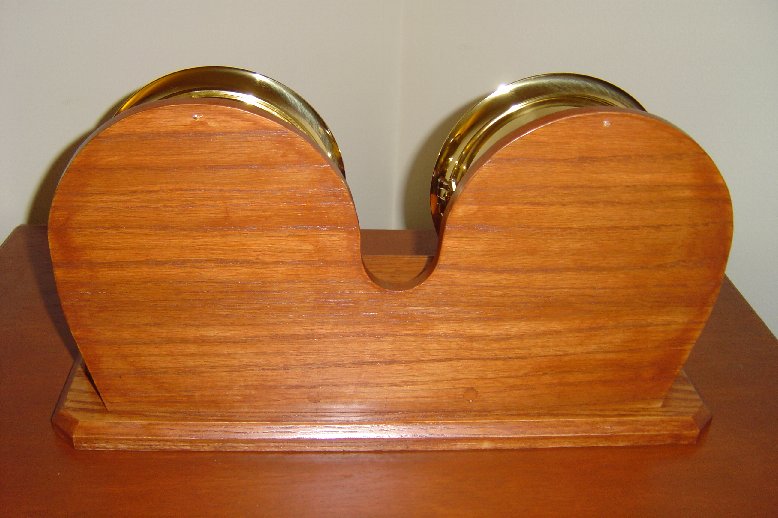 Back view. 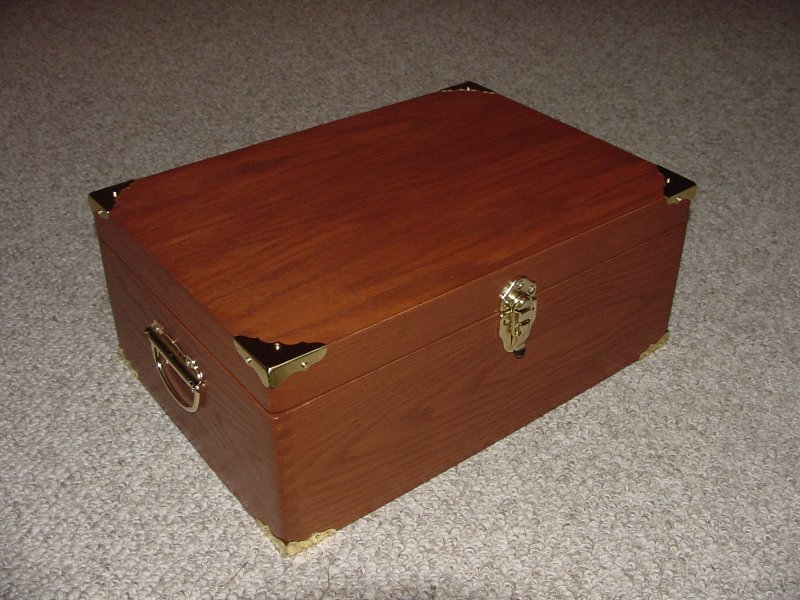 Here's a flatware box I made for our new silverware set. Oak wood with cherry finish and brass accents. 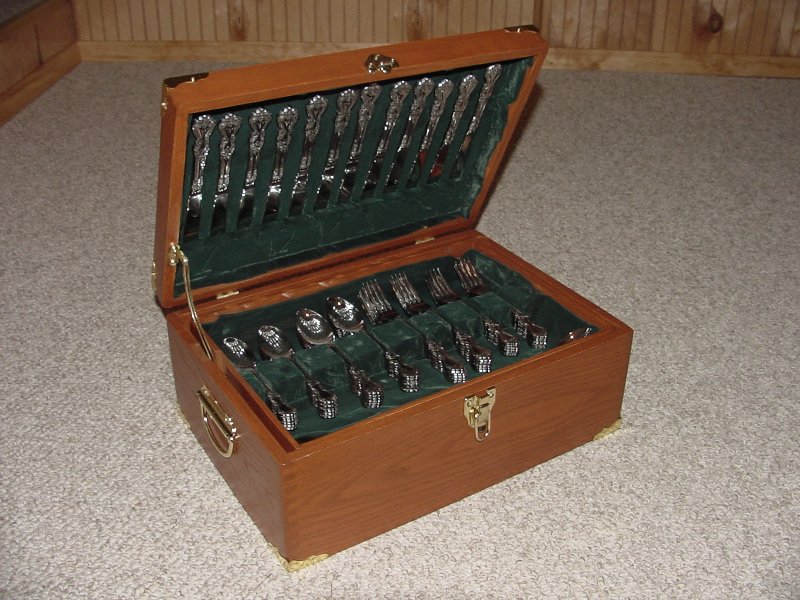 The lining is green felt with a brass swing arm supporting the lid. 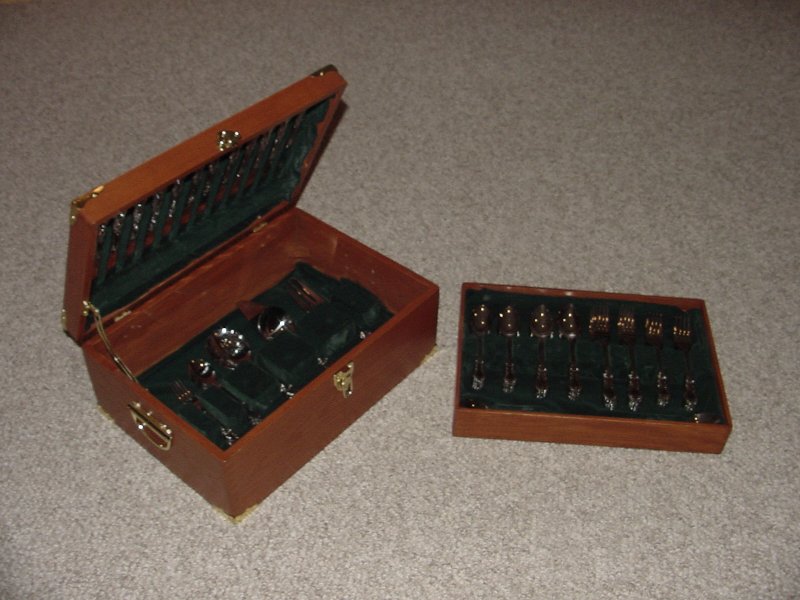 The upper box is removeable to get to the lower storage area. 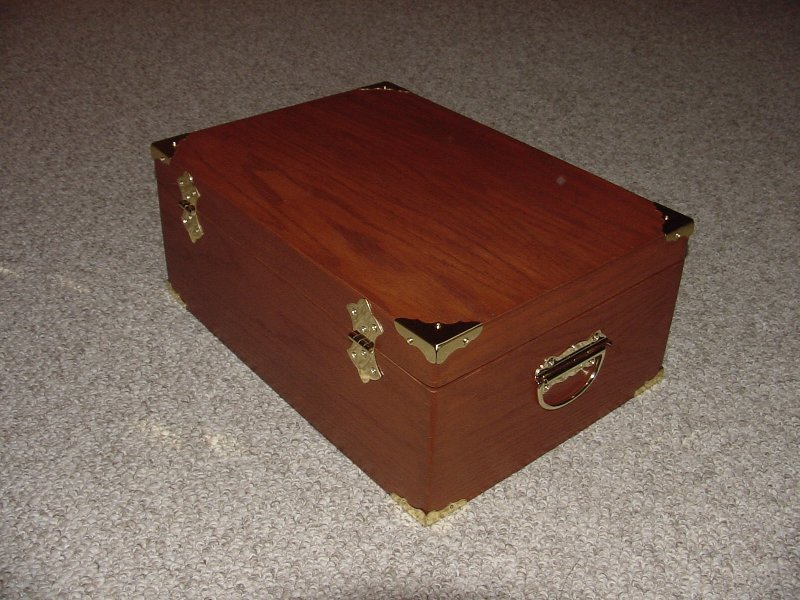 Back view. 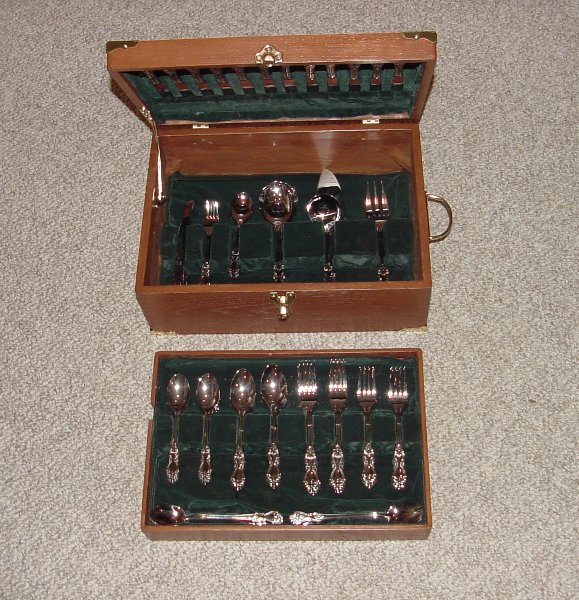 The solid oak really gives it a heft you can't get with today's mass-produced junk products. 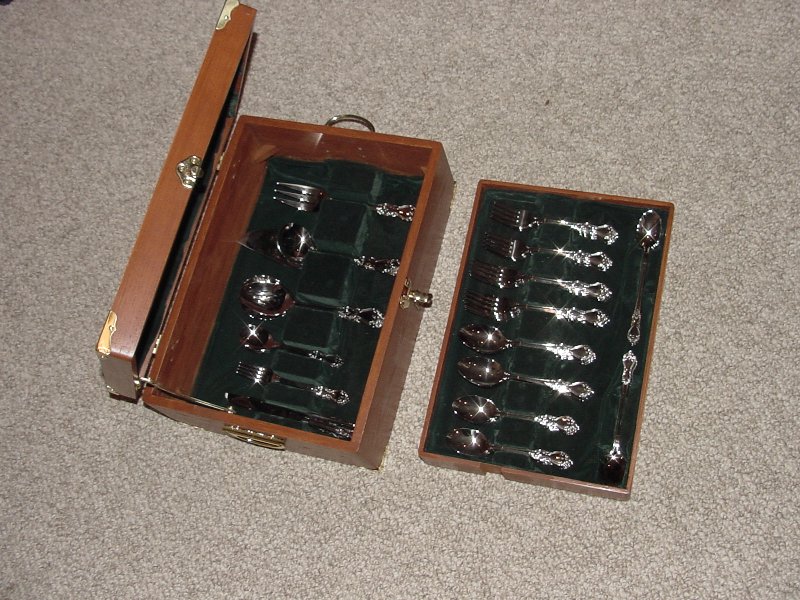 Oblique view. 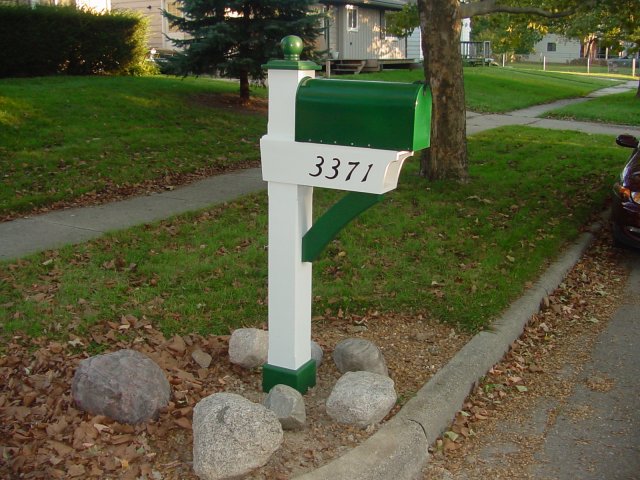 I saw this on New Yankee Workshop and decided to buy the video/plans. I modified it slightly, as in the post is an inch bigger on each side, but I did that to make it a bit more there if you know what I mean. I think it turned out great myself 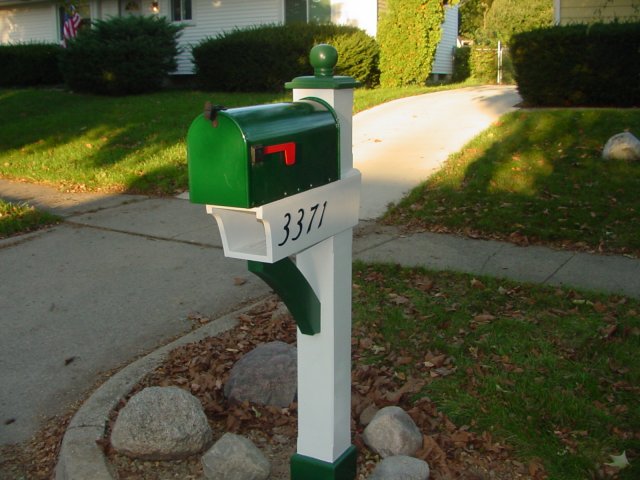 I'm suddenly much more critical of everyone else's mailbox post 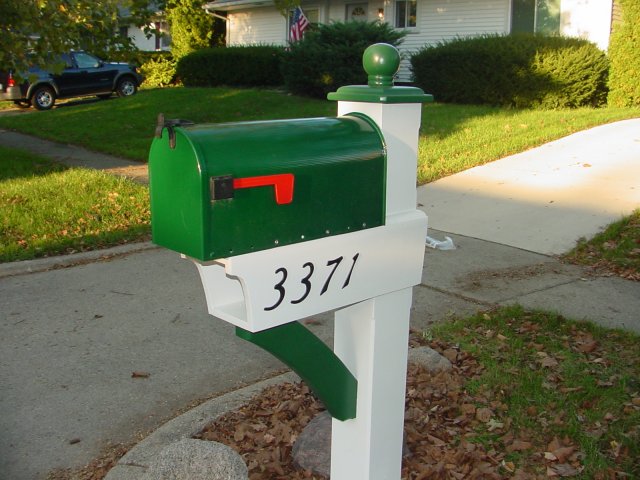 I even turned the finial myself, though if I did it again, I would have made it probably an inch bigger in diameter 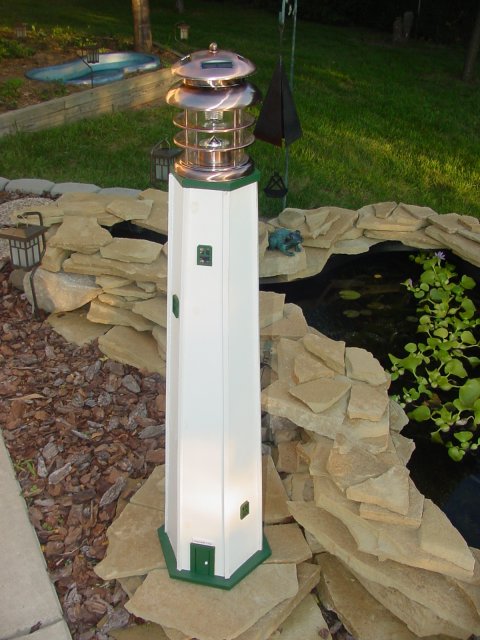 This thing I made from some scrap wood from the shop and no plans whatsoever. The tapered and beveled edges are a pain to work with in such long strips, but as with most rough work, a little bit of trim will cover any shortcomings. I was going to wire it, and maybe have the interior windows light up, but decided to make it free-standing and self-powered. The easiest way to accomplish this was to modify a solar accent light and fit it to the top of the lighthouse 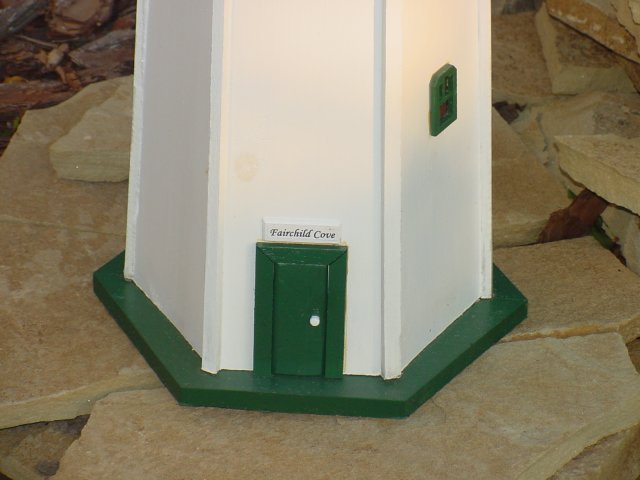 Cheesy maybe, but it's a neat touch for those that notice it 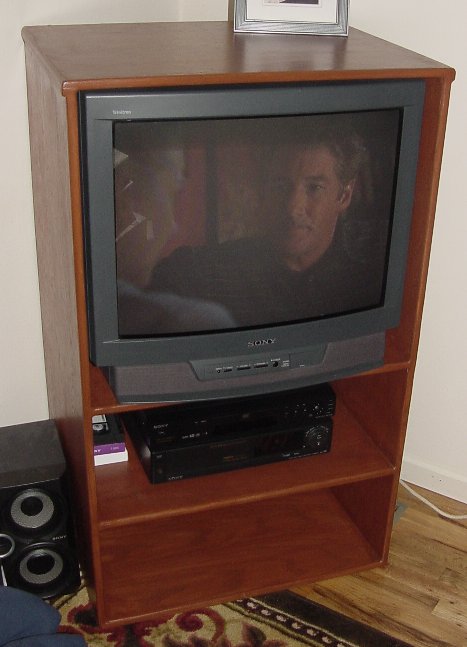 Here's a new TV cabinet for the upstairs. Sauder? Never again. This baby is a solid wood unit that will last for years 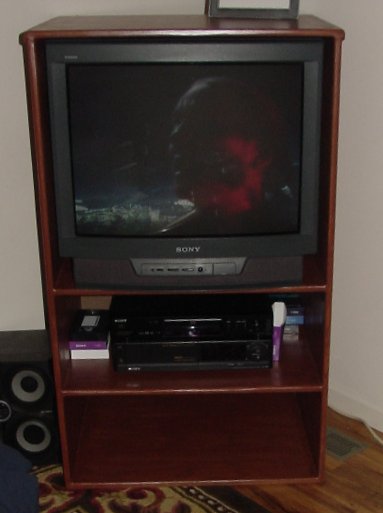 Not all that ornate, but it fits great, doesn't overwhelm the room and and has a beautiful cherry stain.  It's "The Mothman Prophecies" in case you were curious |
Go to our main page