(Click on any picture to enlarge)
Go to our main page
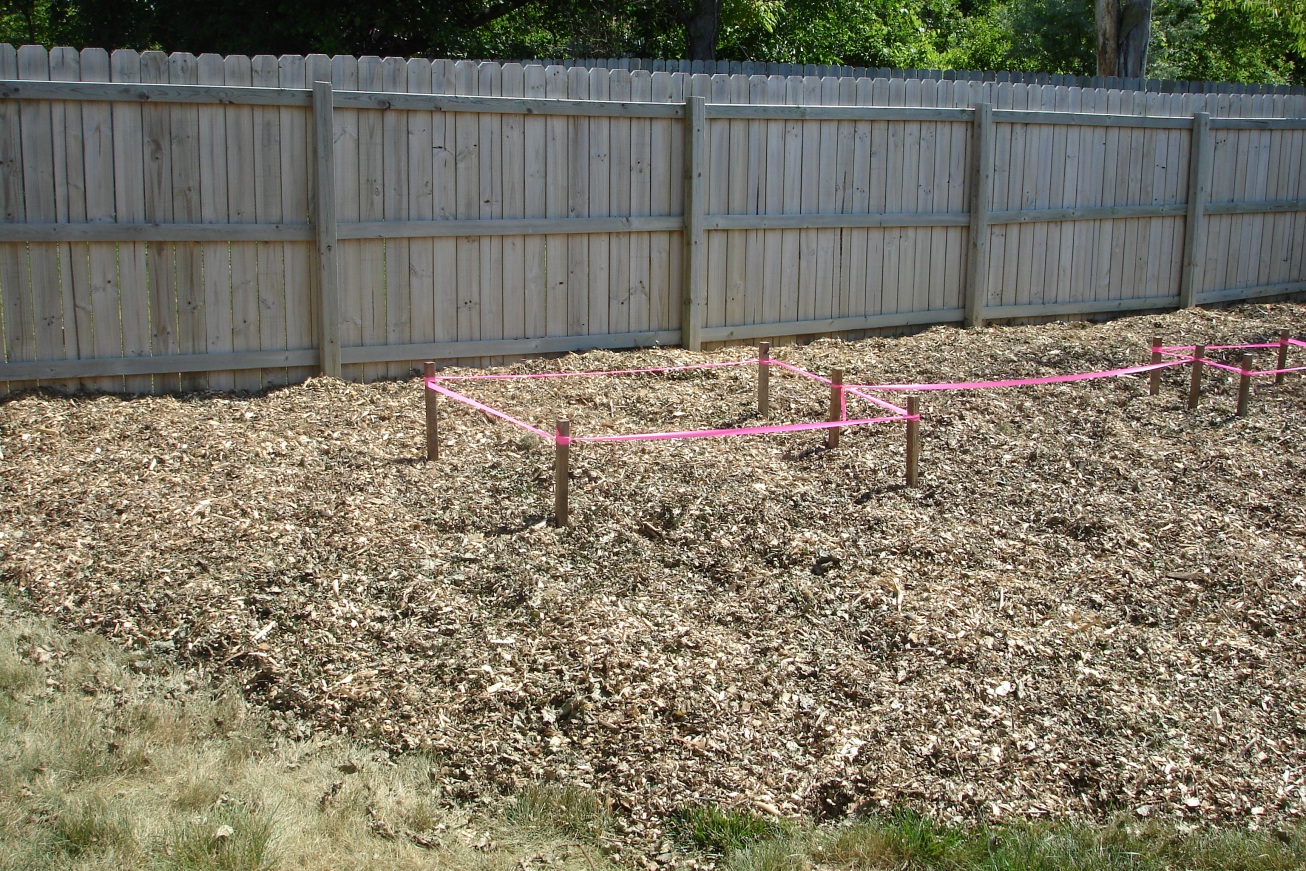 This playset, which you cannot see yet, is the Trading Post model made by Play-a-Round which is actually Cedarworks. It's basically a prepackaged kit version of their main playsets. It's quite nice overall, and when compared to the price of their main sets (many thousands) it's a lot of bang for not nearly as much buck. It was only sold through Sam's Club, and even then, only online, but at least delivery was free. (4/20/2009) I noticed also that Cedarworks is now selling them directly. I have no idea about prices and shipping though, but they offer very nice free catalogs, so go ahead and order one. Anyway, here's a shot of the prepped area, even though you'll see it ended up repositioned from my original placement 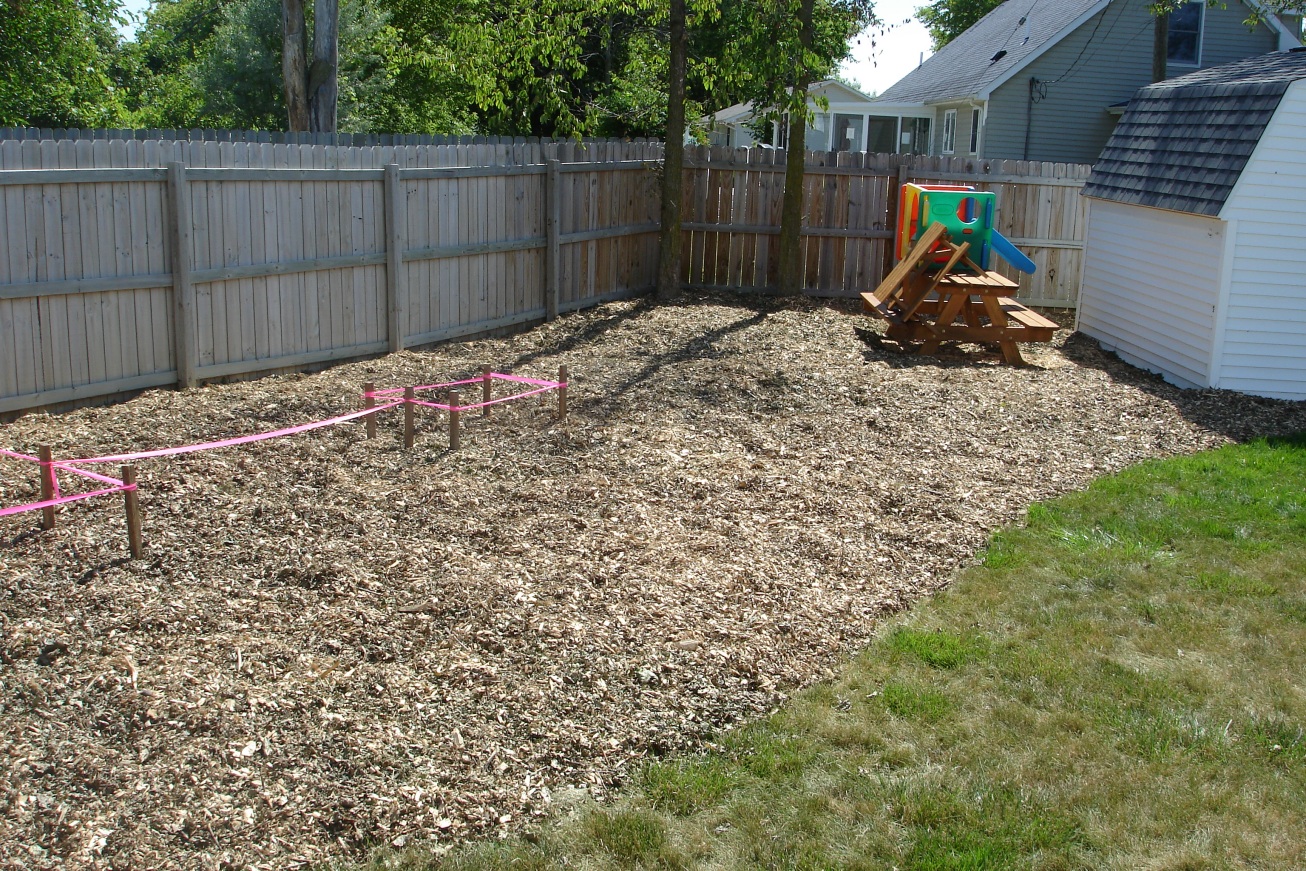 Yeah, big area. This part of the yard was a very overgrown garden from years ago, so it was a perfect place for the playset. It'll provide plenty of room and clearance to allow for protection from falls etc. Speaking of that, you can see the woodchip bed that will act as a cushion and also provide double duty in not having to be mowed or trimmed (my favorite aspect). So yeah, two trees I had to take down and another 15 yards of delivered woodchips along with a billion wheelbarrow loads to transfer it from the driveway to the yard, and presto! A nice cushy playset base You can also see that it provides a nice area for the picnic tables and any other toys that may sprout up as the boys grow One final piece of advice, if you need woodchips, contact a local tree service. When they cut down trees, they usually have tons of chips to get rid of and will usually give them to you free, charging only a small delivery fee. You simply want to make sure of two things a) the chips are relatively small and b) there won't be tons of leaves in the mix. Oh yeah, when you do get them delivered, if they can't dump them right on the site you want, have them dump them onto a plastic tarp, not directly onto your driveway or lawn 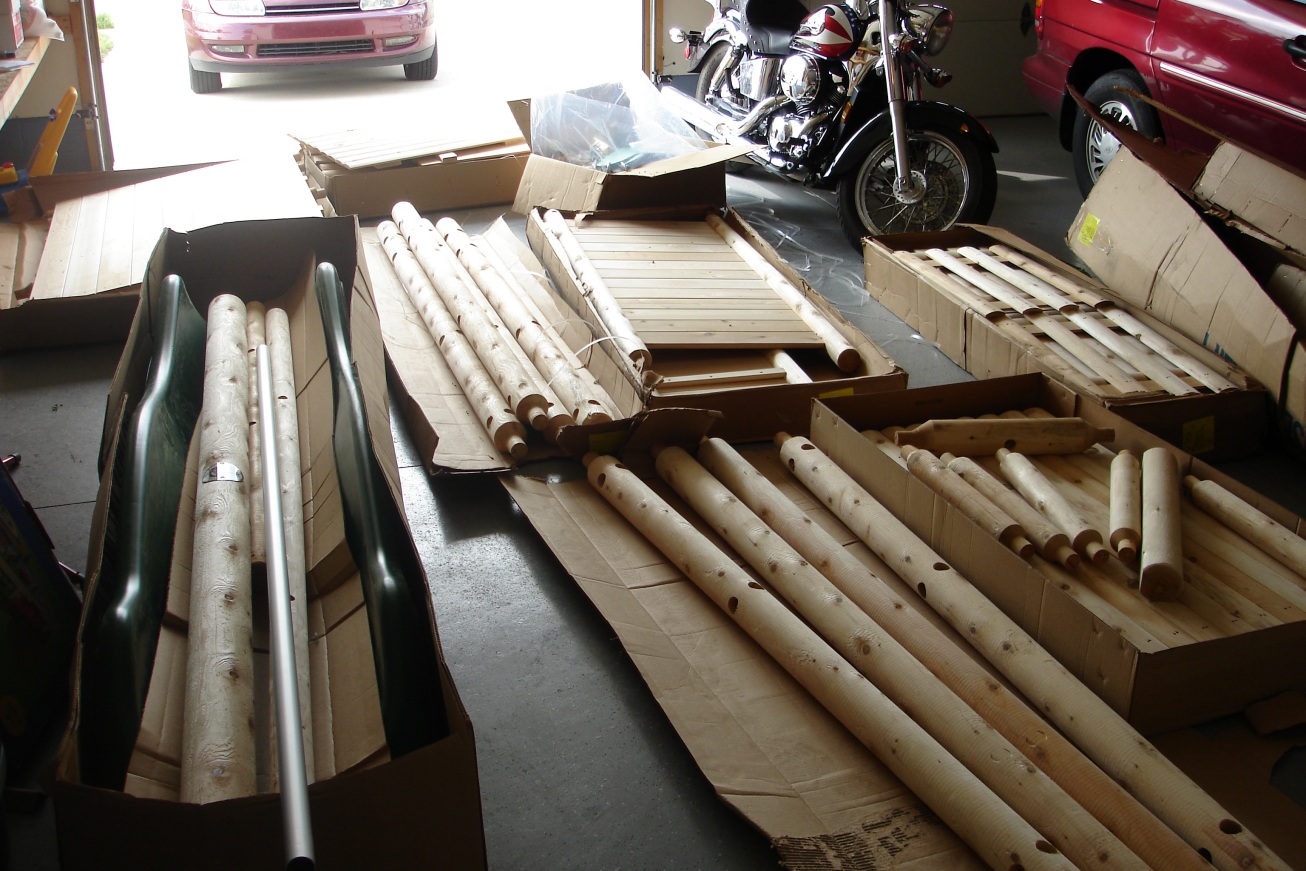 So, here's the delivery we got last week. All northern white cedar wood baby! Solid, relatively light, rot-resistant, insect-resistant and maintenance free (well, not quite, but I'll get into that later). 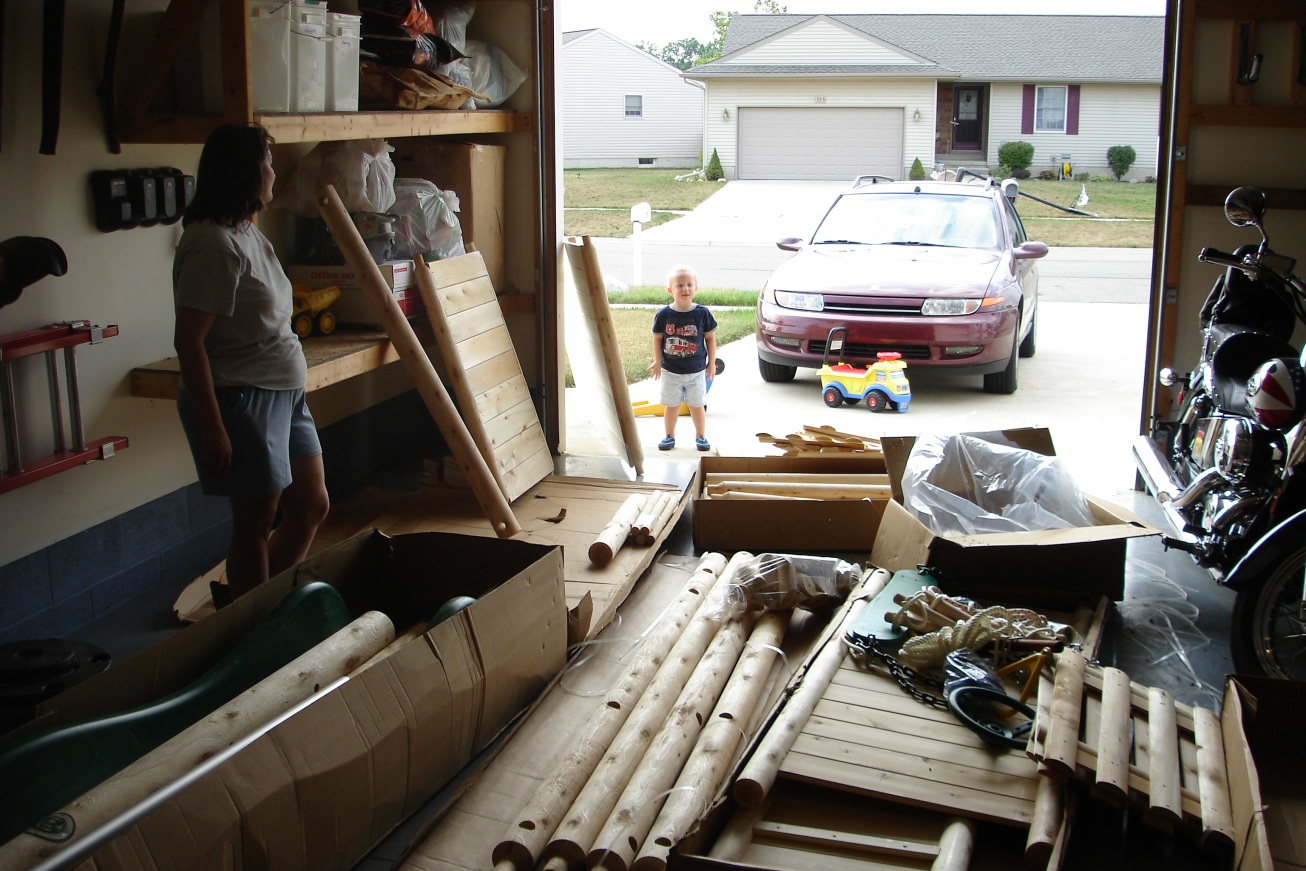 And here's the boy checking out the wood pile in the garage, and he has no idea what's coming. As for the kit, the best part is that most of the major pieces (the planks, ramps, roof panels and fences are pre-assembled. Very nice 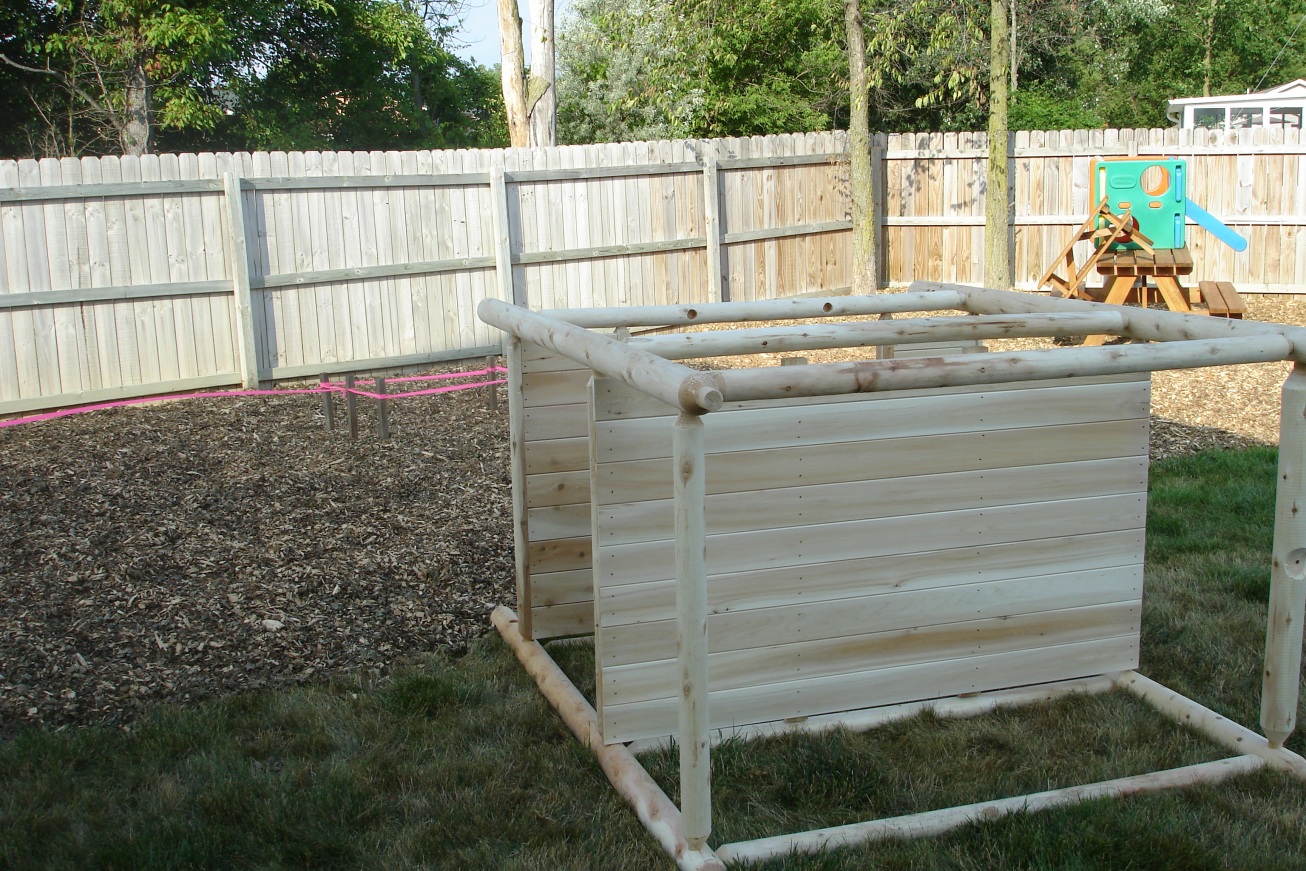 So, starting on the first tower, the wood fits together via mortise and tenons in the posts, which mostly fit. Technically this kit doesn't require any cutting or drilling at all, but to make the mortises fit perfectly, I did have to work on the holes a bit. No big deal though 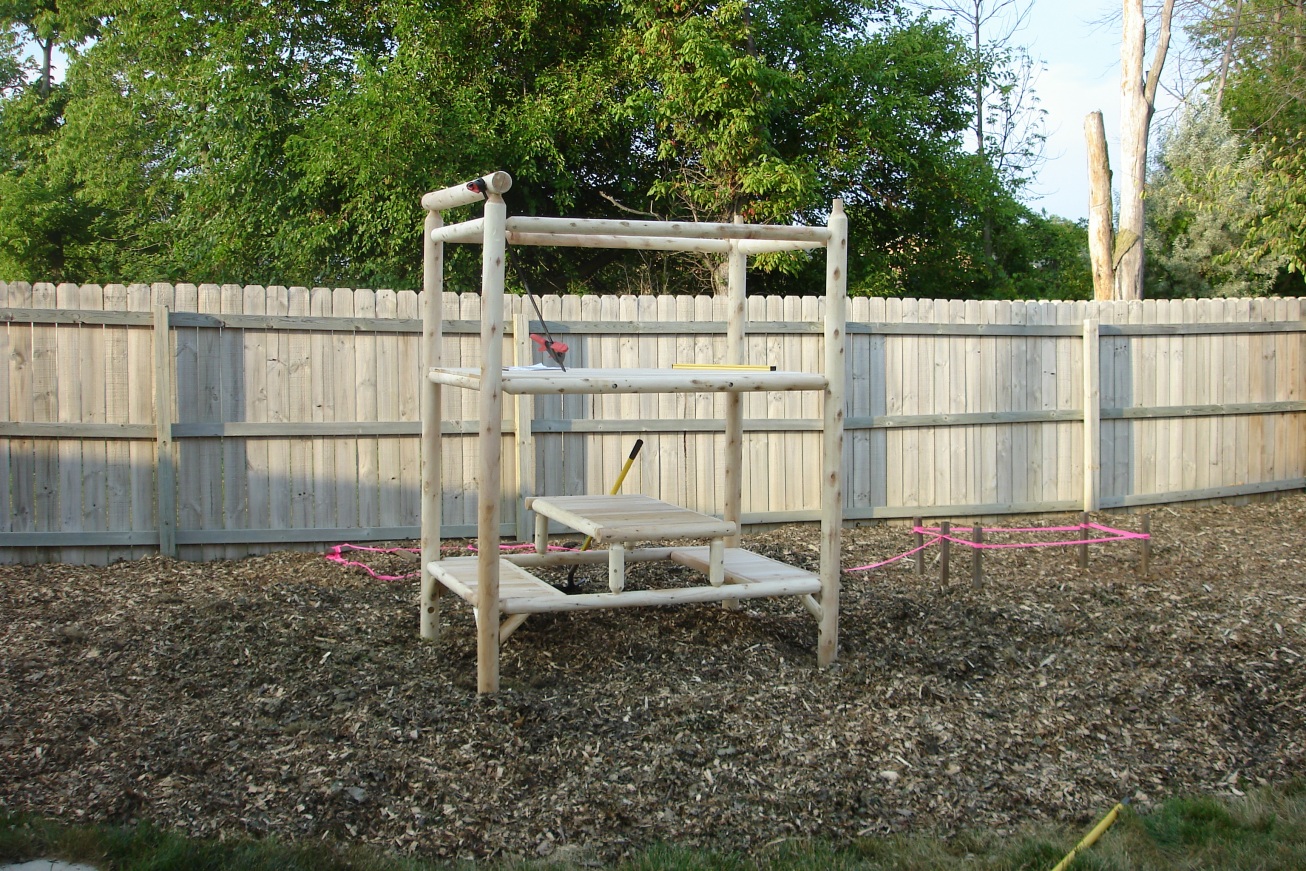 First stand of the main tower, woo! This marked the end of the first shift that evening (3 hours). Pretty cool integrated picnic table huh? 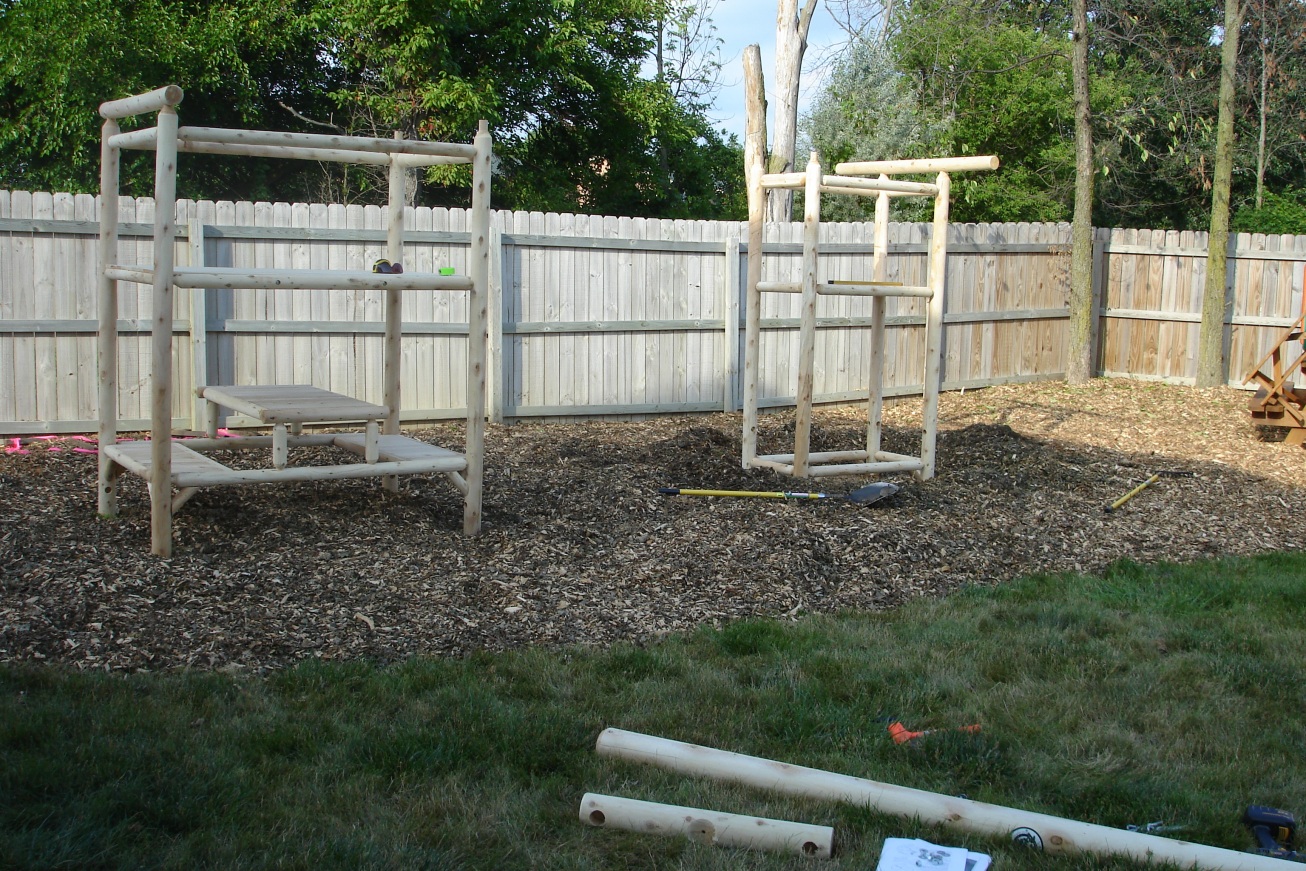 Second shift (Thursday evening) finds the standing of the smaller tower 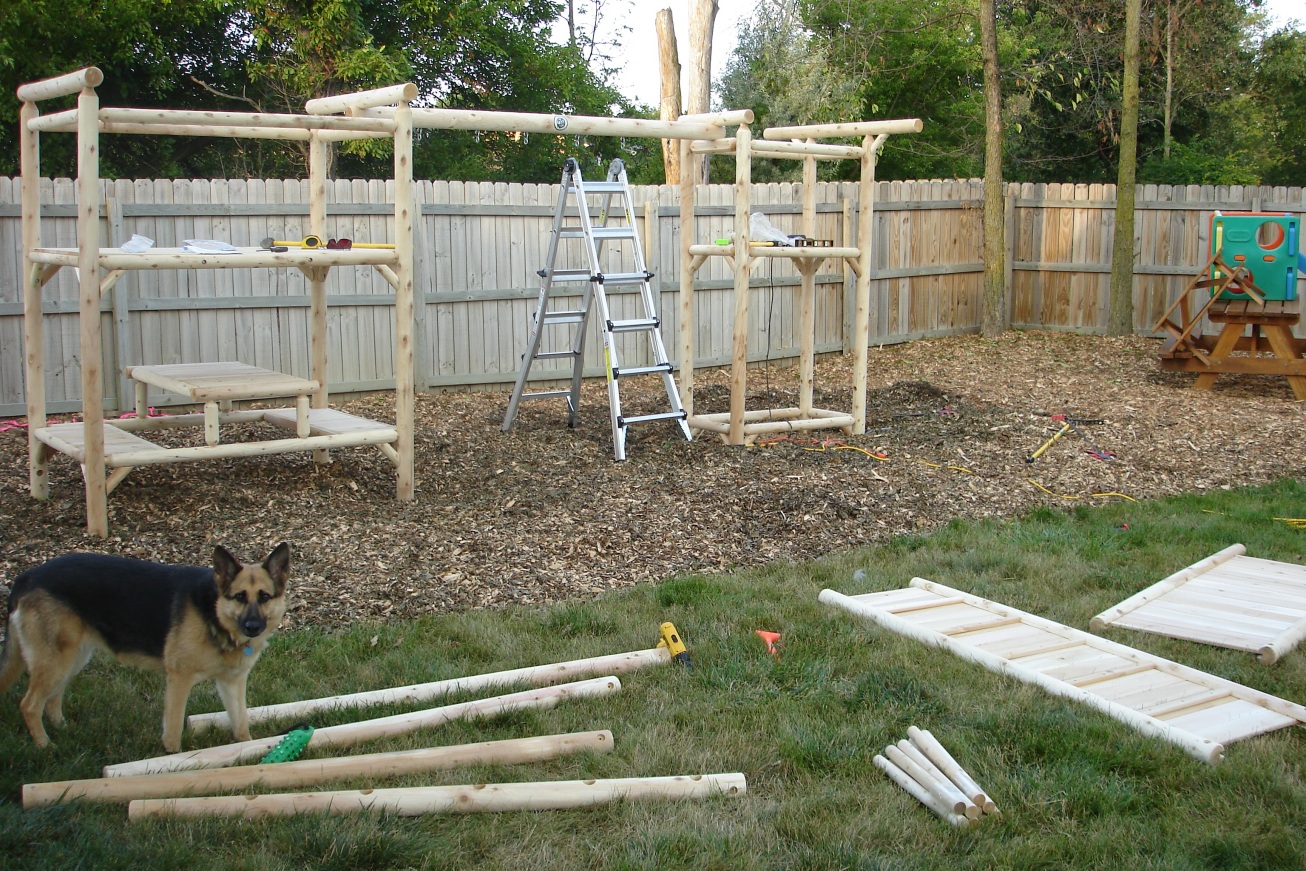 What seems like a simple attachment of the swing bar, was much more complex. Basically connecting the towers to the swing bar with less than an inch clearance, all the while keeping each tower level and positioned a square distance from the fence, sheesh. Anyway, here it it, all good, with Maybelle providing moral support throughout the construction 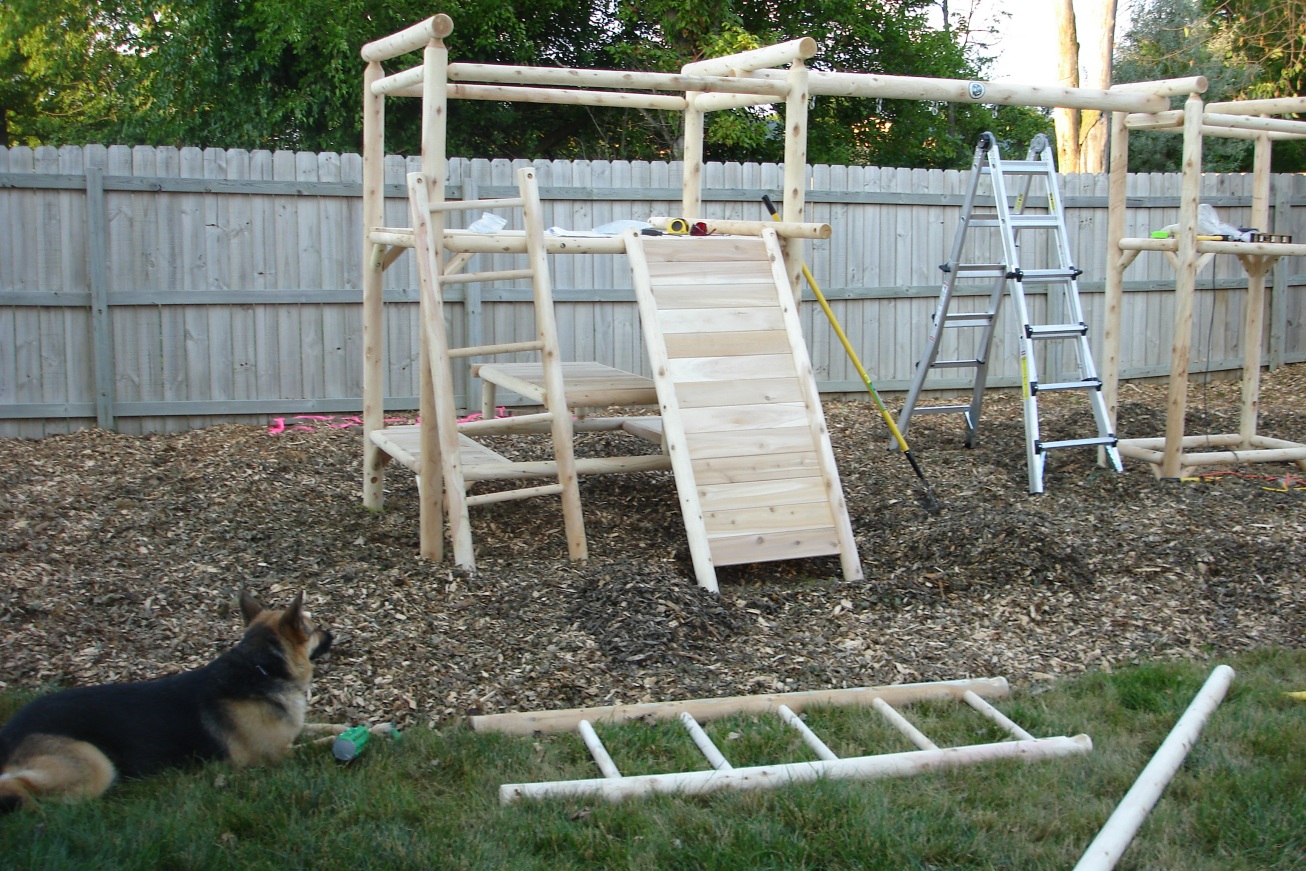 Here we see the rock-wall (sans rocks) and the ladders for each tower 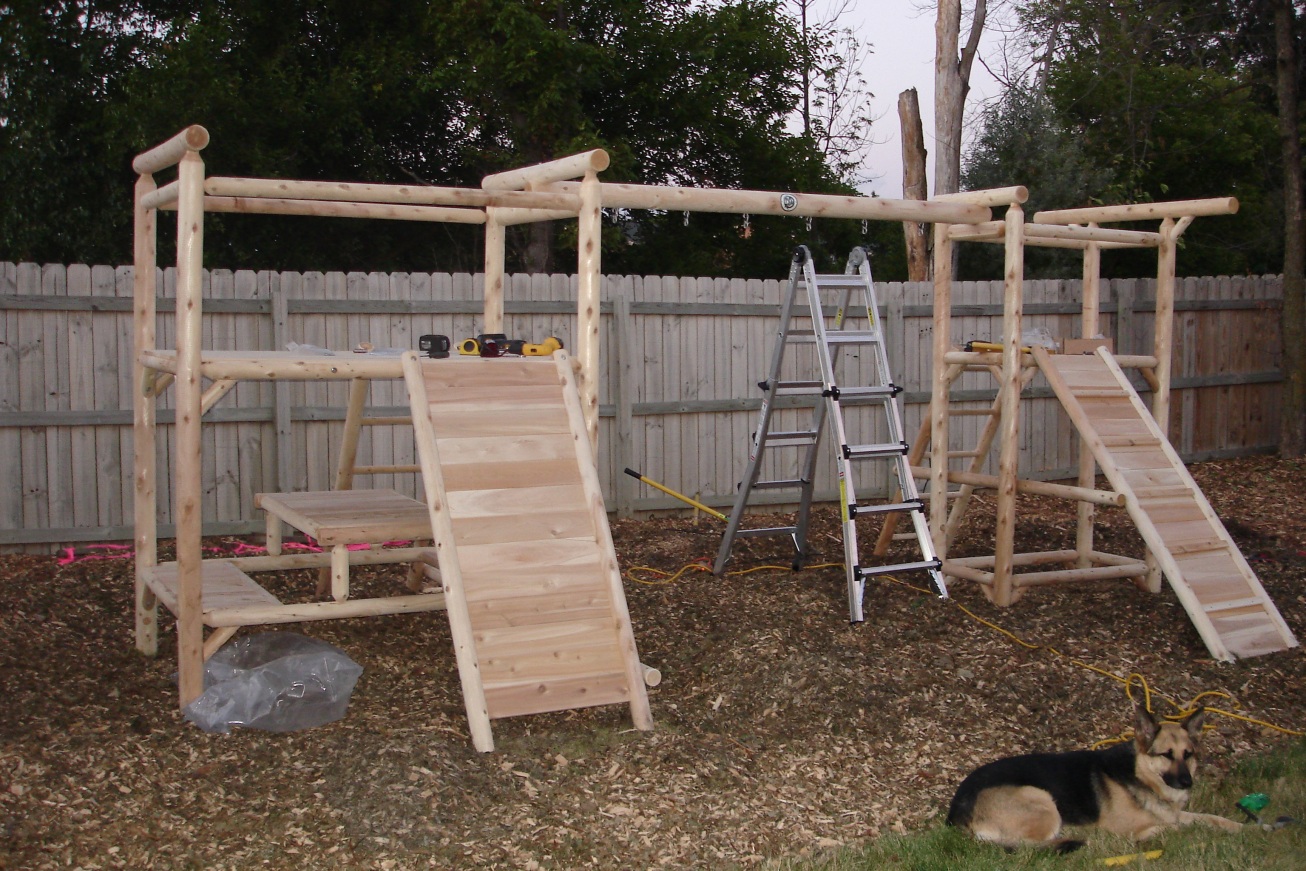 Finally running out of daylight, I was able to do a lot more than I thought during this shift (4 hours). All ladders and ramps are installed, as are the top caps and yardarm (off the far end of the smaller tower). Finally, the two horizontal braces hold everything together and make this thing really solid. Now, it can handle adults, but it's not recommended out of the box. I ended up reinforcing a few areas to give it a bit little more strength 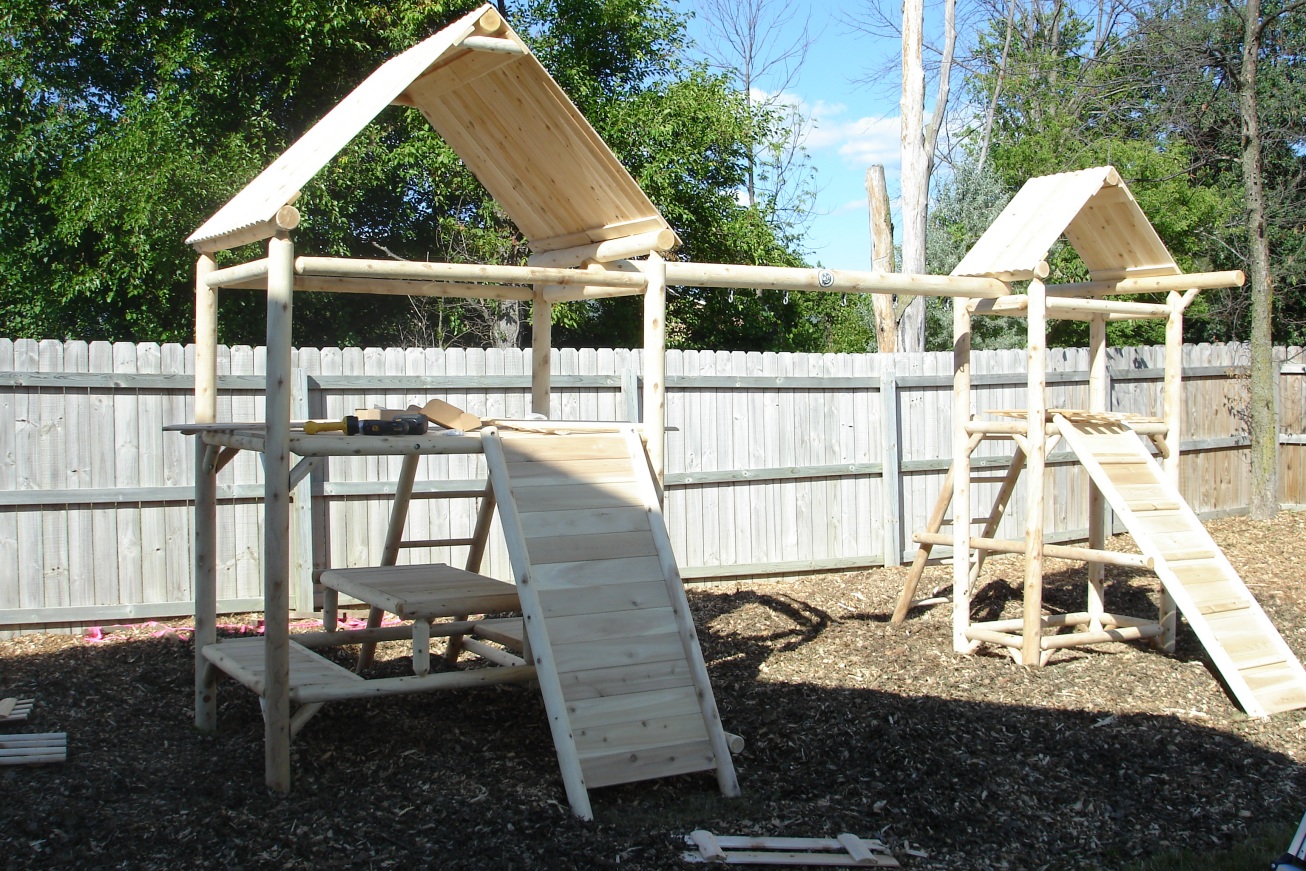 Ok, third shift (Friday evening) and things are coming along nicely. The roof panels go on in no time. 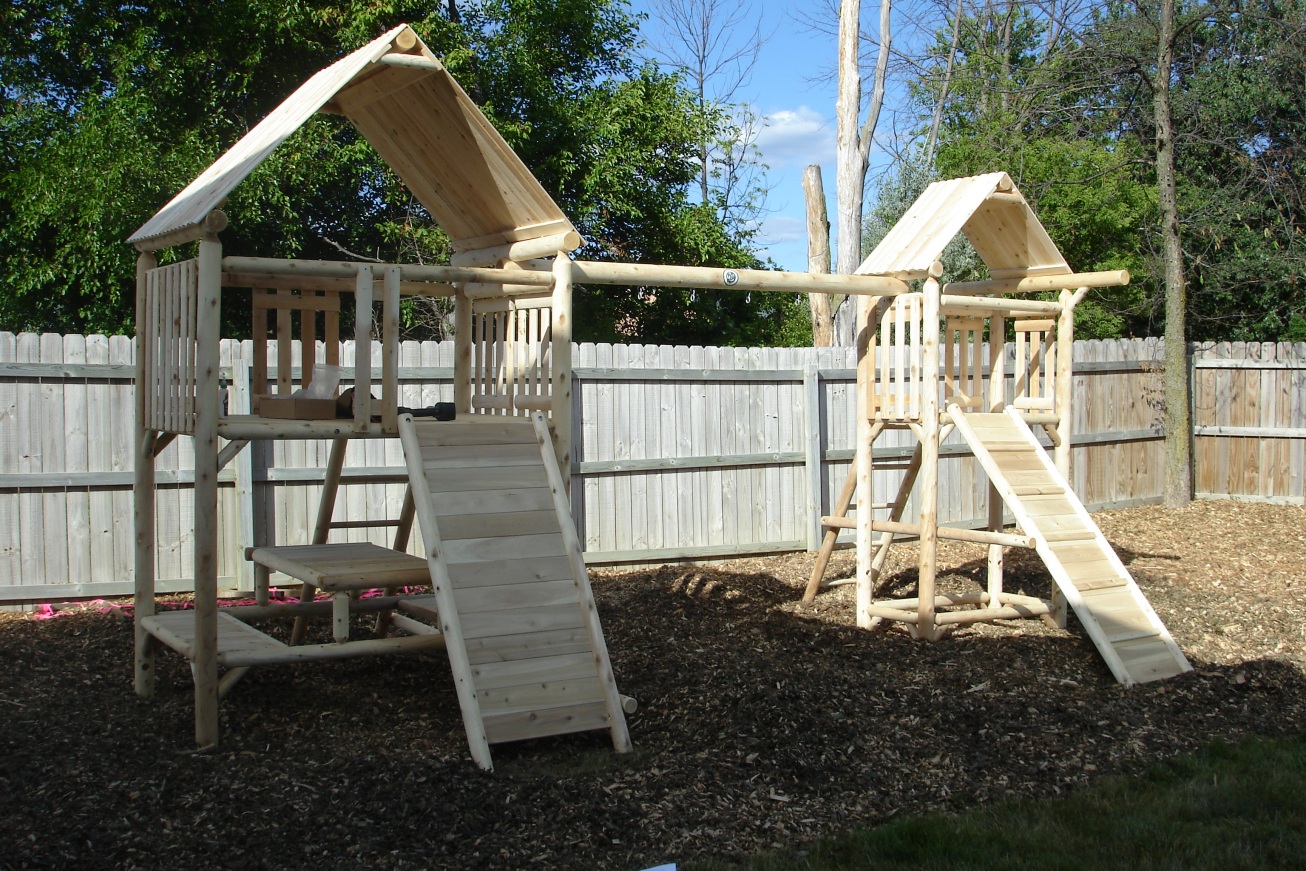 Followed quickly by the fences and after about 8 total hours, major construction is done! 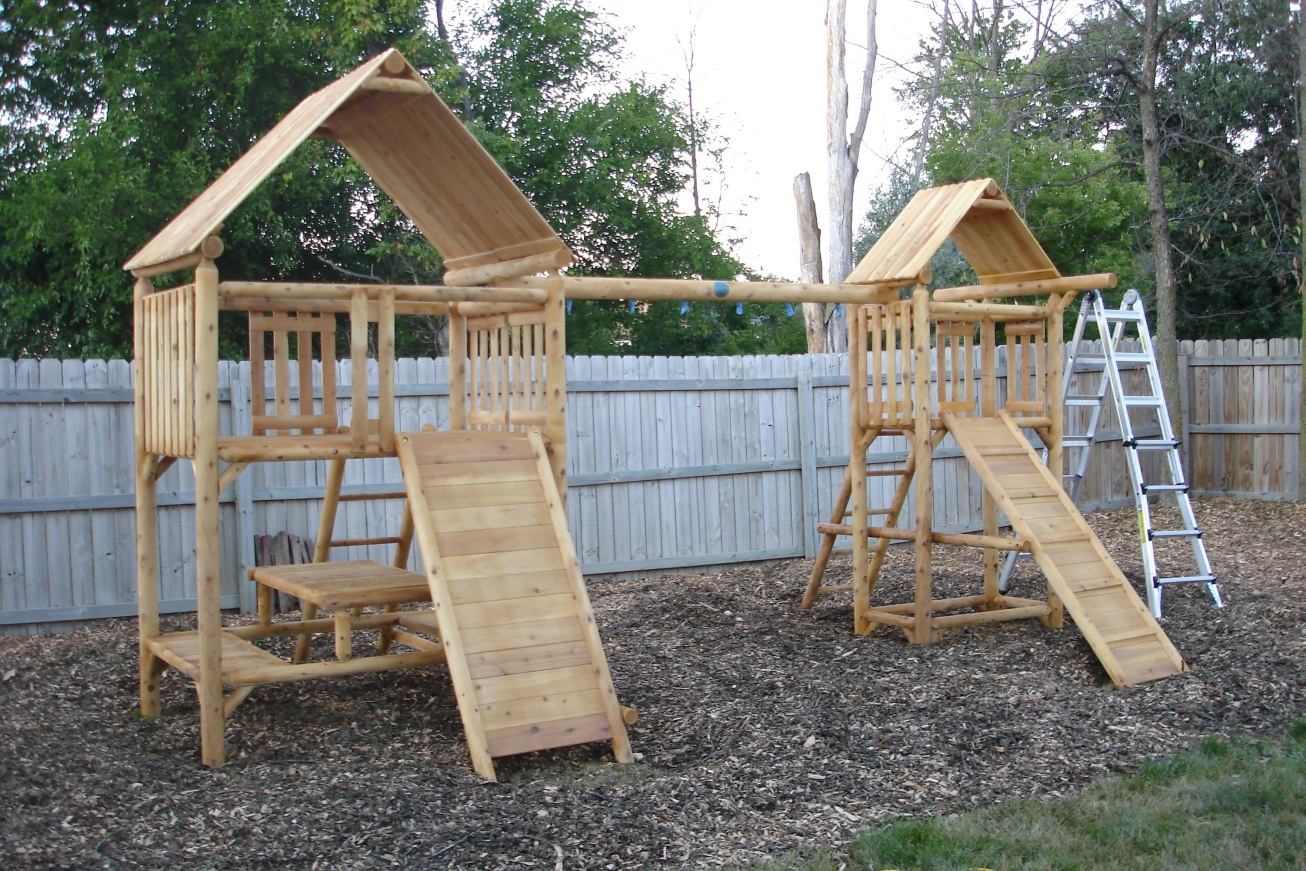 Running out of daylight and here's the prepped structure ready for sealing. Ok, now earlier I said that it's maintenance free, but that's all relative. Cedarworks claims that you never need to stain or seal the cedar, unless you want to retain the color. The white cedar will age within a few months to a silvery grey and will last for many years. For a playset, I'm not a big fan of silvery gray (far right in the below image), so I decided to seal it anyway. New Cedar 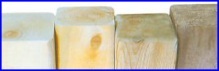 Weathered Weathered
So, regardless of what the manufacturer states, the top two natural damagers of wood (even cedar) are water (rain, condensation, snow) and UV radiation (sunlight). That said, I can guarantee that five years from now, my sealed wood will be in better overall condition structurally than a comparative non-sealed wood (and yeah, it'll look better too) 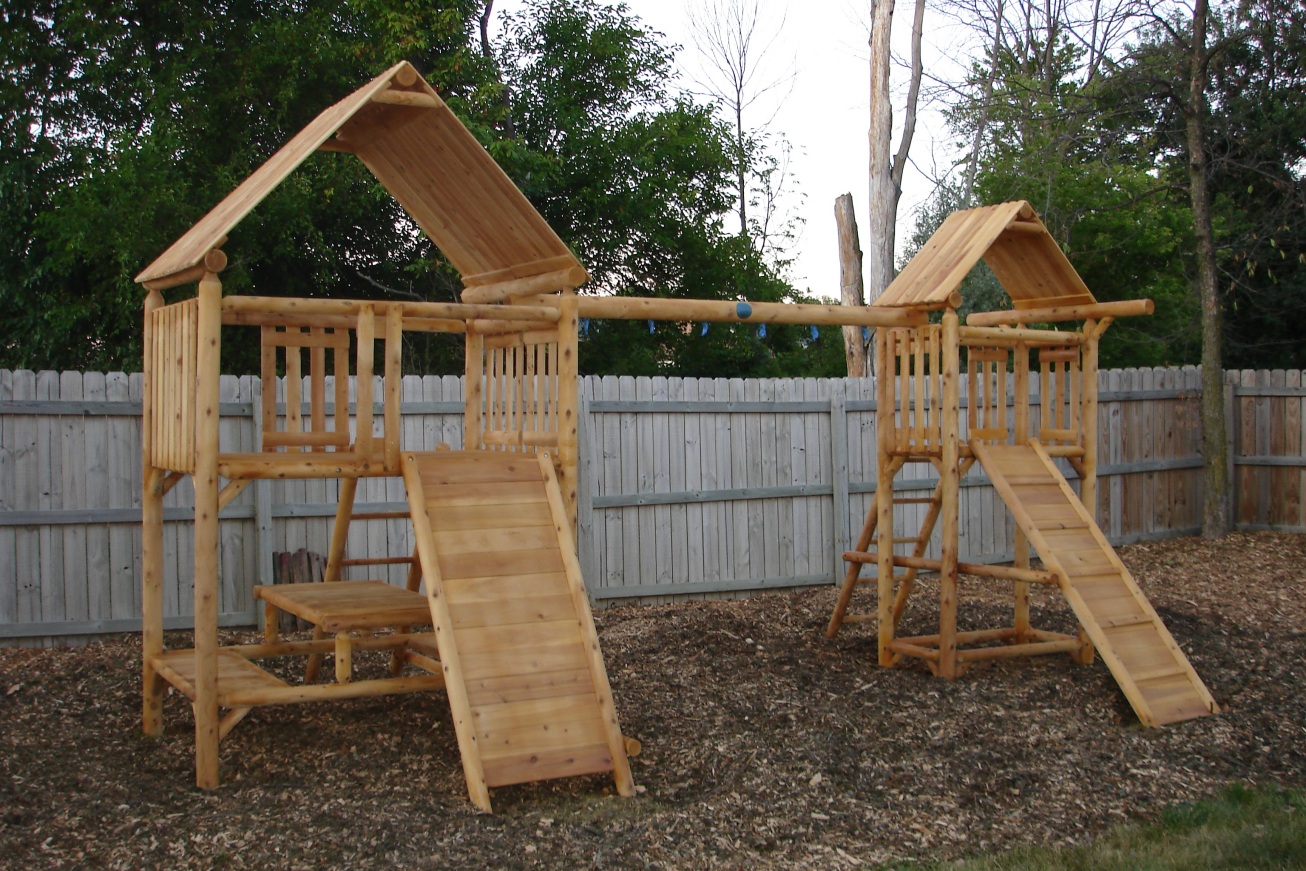 And here we are after sealing. As you can see, I did have a bit of stain in the sealer, but just a touch. How'd I do it so quickly? A Wagner HVLP spray gun. It doesn't work on heavy liquids (i.e. latex paint) but for stains and whatnot, it's fantastic! Just look, I did the whole thing you see in about 45 minutes. It has a lot of overspray, but for speed, holy crap. I would have taken me four hours with a brush to do it I used Olympic Maximum toner in “Cedar Naturaltone” which I got from Lowe’s. It claims 3-5 years protection, so I expect two. They have other shades, including clear and solid, but I preferred the light tone to give it color, yet still show the wood grain. 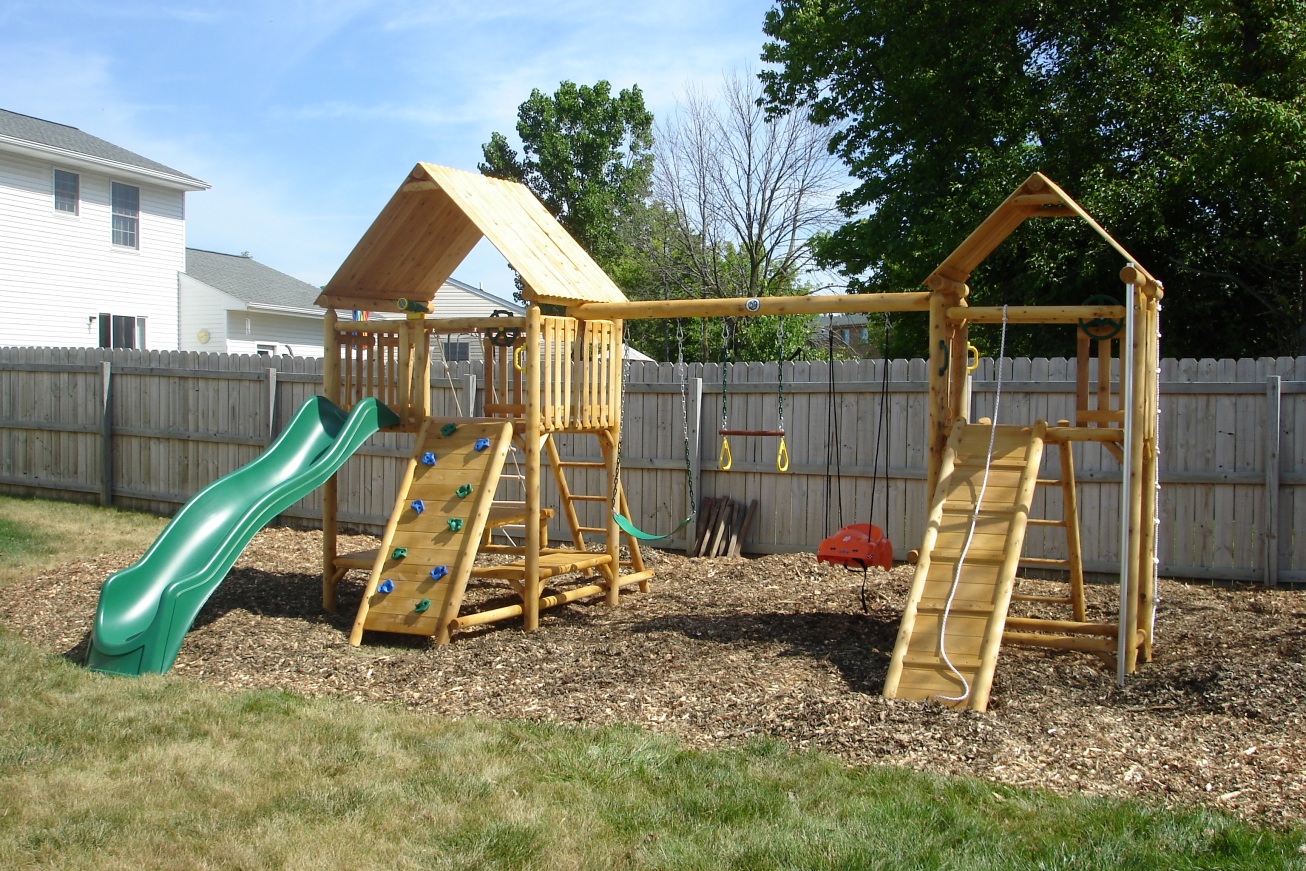 And here we are with all accessories installed, ta da! The set comes with two sling swings, but we stored one away and put on a slick Home Depot infant/toddler car swing as you can see on the right side 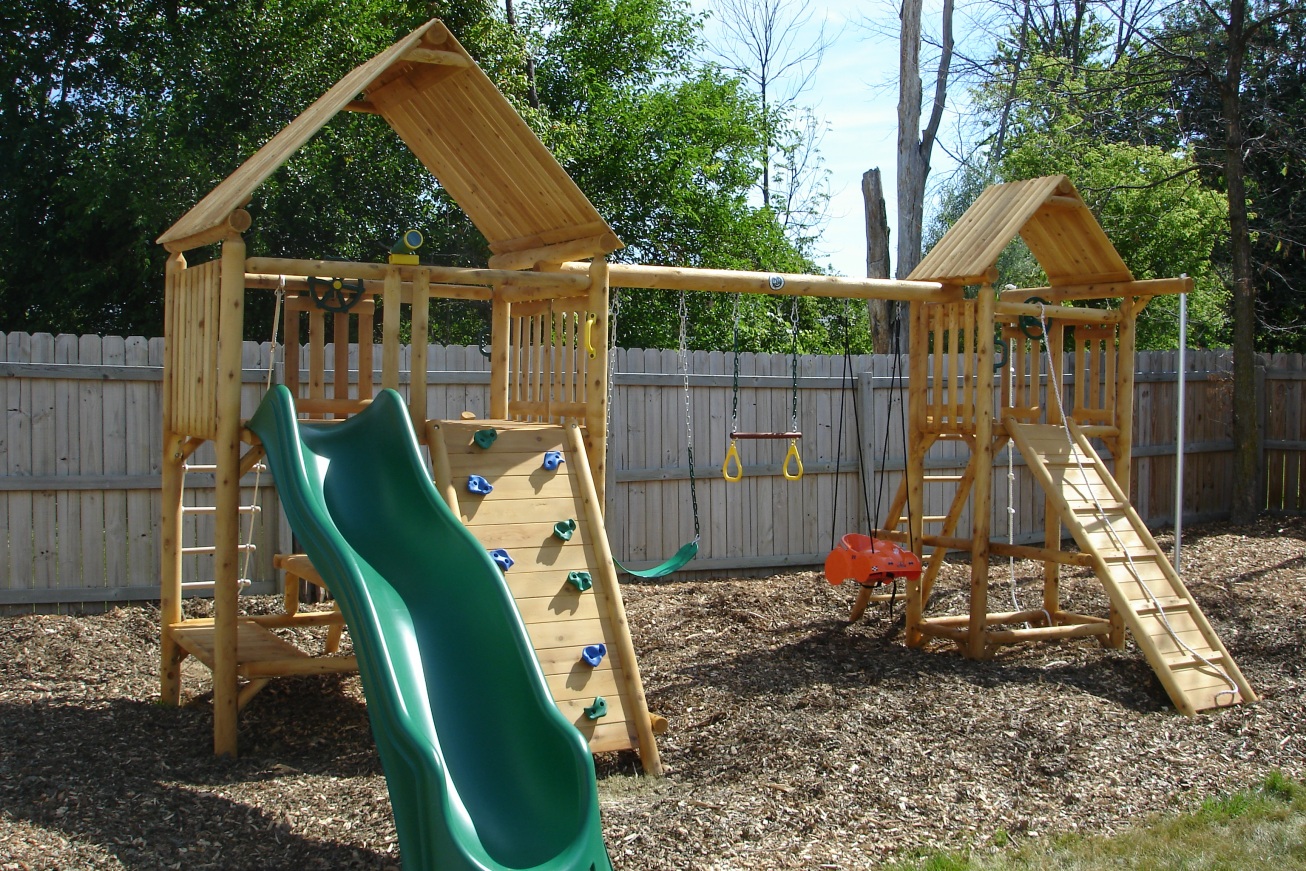 Here's you can see the slide and rock climbing wall 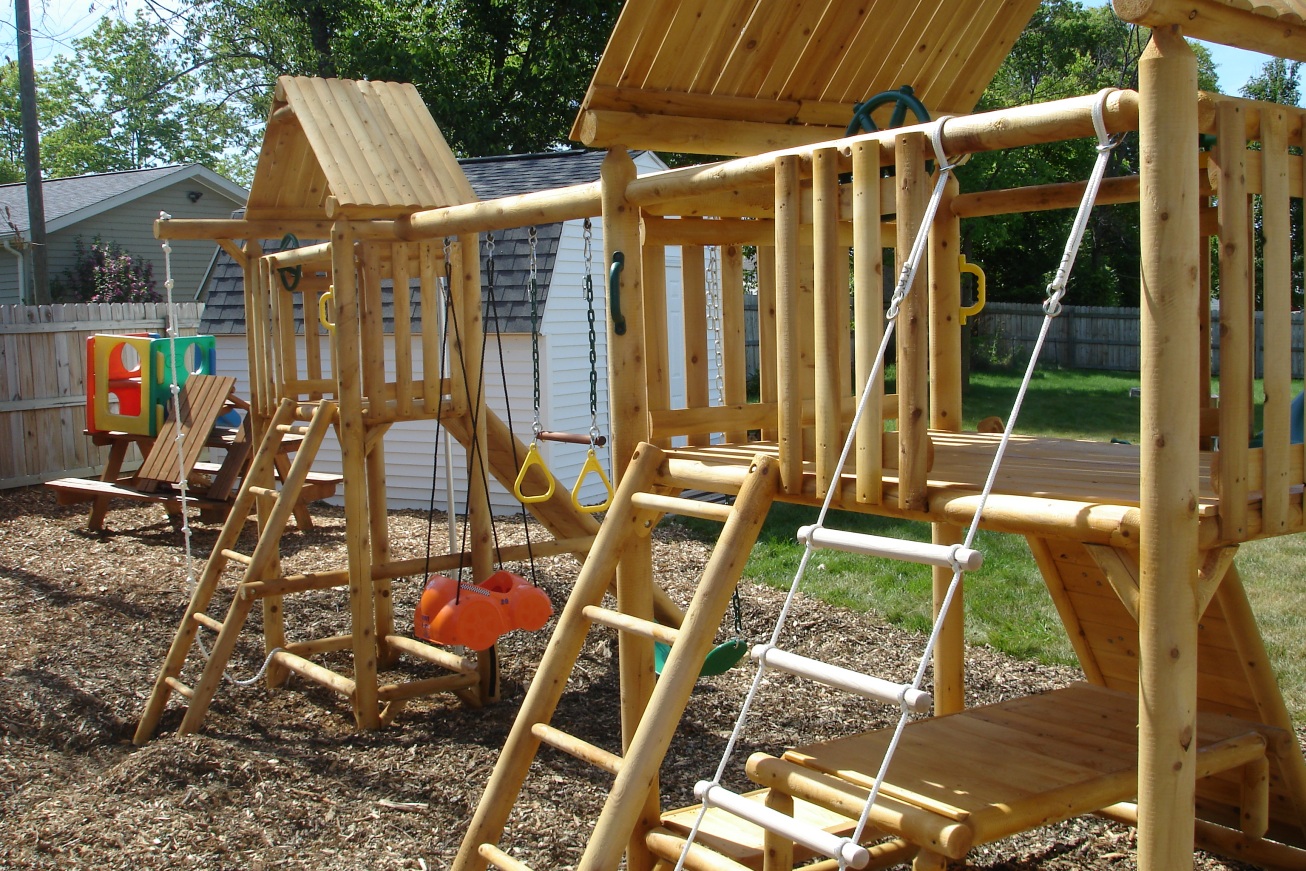 And here's a shot of the back, showing both wooden ladders and the rope ladder in the foreground. You can also see the two steering wheels in the towers (the big one is a pirate wheel!) and the various yellow and green handholds placed around the structure. Note: the pirate wheel and the handholds were not part of the kit - I bought them at Home Depot and Lowes 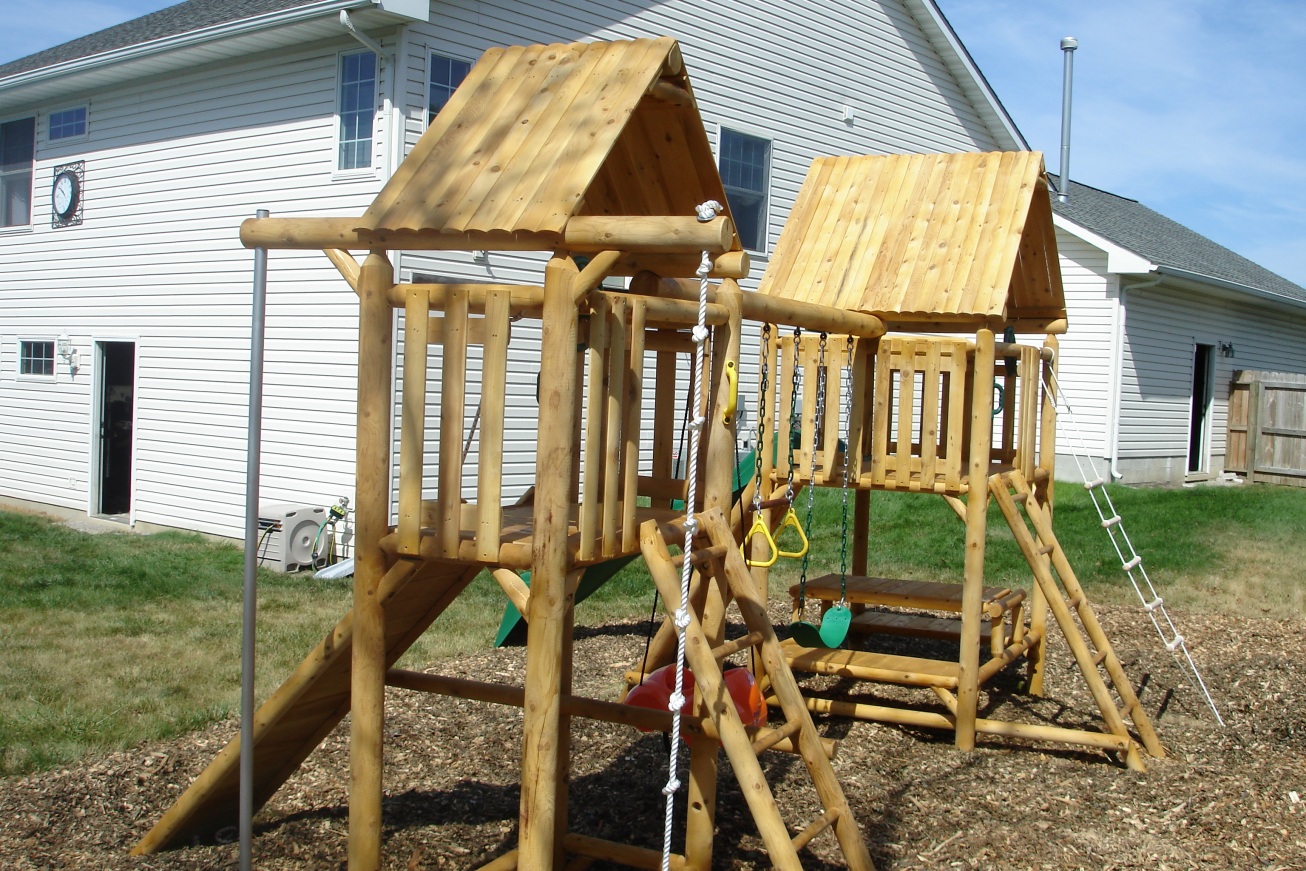 A shot of the smaller tower, showing the yardarm supporting the knotted climbing rope and the fireman's pole 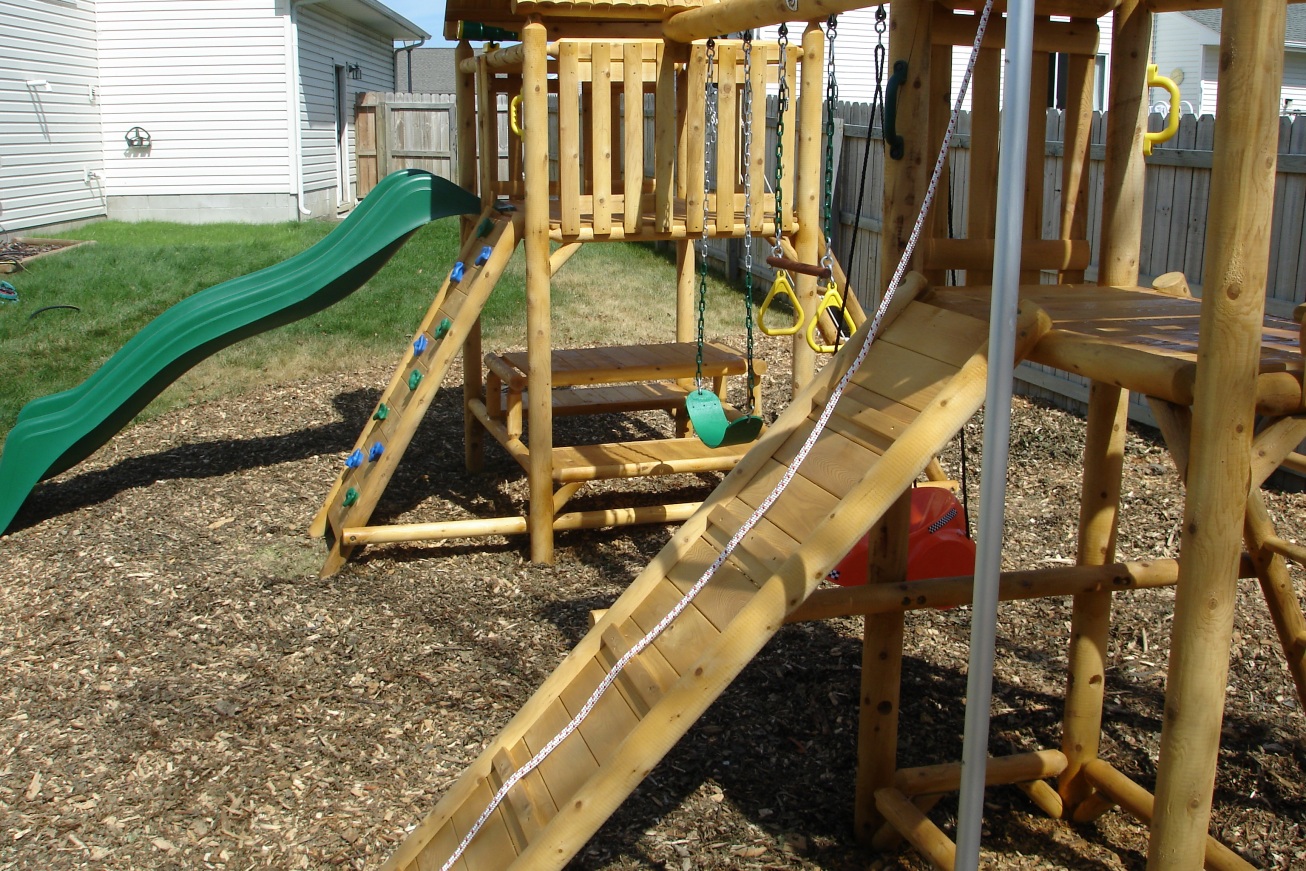 And the final big accessory, the climbing ramp, complete with rapelling rope 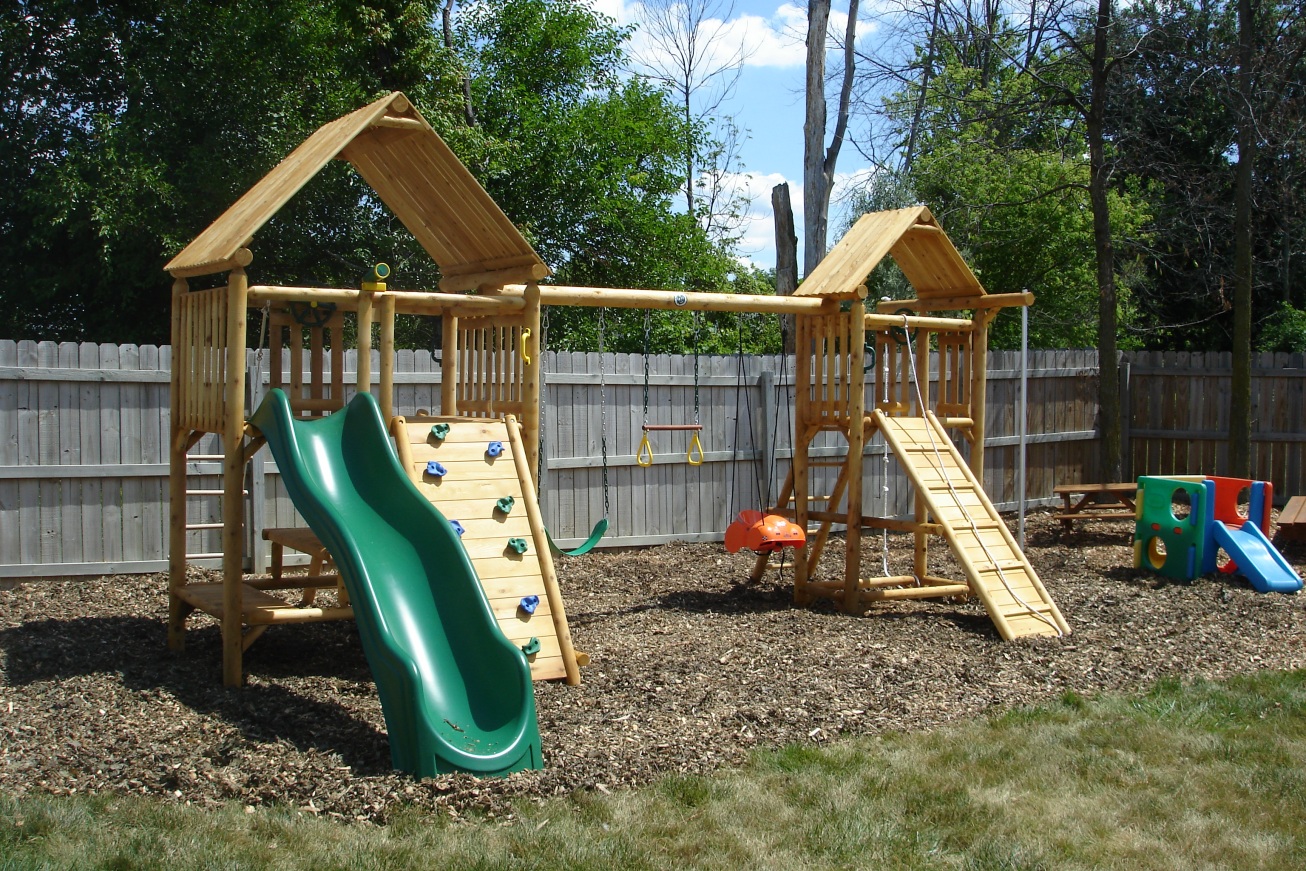 One more shot of the completed structure. I'm so happy how it turned out. Now, for the real test... 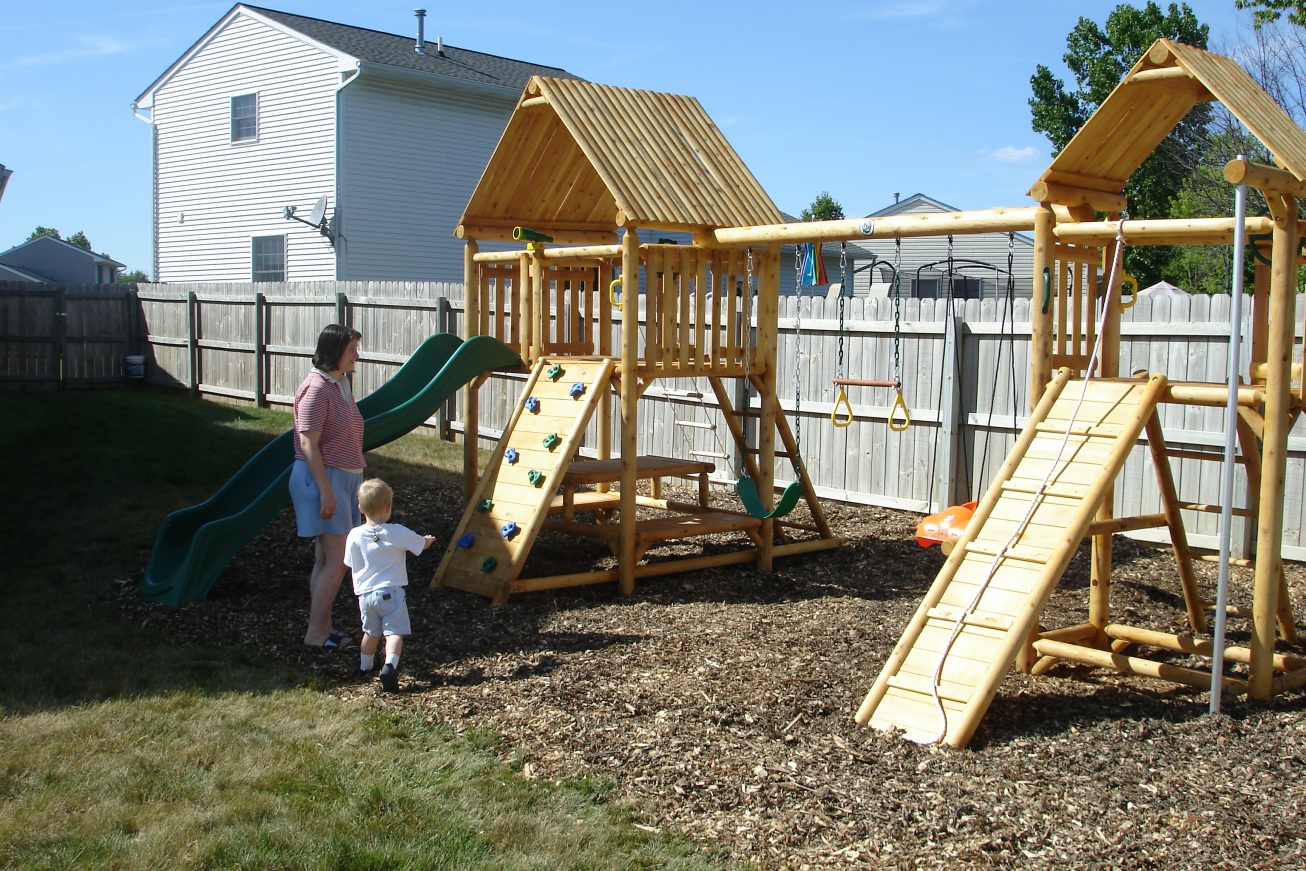 Mama introducing Jared to his happy fun new play structure 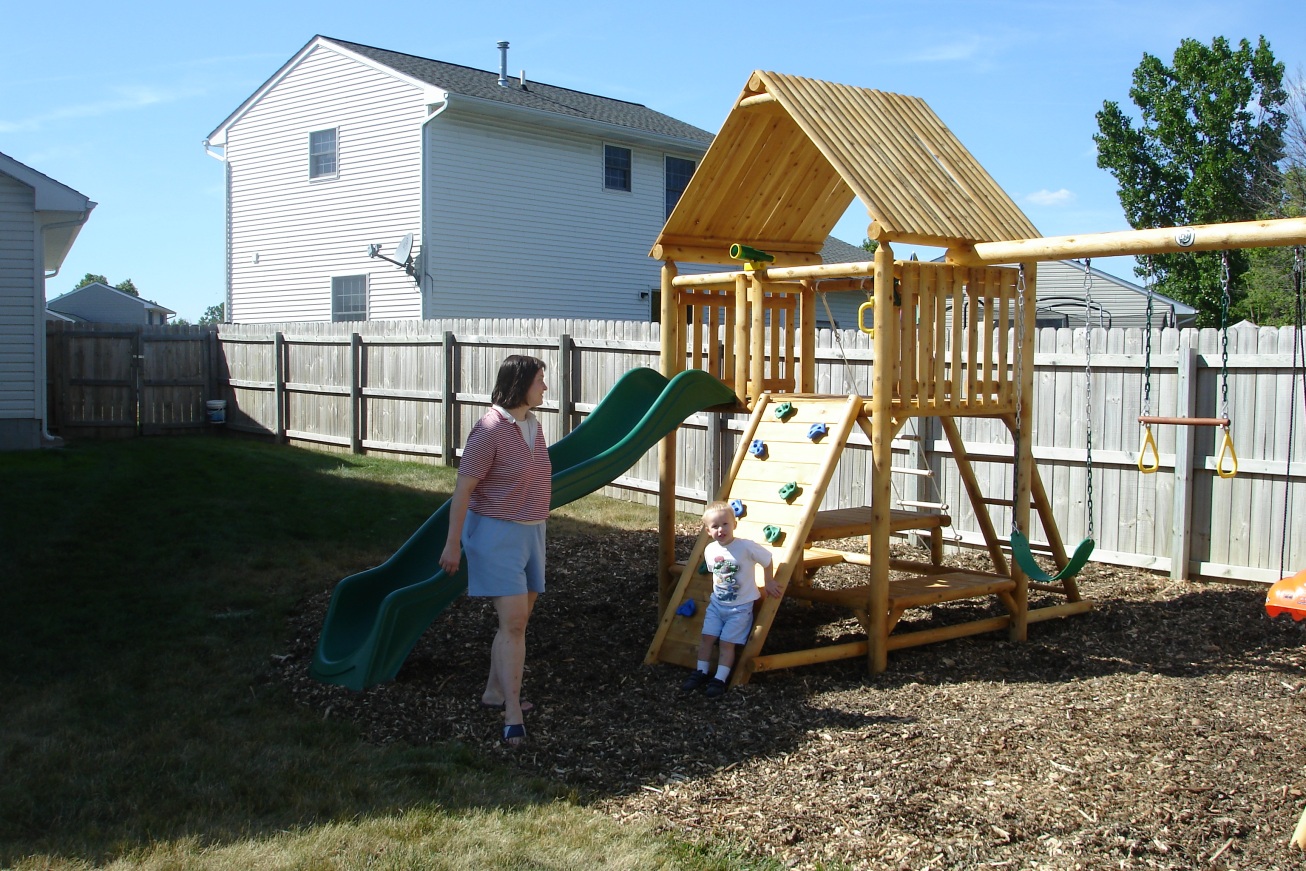 Daddy! I don't know what to say 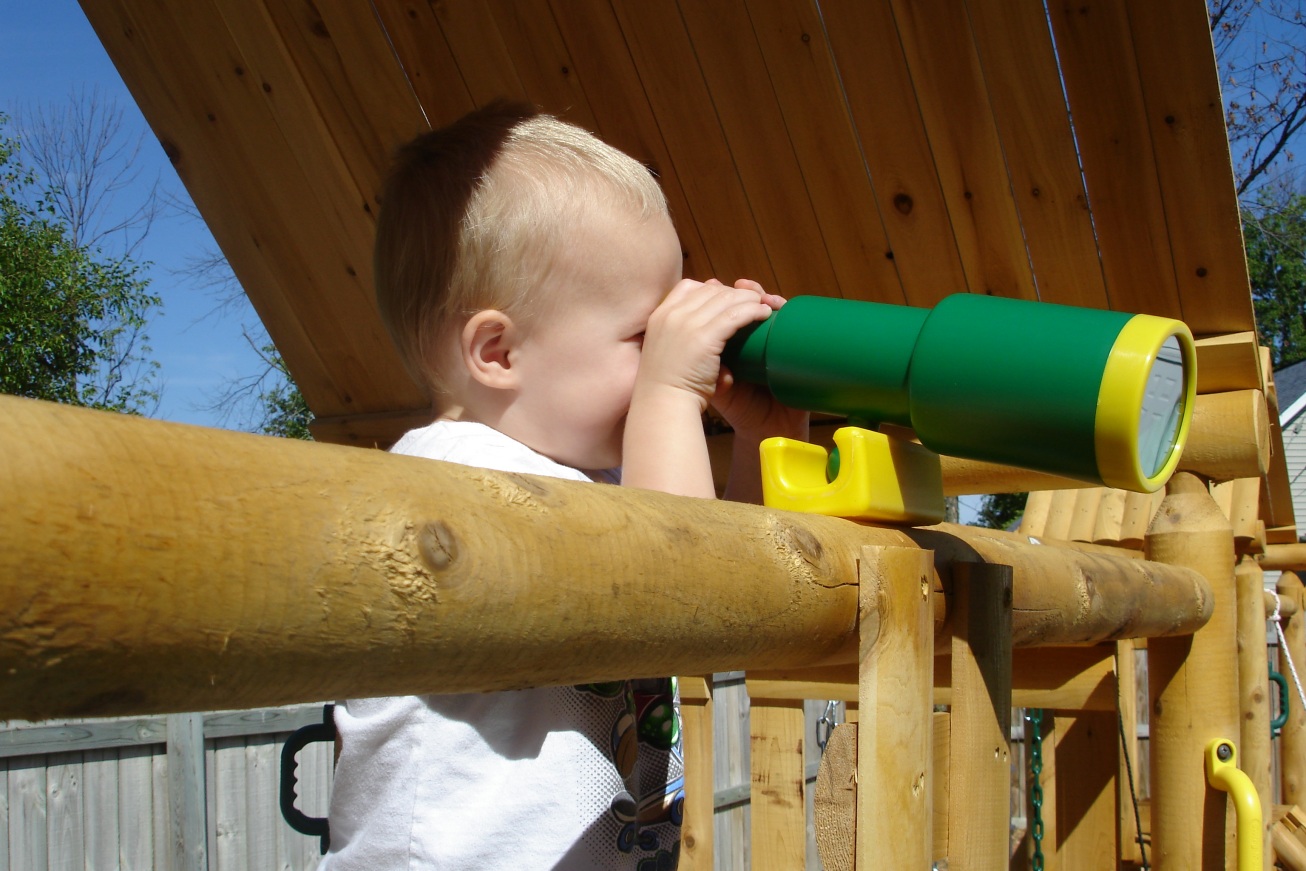 One of the boy's favorite accessories, the telescope 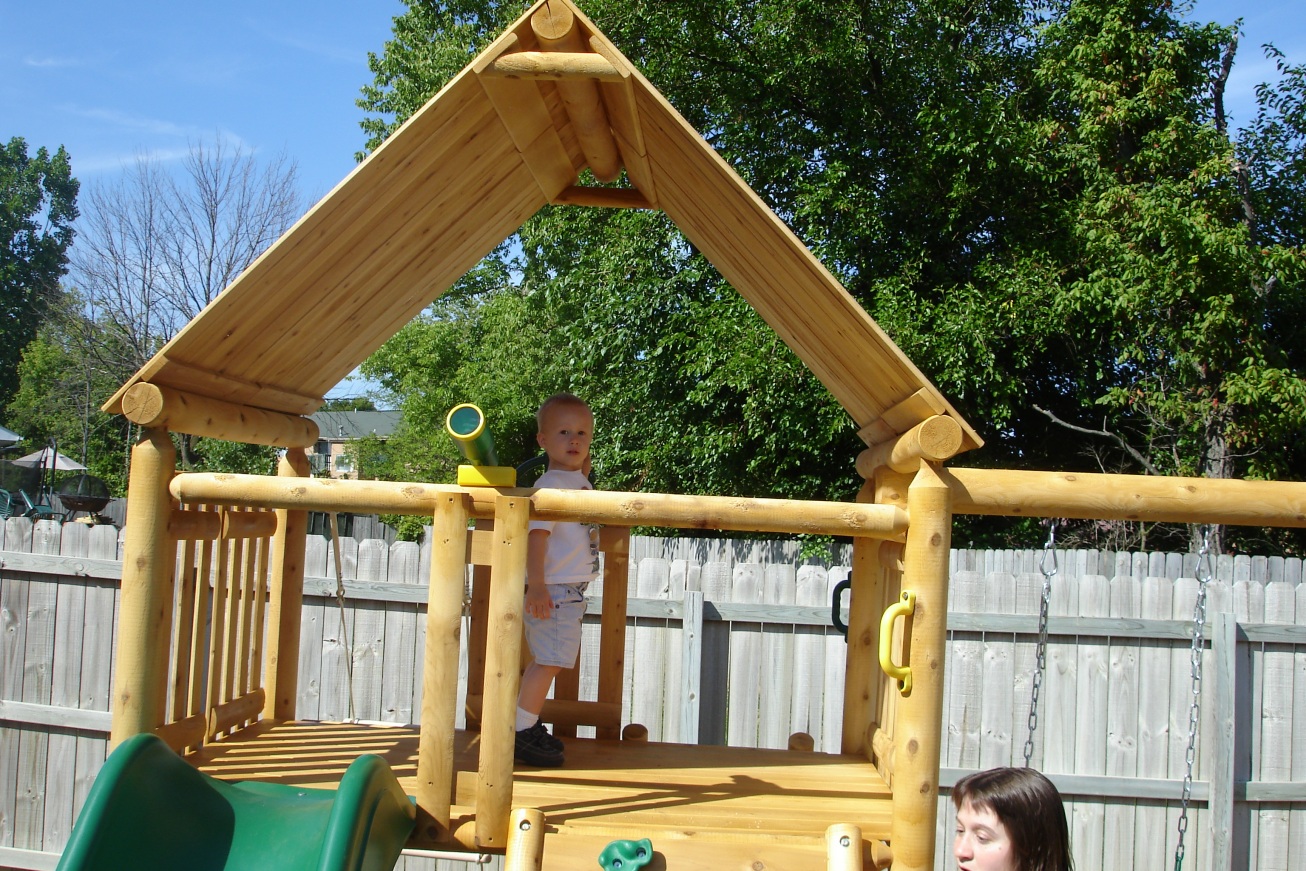 Jared hanging out in his new clubhouse 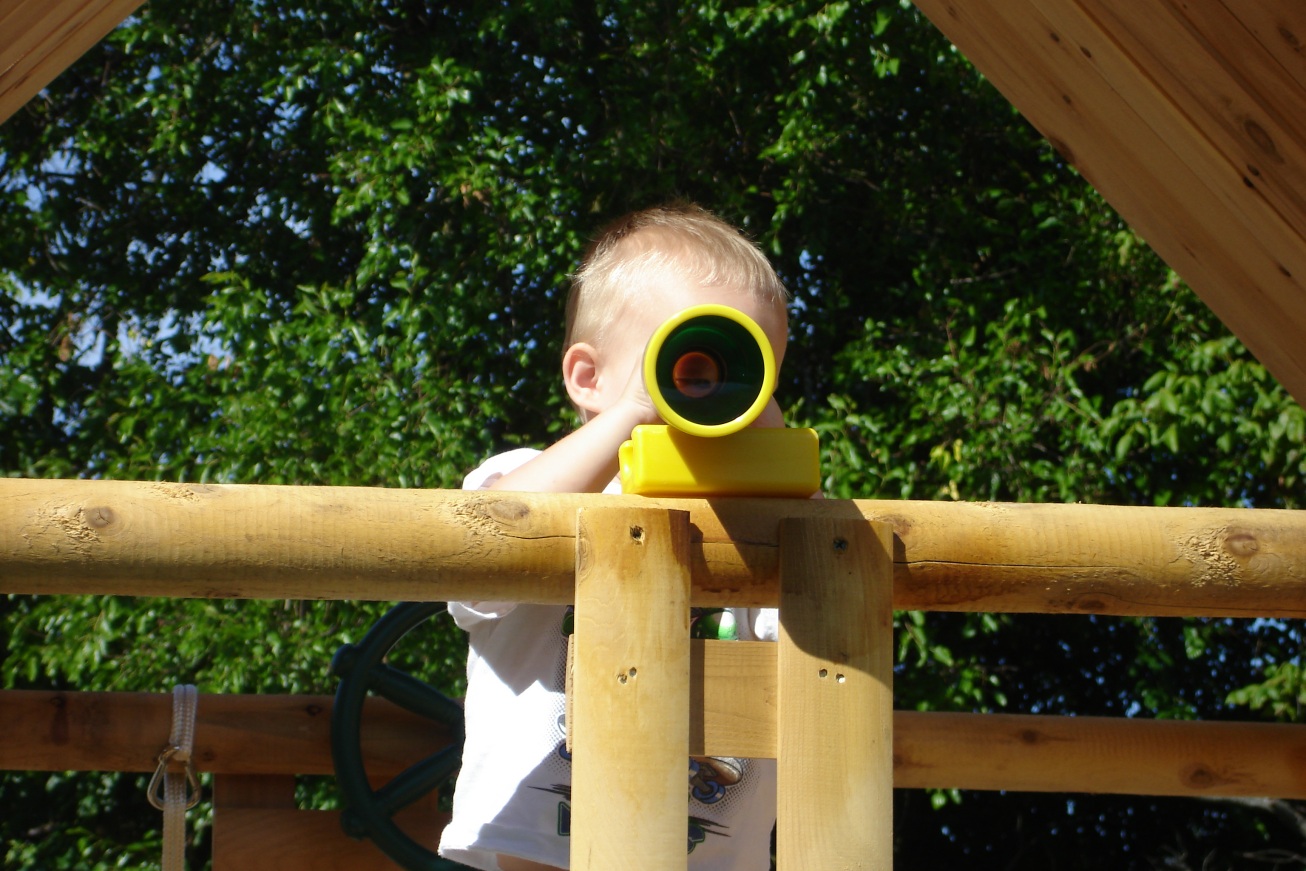 Peek a boo, I see you! 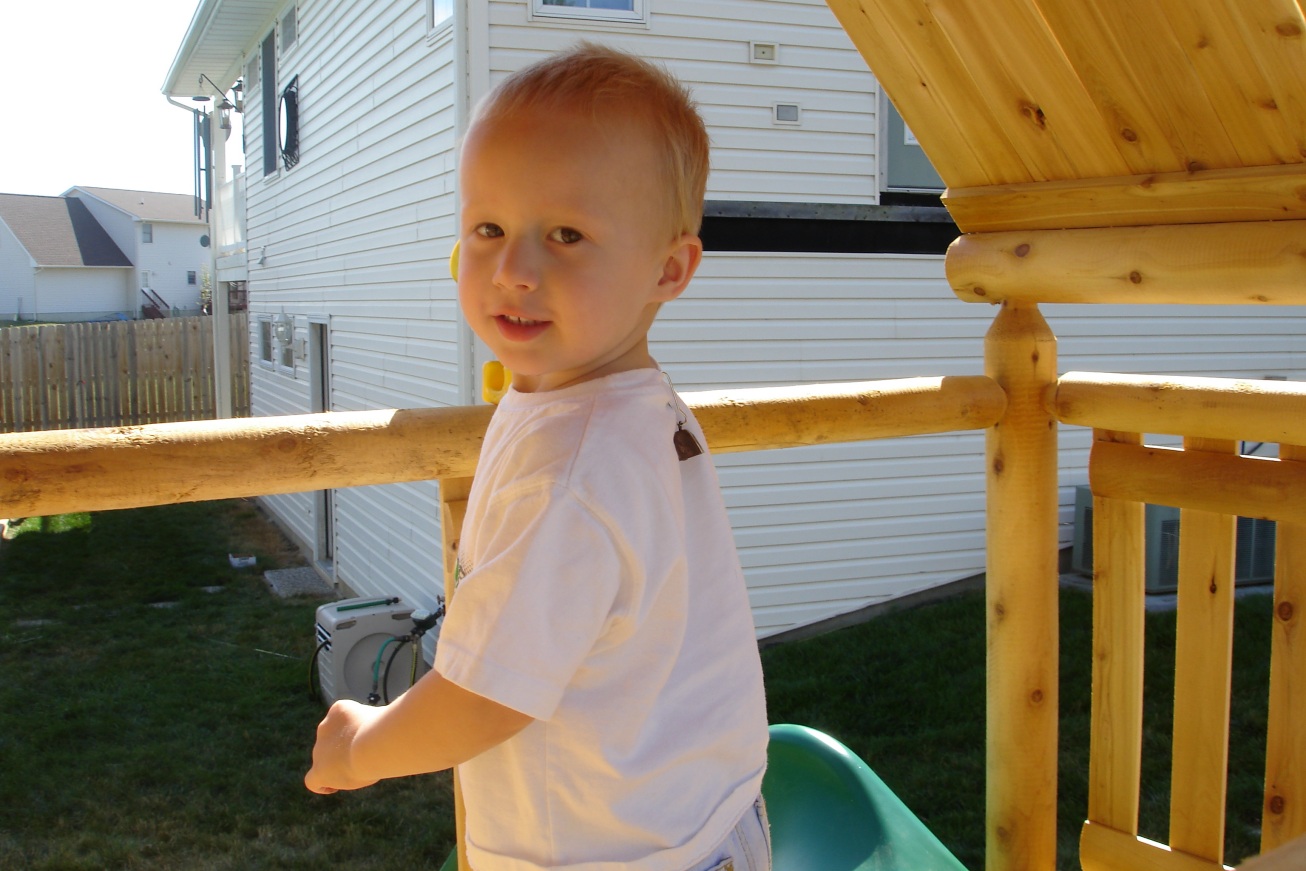 Oh, hey there Daddy 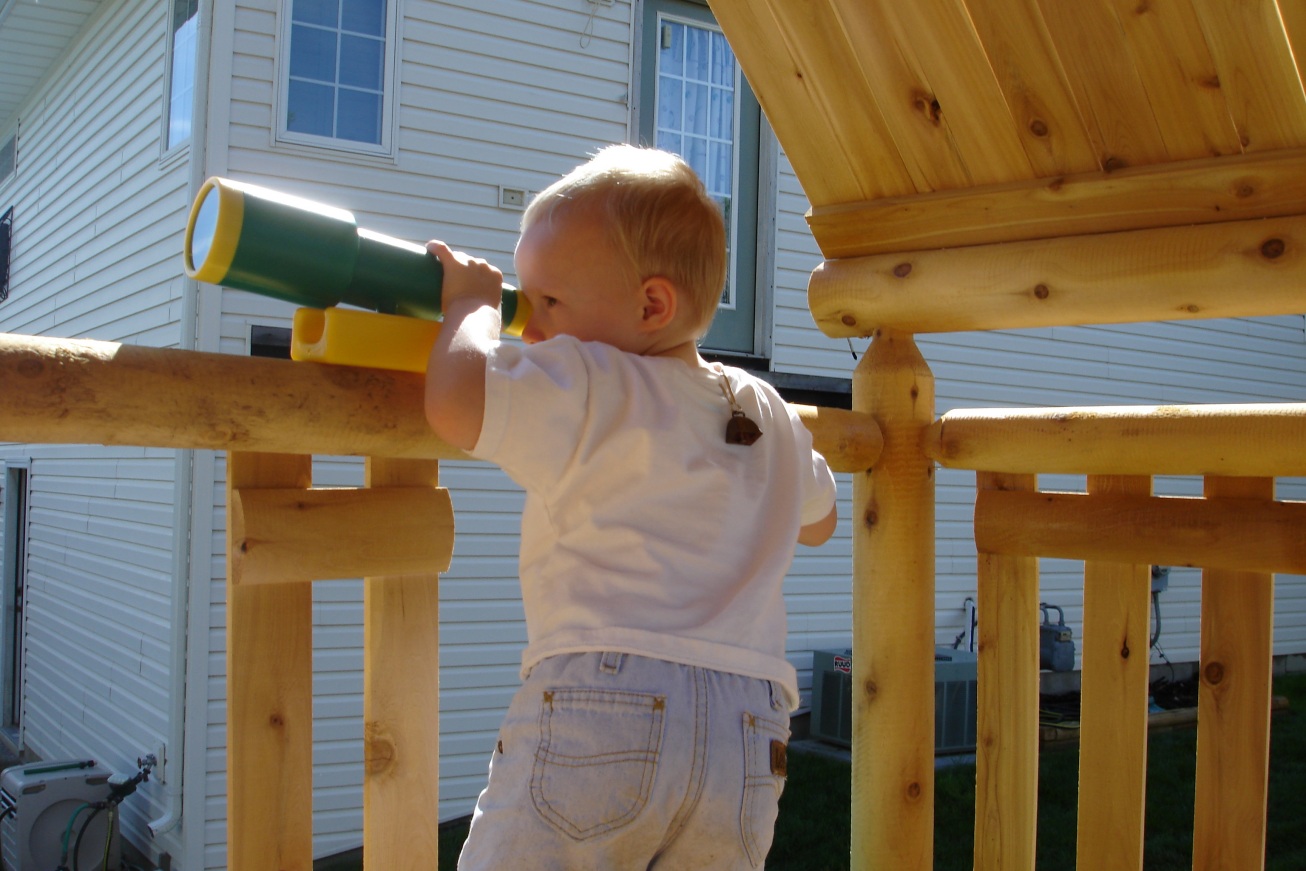 Avast ye mateys, ship off the port bow, ready the cannon! 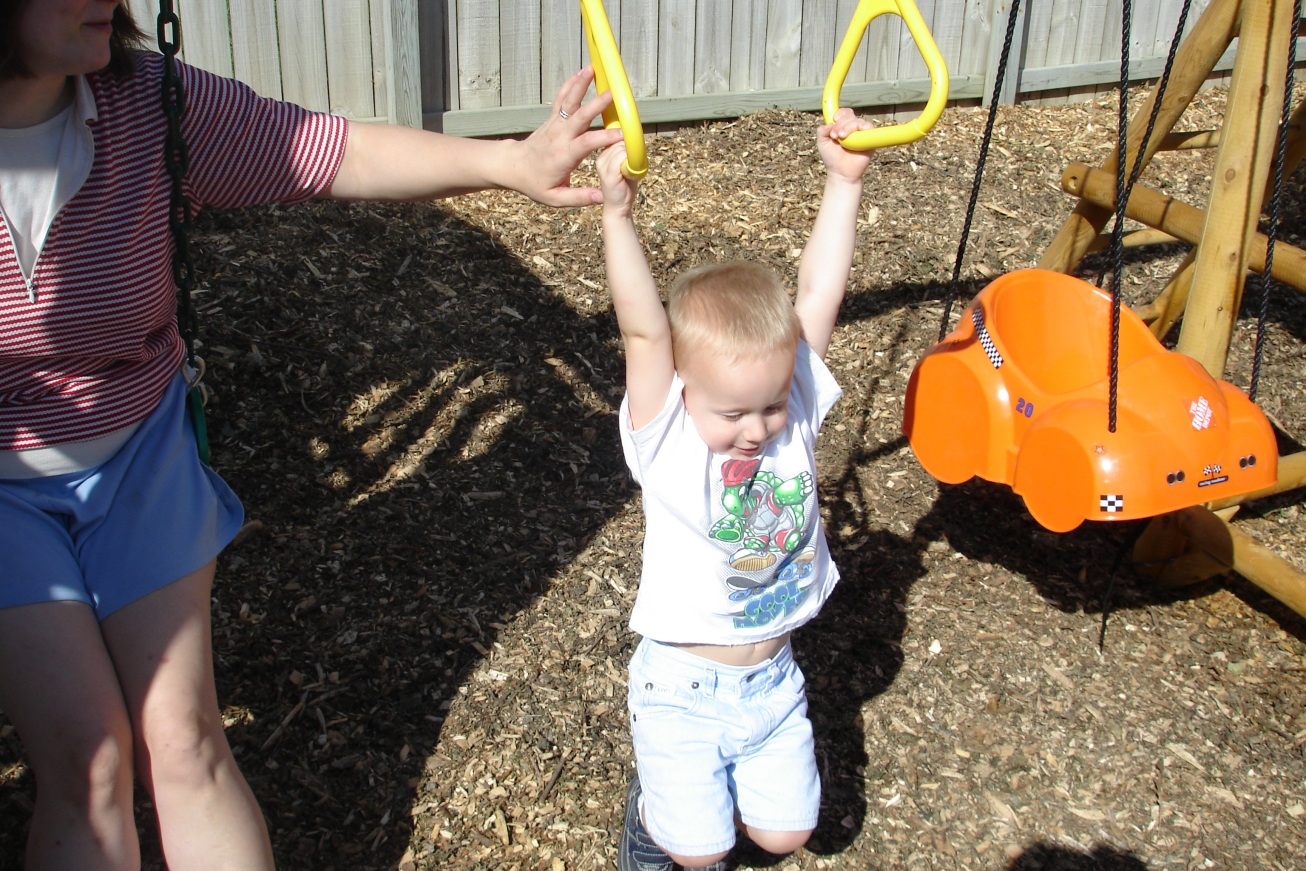 The boy trying out the trapeze rings  Before he even got on, he wanted Mama to have some fun first  Yay! Look at me Daddy! Olympics, here I come! 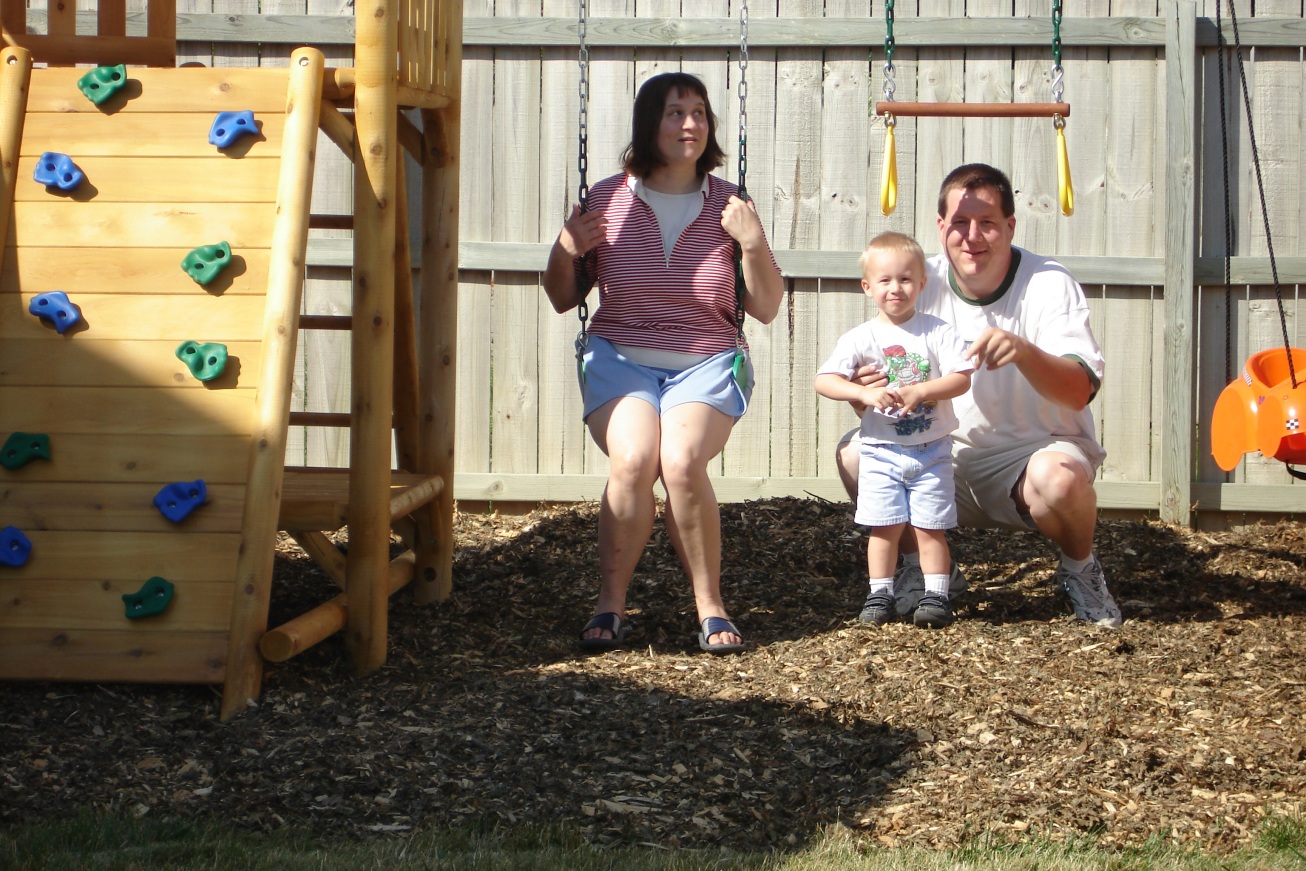 The family taking a moment for a photo shoot with the playset 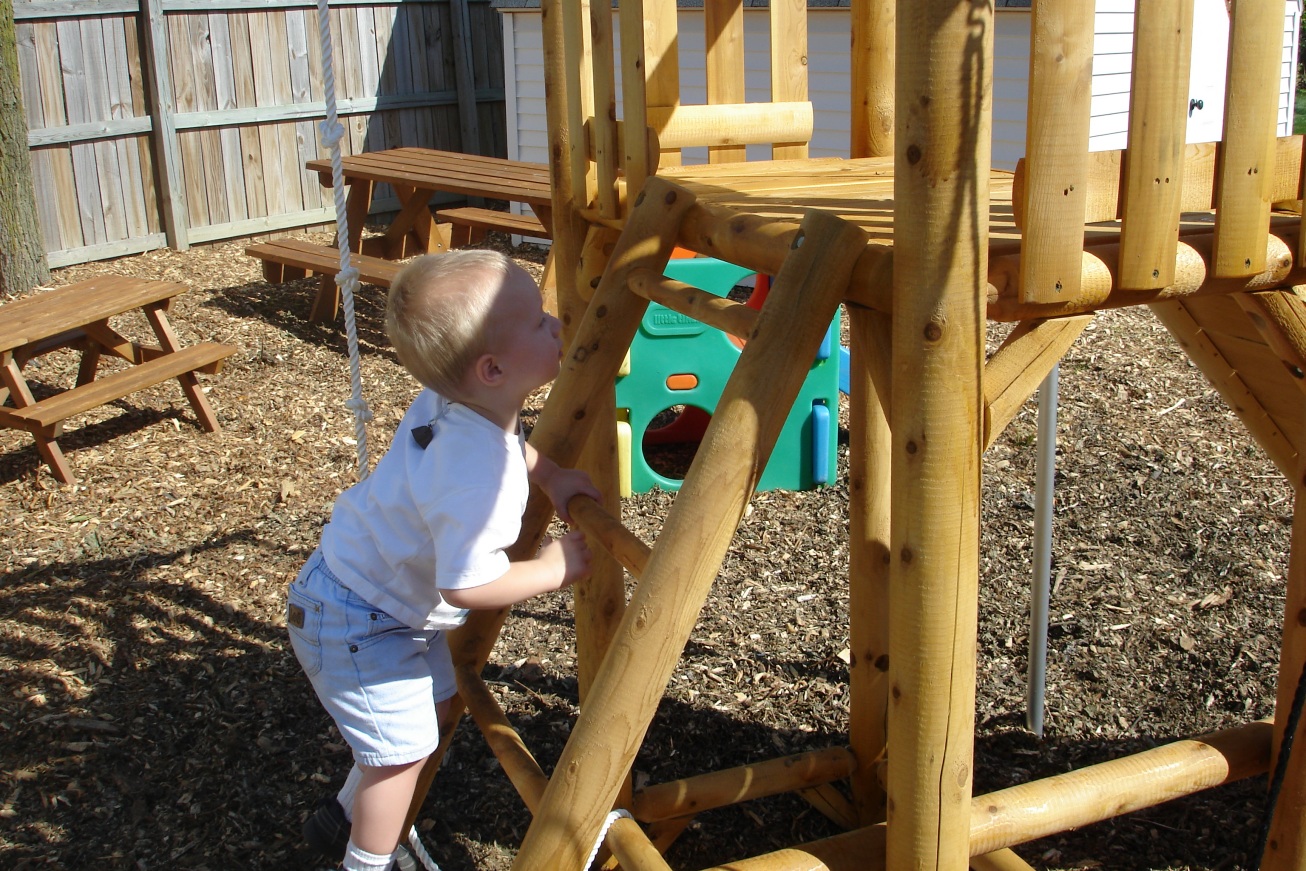 Jared seems to have no problem with the ladders  Hey Daddy, how'd you get up there?  Jared's favorite part, the swing. He constantly yells "faster!" "faster!" 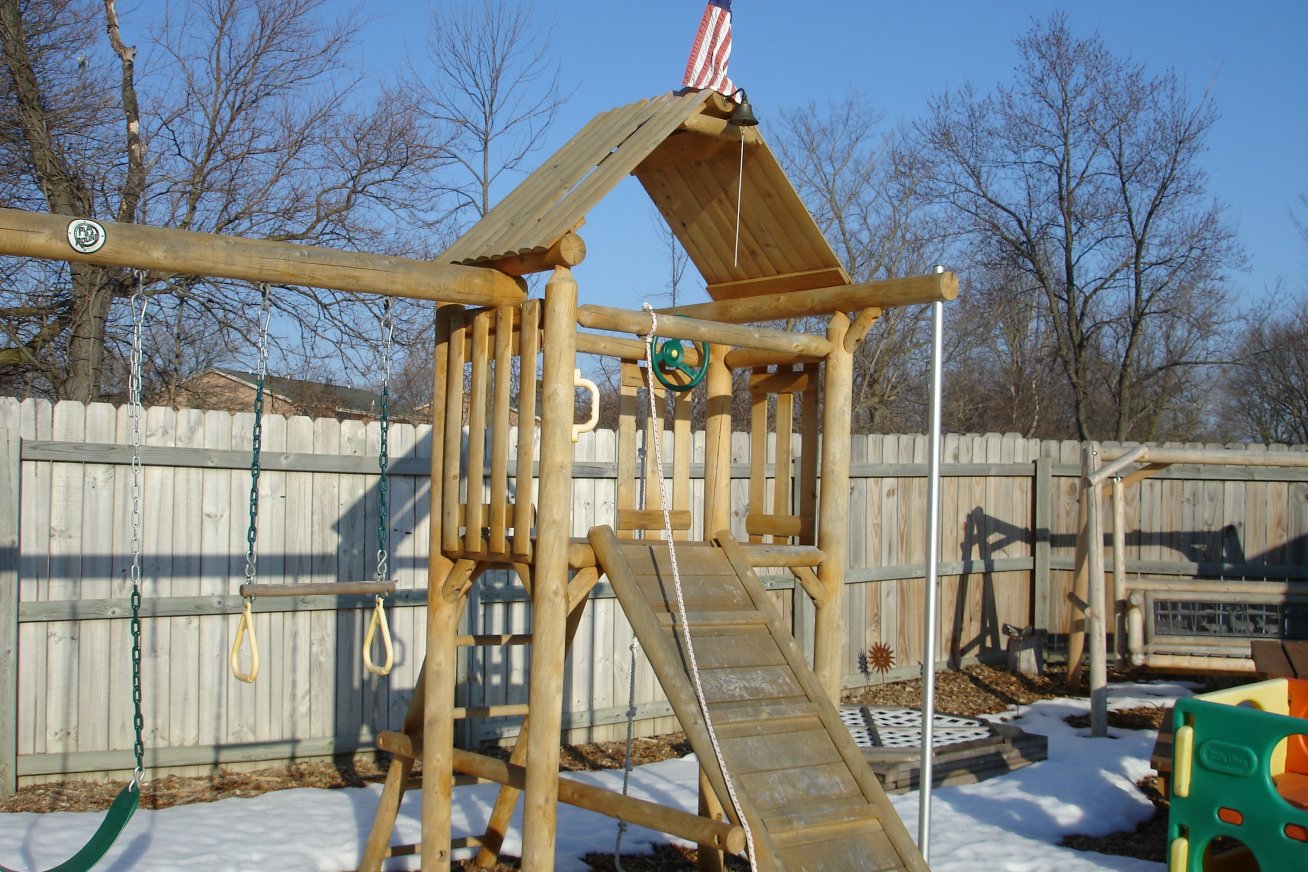 (3/5/2009) Just to keep you updated, here's a shot of it after nearly two years (through two Michigan winters). The color has held out pretty well, though I'll have to coat it again this summer as I expected 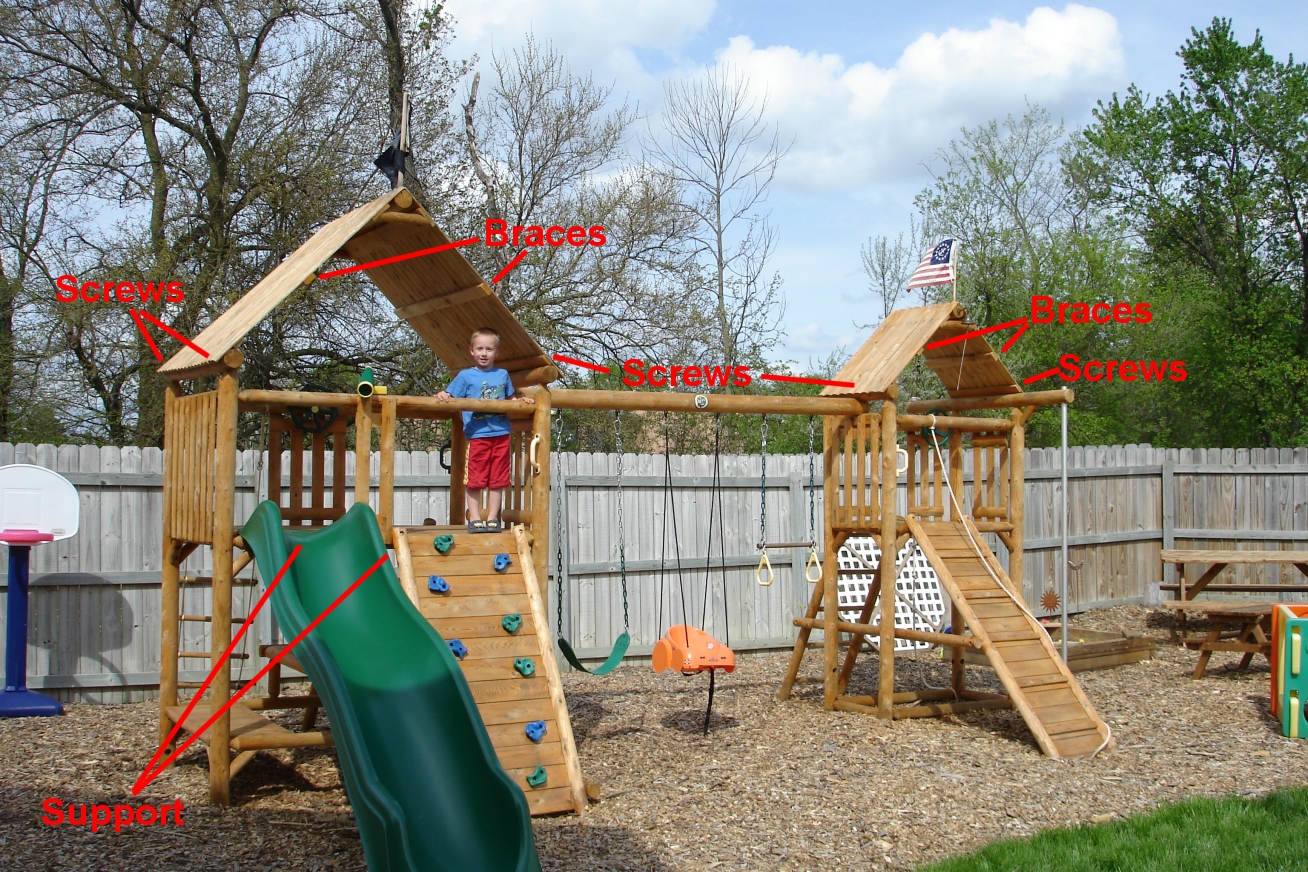 (5/15/09) One more update. A few visitors to the site looking specifically for this playset requested some info on the updates I did to the structure. |
|
Go to our main page